






The materials you need
To make this tutorial, you will need:
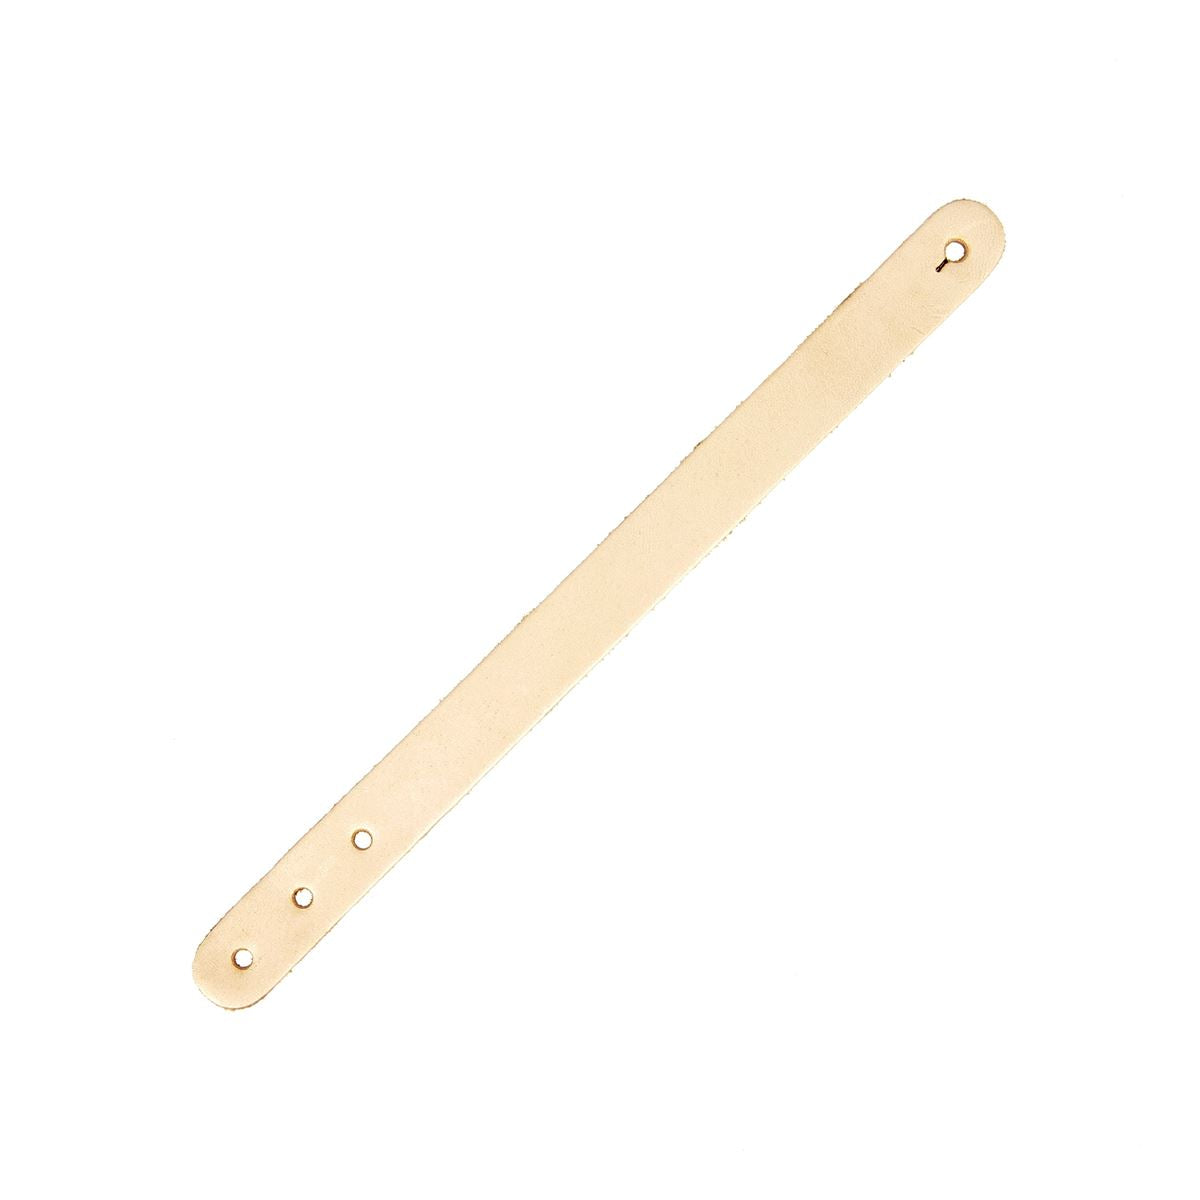
- 4 natural leather bracelets (vegetable-tanned) to personalize - 20 x 1.5 cm
- Adragant edge finishing gum
- 4 T3 screw-in collar buttons - Aged brass
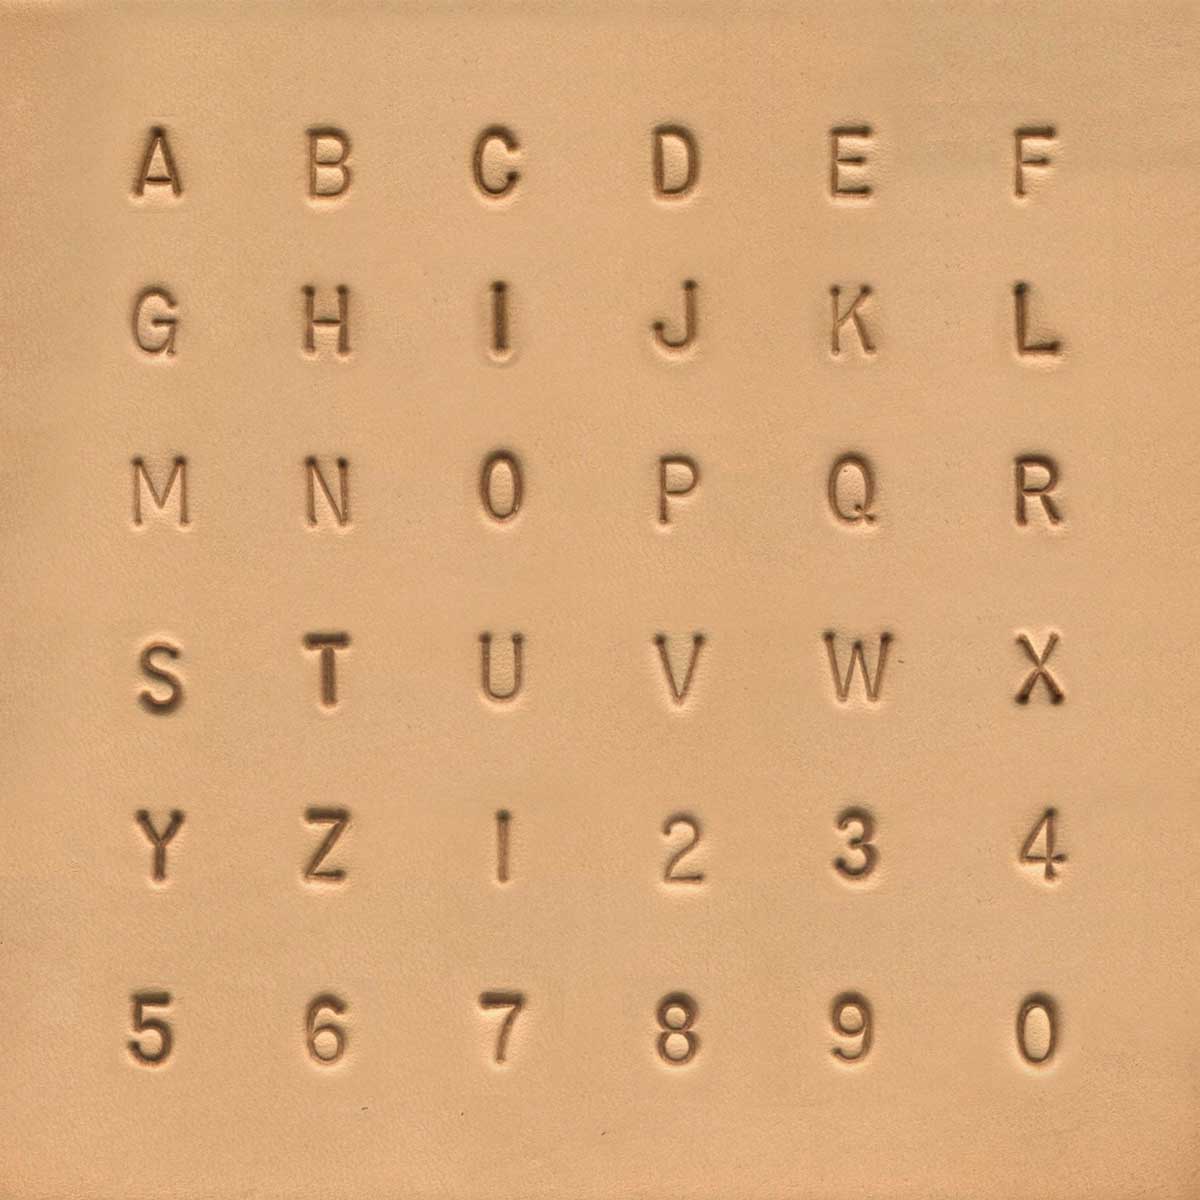
- Standard set of numbers and letters - 0.64 cm
- 1 sponge
- 1 striking support
- 1 mallet
- 1 screwdriver
- 1 cloth

1. Dampen the leather
Soak a sponge with water and dampen the vegetable-tanned leather bracelet (grain side): this will make personalizing it easier.
Be careful to dampen the leather evenly to avoid marks.
WHAT IS VEGETABLE-TANNED LEATHER?

2. Mark the leather
Using the stamp holder and a mallet, strike the letters into the vegetable-tanned leather. Carefully check the direction of the letter before striking.
You can use a stamp guide to help you strike straight.

3. Apply an edge finishing gum
After lightly sanding the edges with sandpaper, apply an edge finishing gum (adragant, arabic, or Tokonole).

Apply a thin layer of the product to the edge. Wait a few moments for the gum to soak in, then vigorously rub the edge with a cloth or burnisher. Adragant gum dries and heats up with friction, causing the edge to darken and shine.

4. Attach the collar button
Insert the collar button into the first hole of the bracelet, then screw it in.

Your napkin ring (or personalized bracelet) is finished!
As an extra touch, dye the napkin ring with leather dye.


Another leather napkin ring design
So that everyone can easily find their napkin during family meals, or to add a lovely decorative touch to your table during a meal with friends. These leather napkin rings can also make original guest gifts!
The materials you need
To make this tutorial, you will need:
-
1 piece of firm vegetable-tanned leather measuring 15 x 20 cm - Thickness 1.9 mm to 2.5 mm
-
4 T3 collar buttons with screws
- 1 edge finishing gum for edge work (e.g., Tokonole)
And the following equipment:
- 1 striking punch Ø 3 mm
- 1 mallet
- 1 cutter
- Set of numbers and letters to strike - Letter height: 0.64
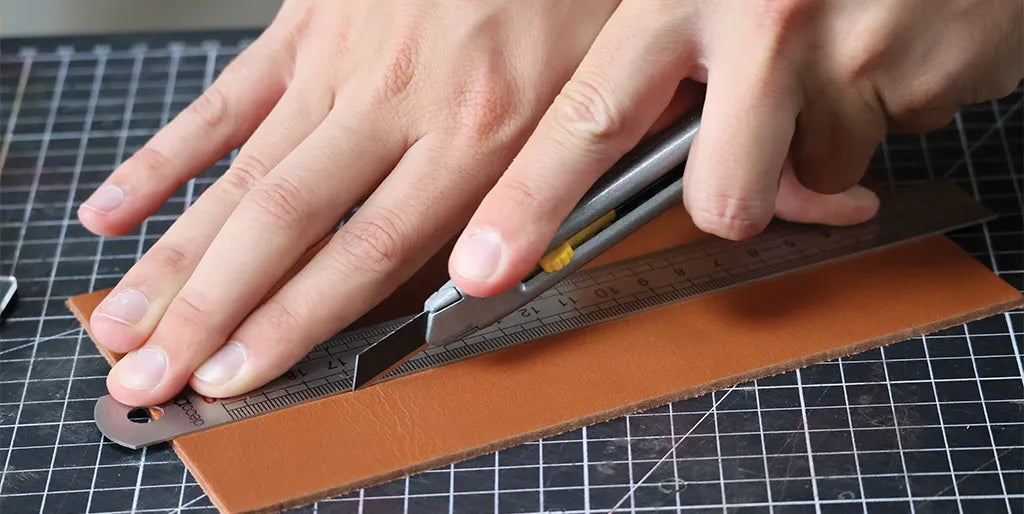
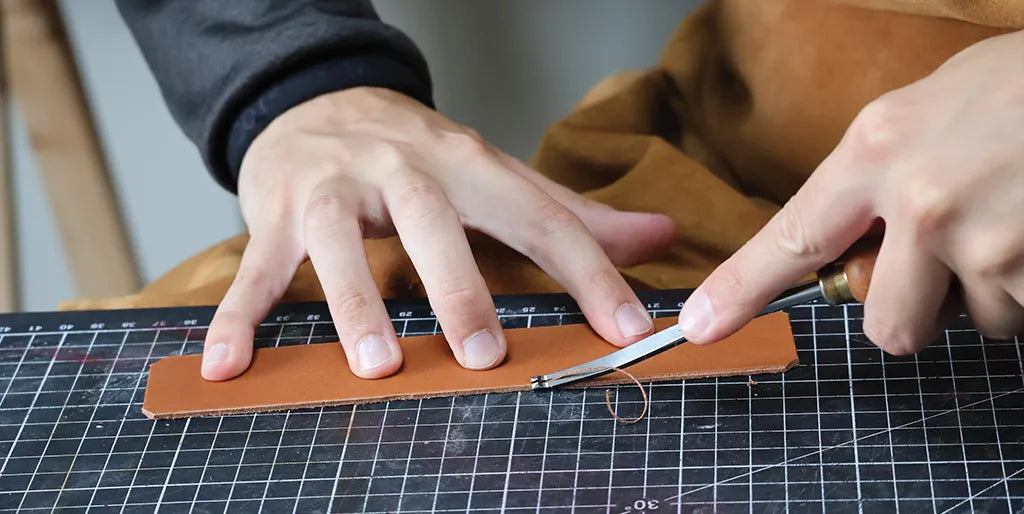
1. Cut the leather
Cut four leather strips measuring 20 x 3.75 cm using a cutter.
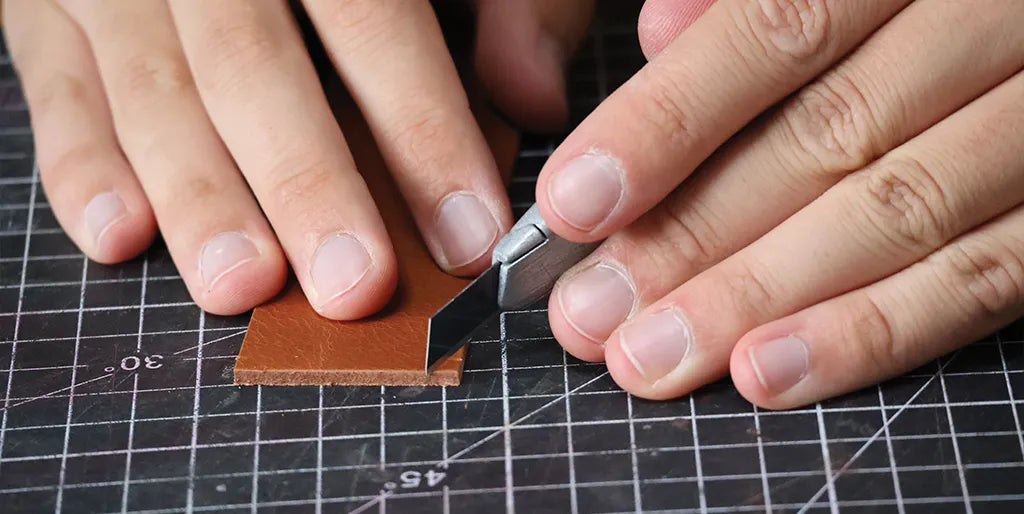
2. Round the corners
Lightly round the corners of each strip using a cutter. Make a mark about 5 mm from each corner to ensure identical cuts.
3. Work the edges
Work the edges with an edge beveler, burnisher, and Tokonole (edge finishing gum).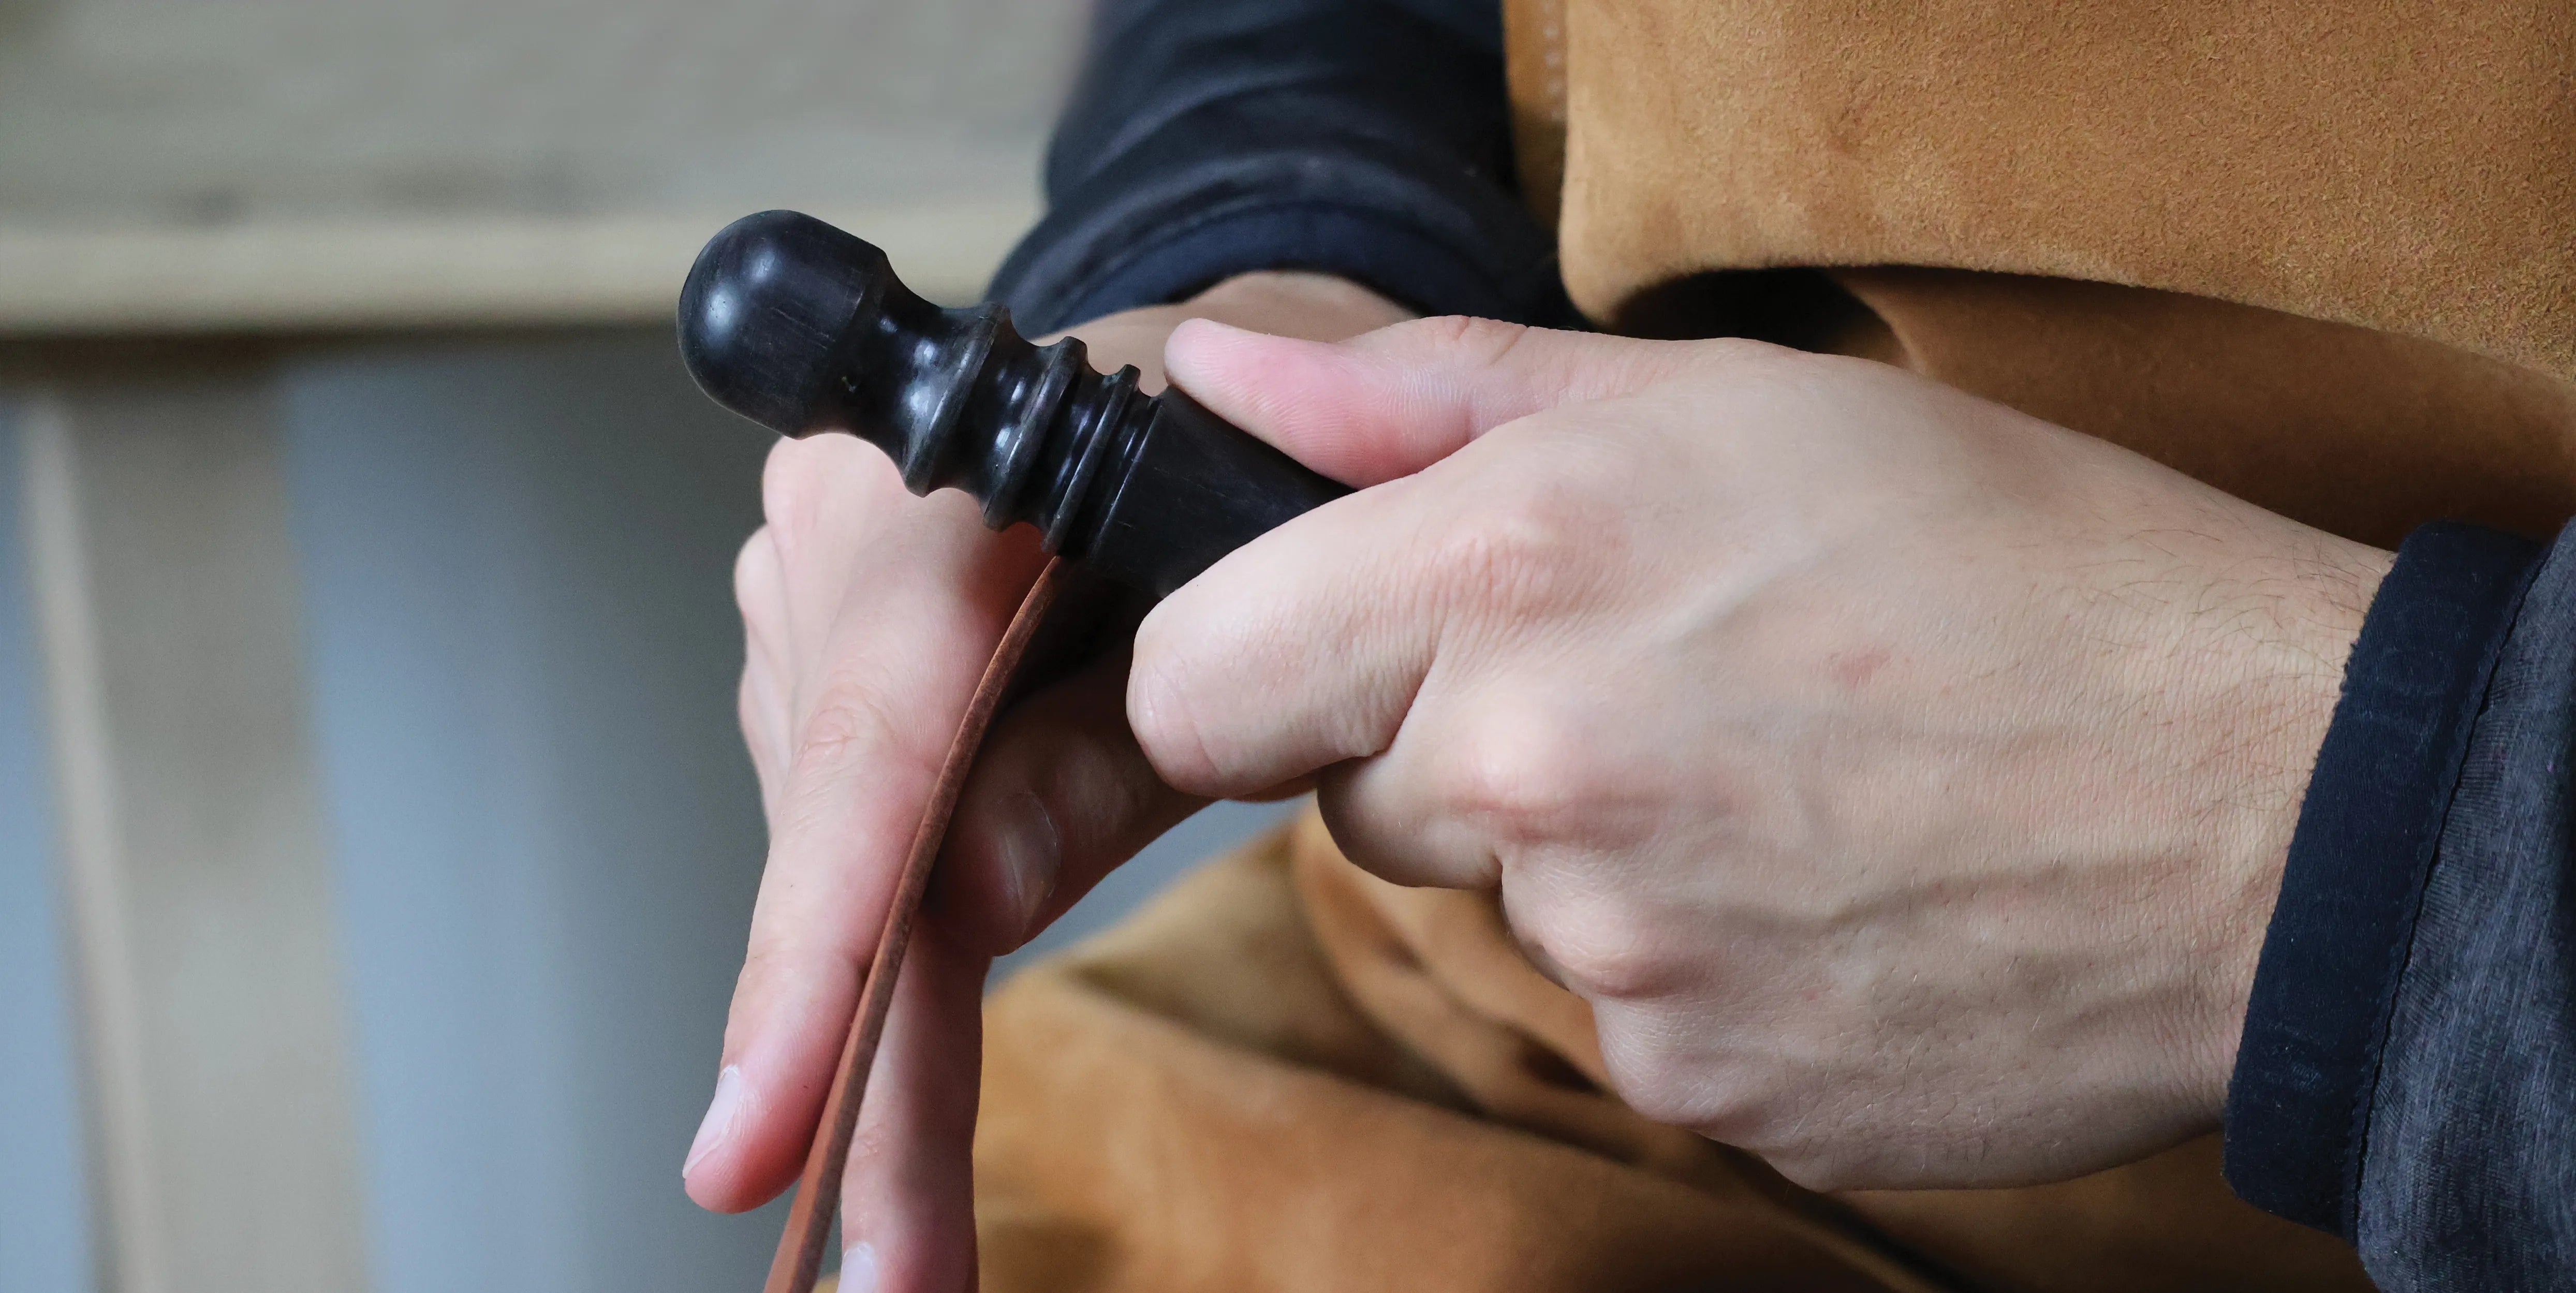
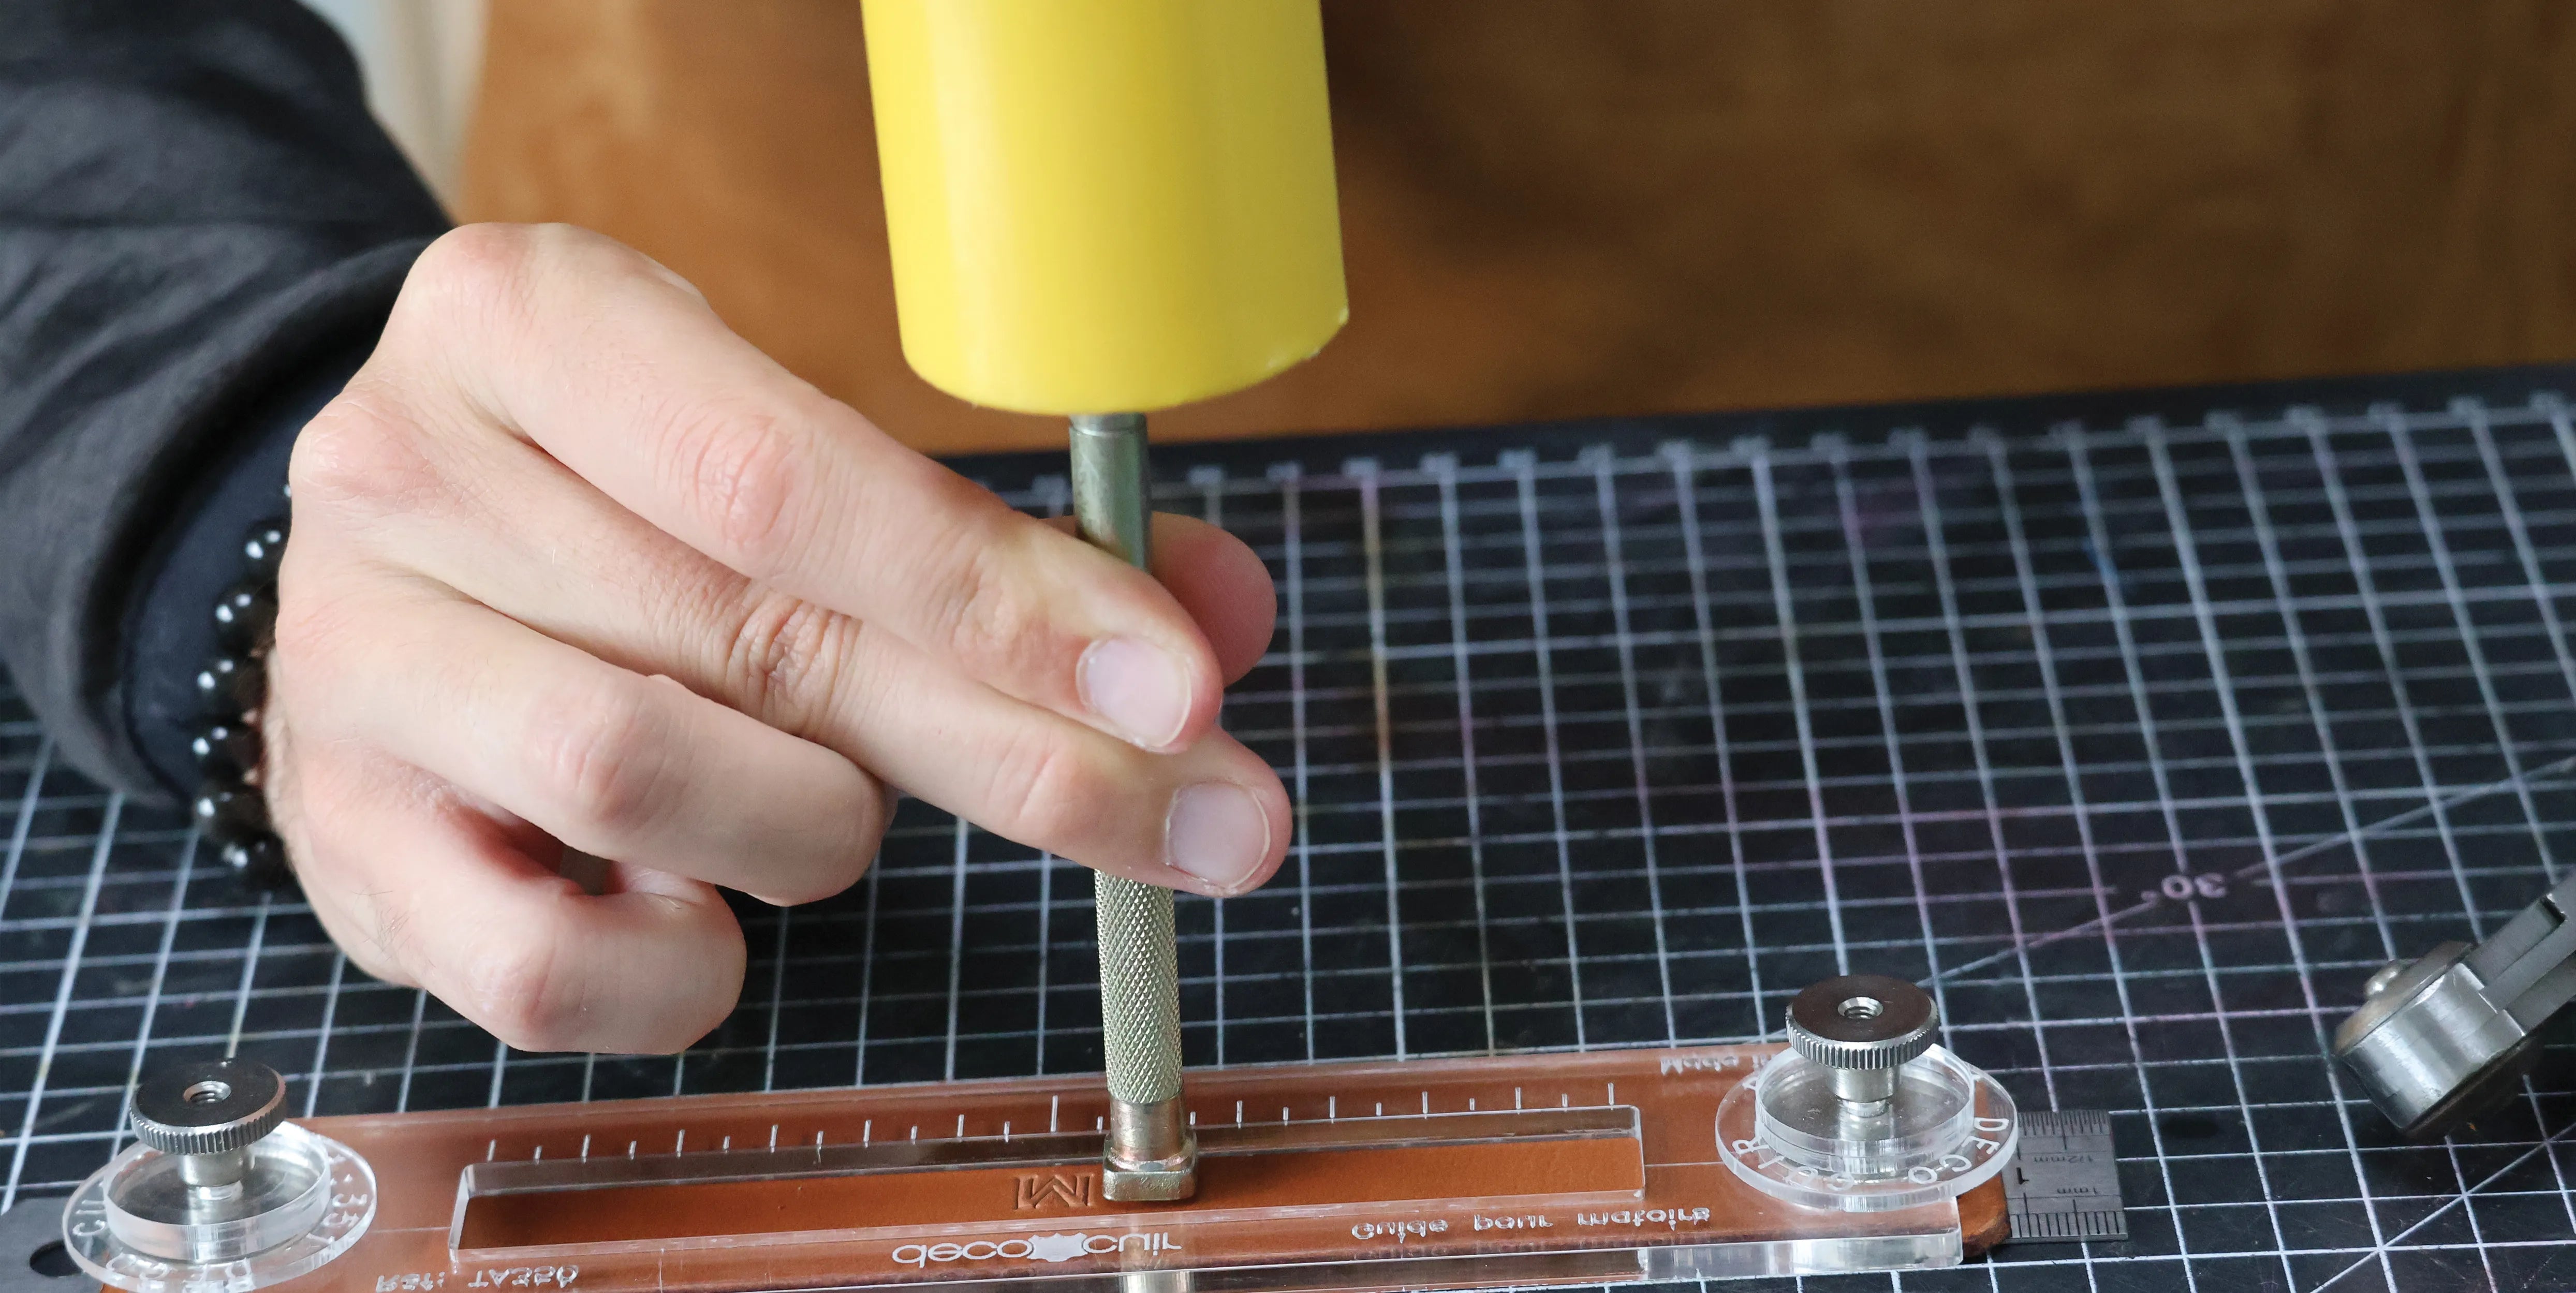
4. Mark the leather
Lightly dampen the leather, then personalize it using alphabet or number stamps.
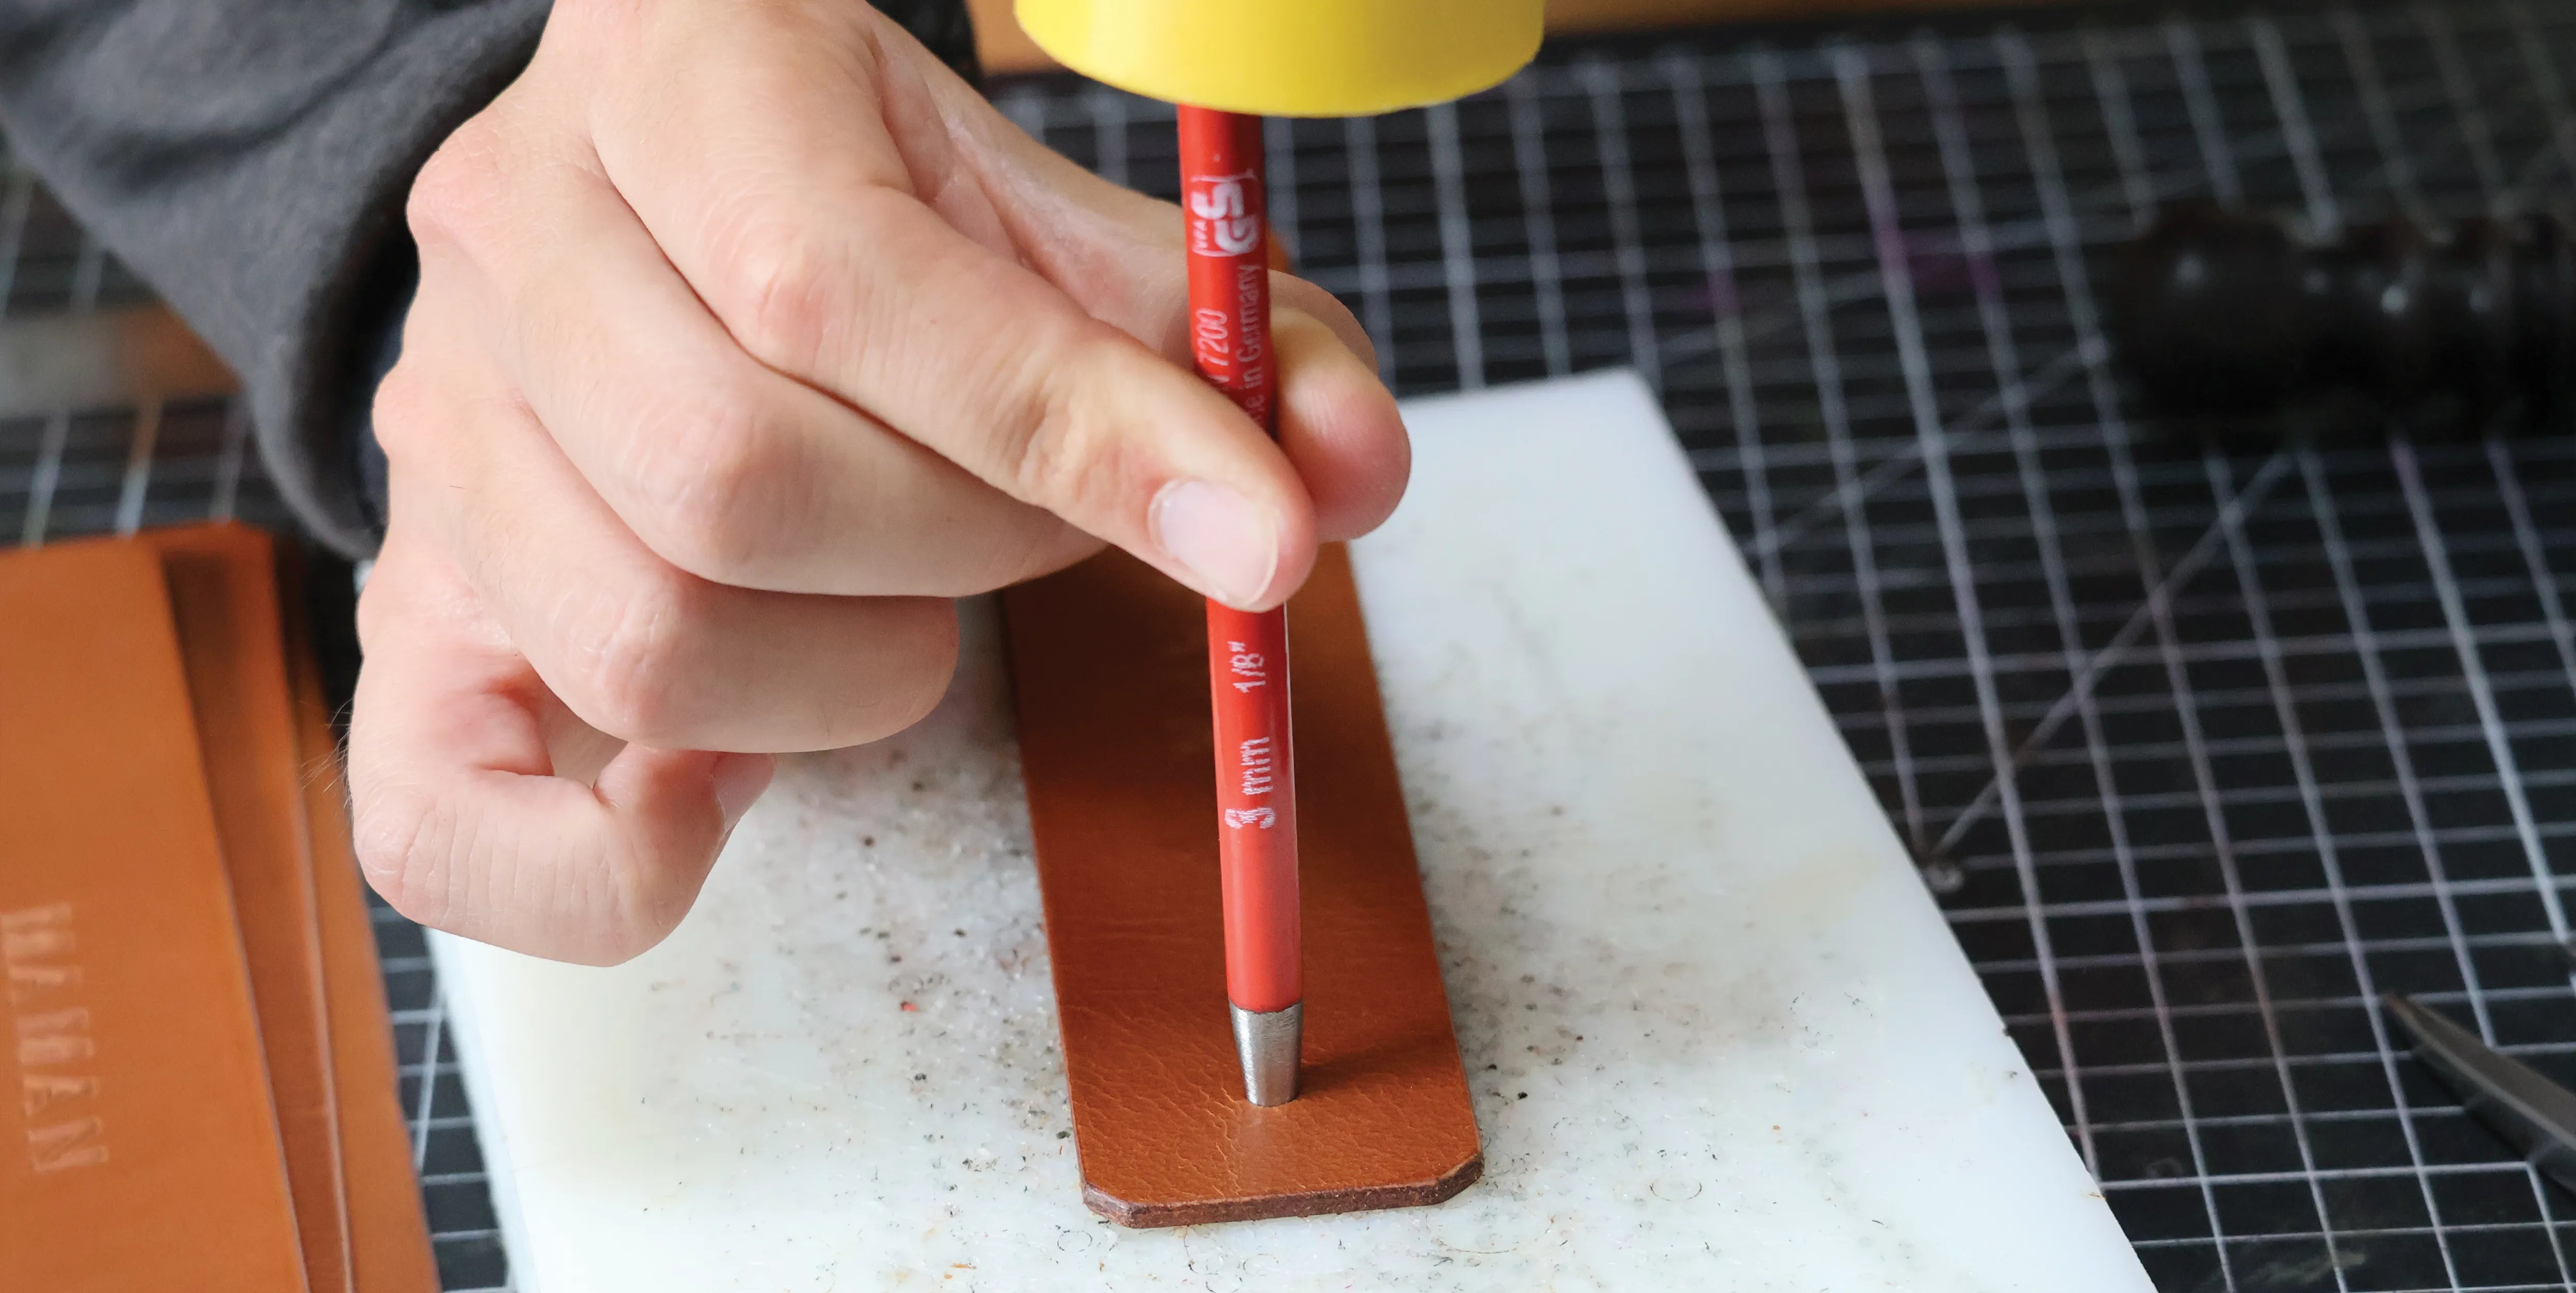
5. Punch the holes for the collar button
Punch three centered holes of Ø 3 mm on each strip using a striking punch: one hole on the right, 2 cm from the edge, then two holes on the left, 1.5 cm and 3 cm from the edge.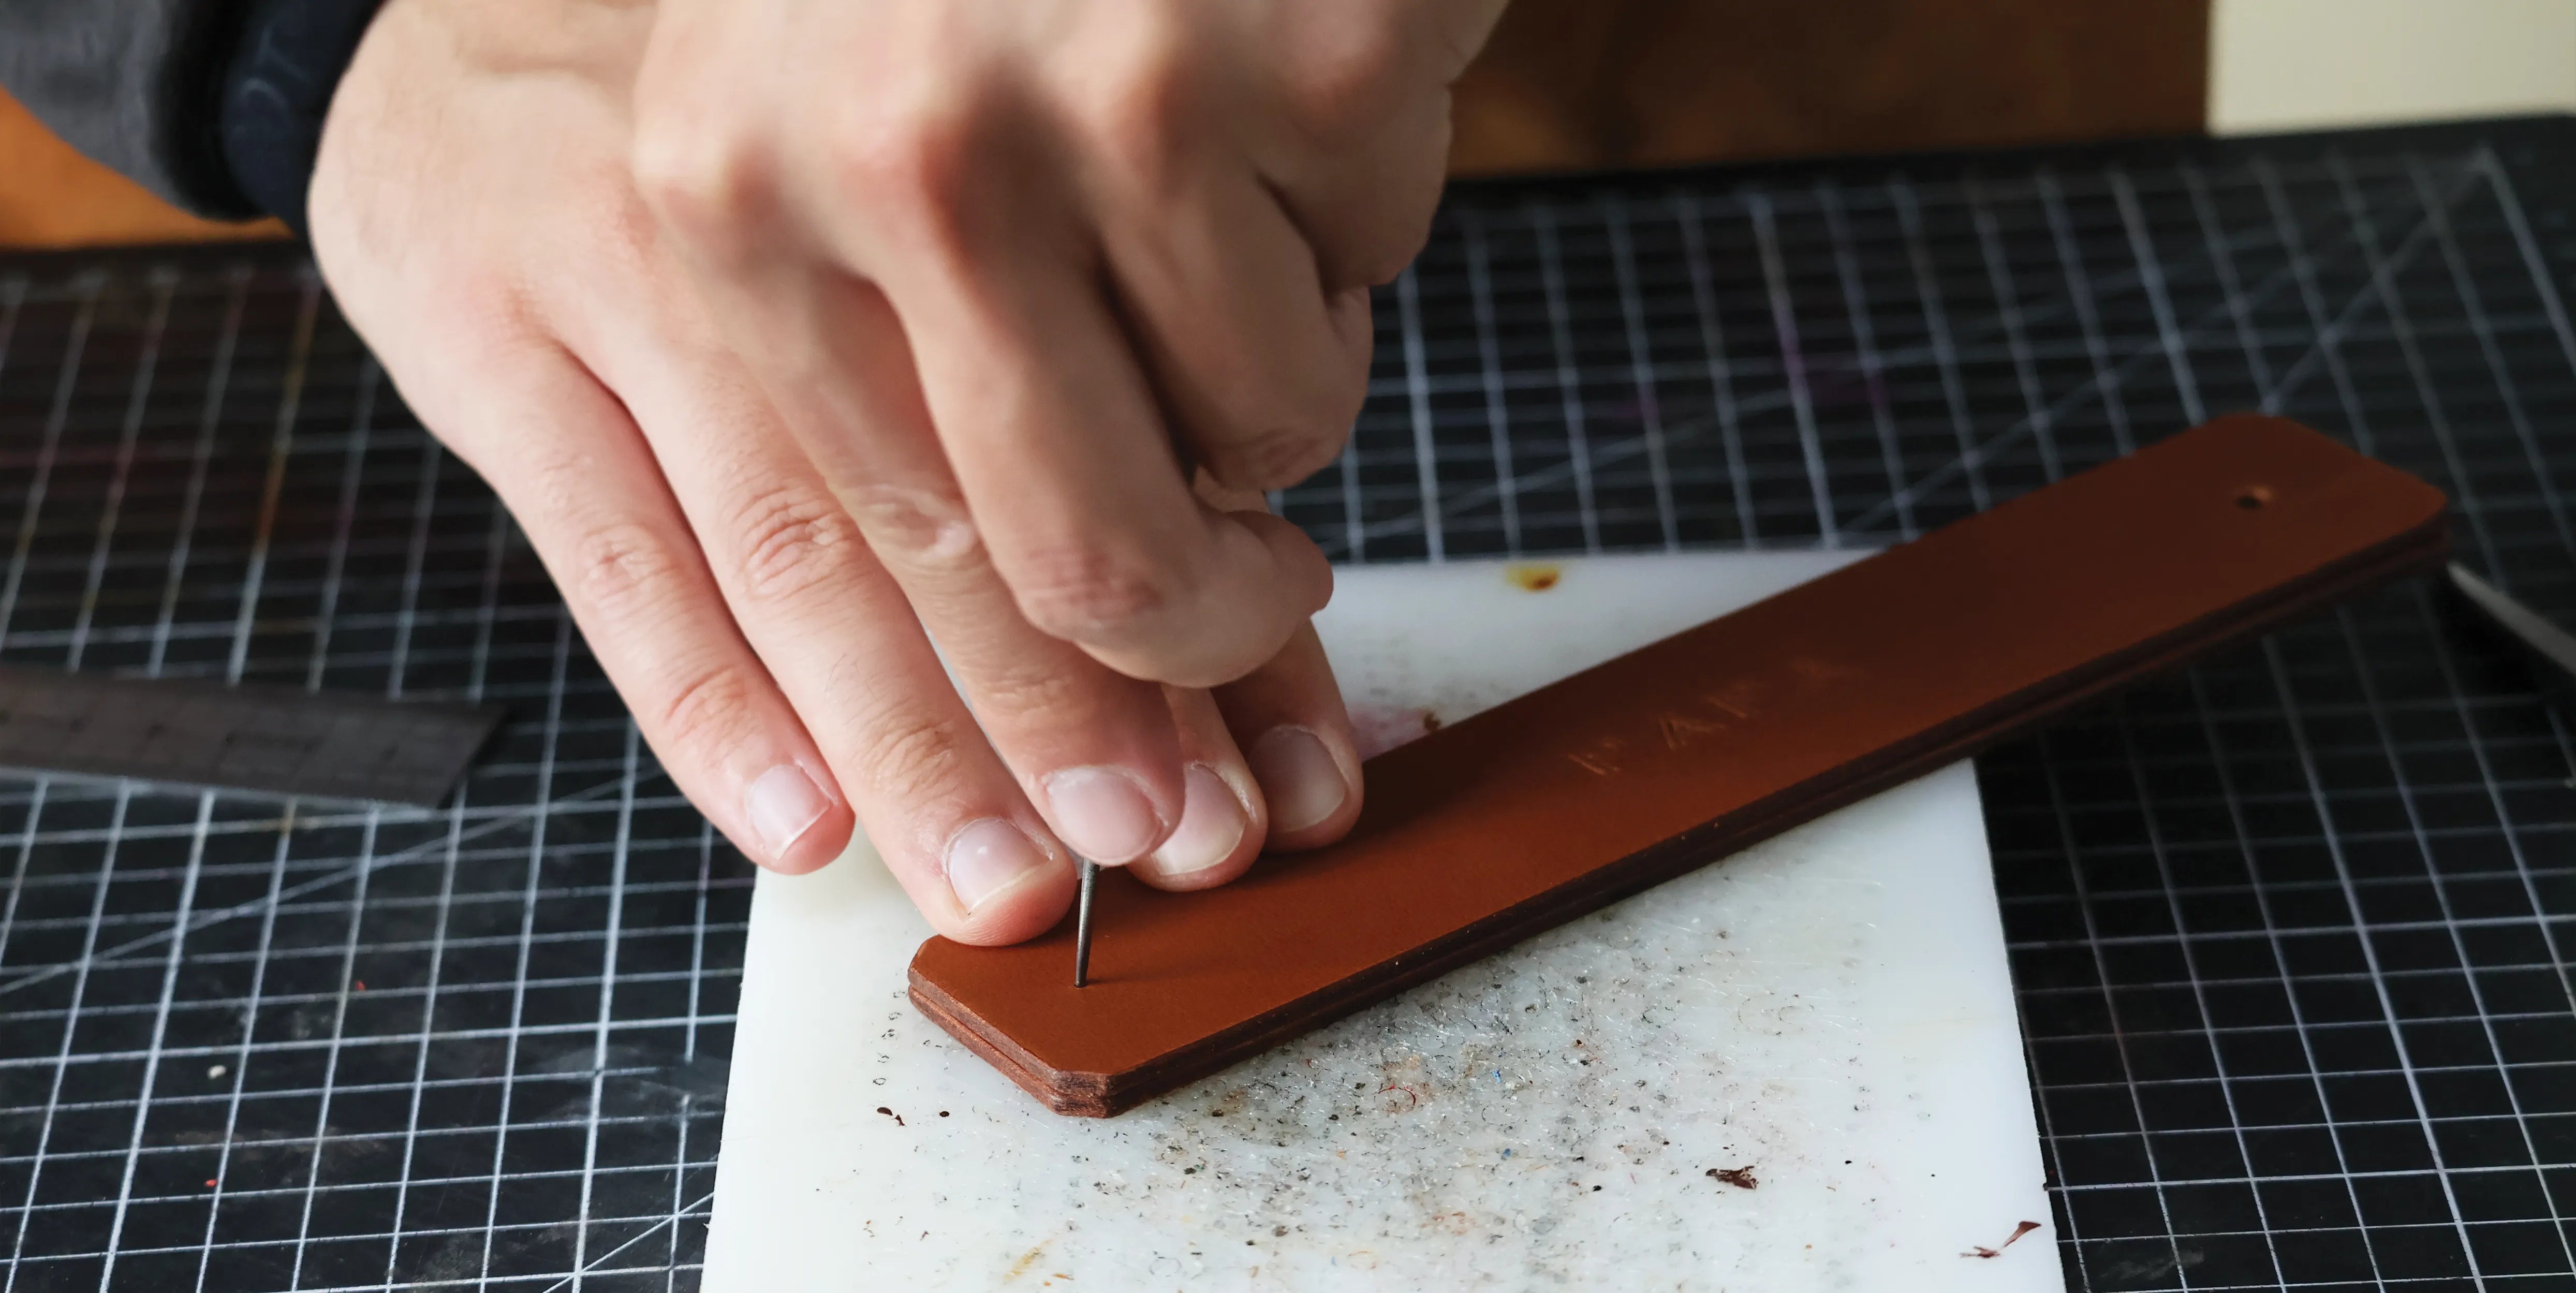
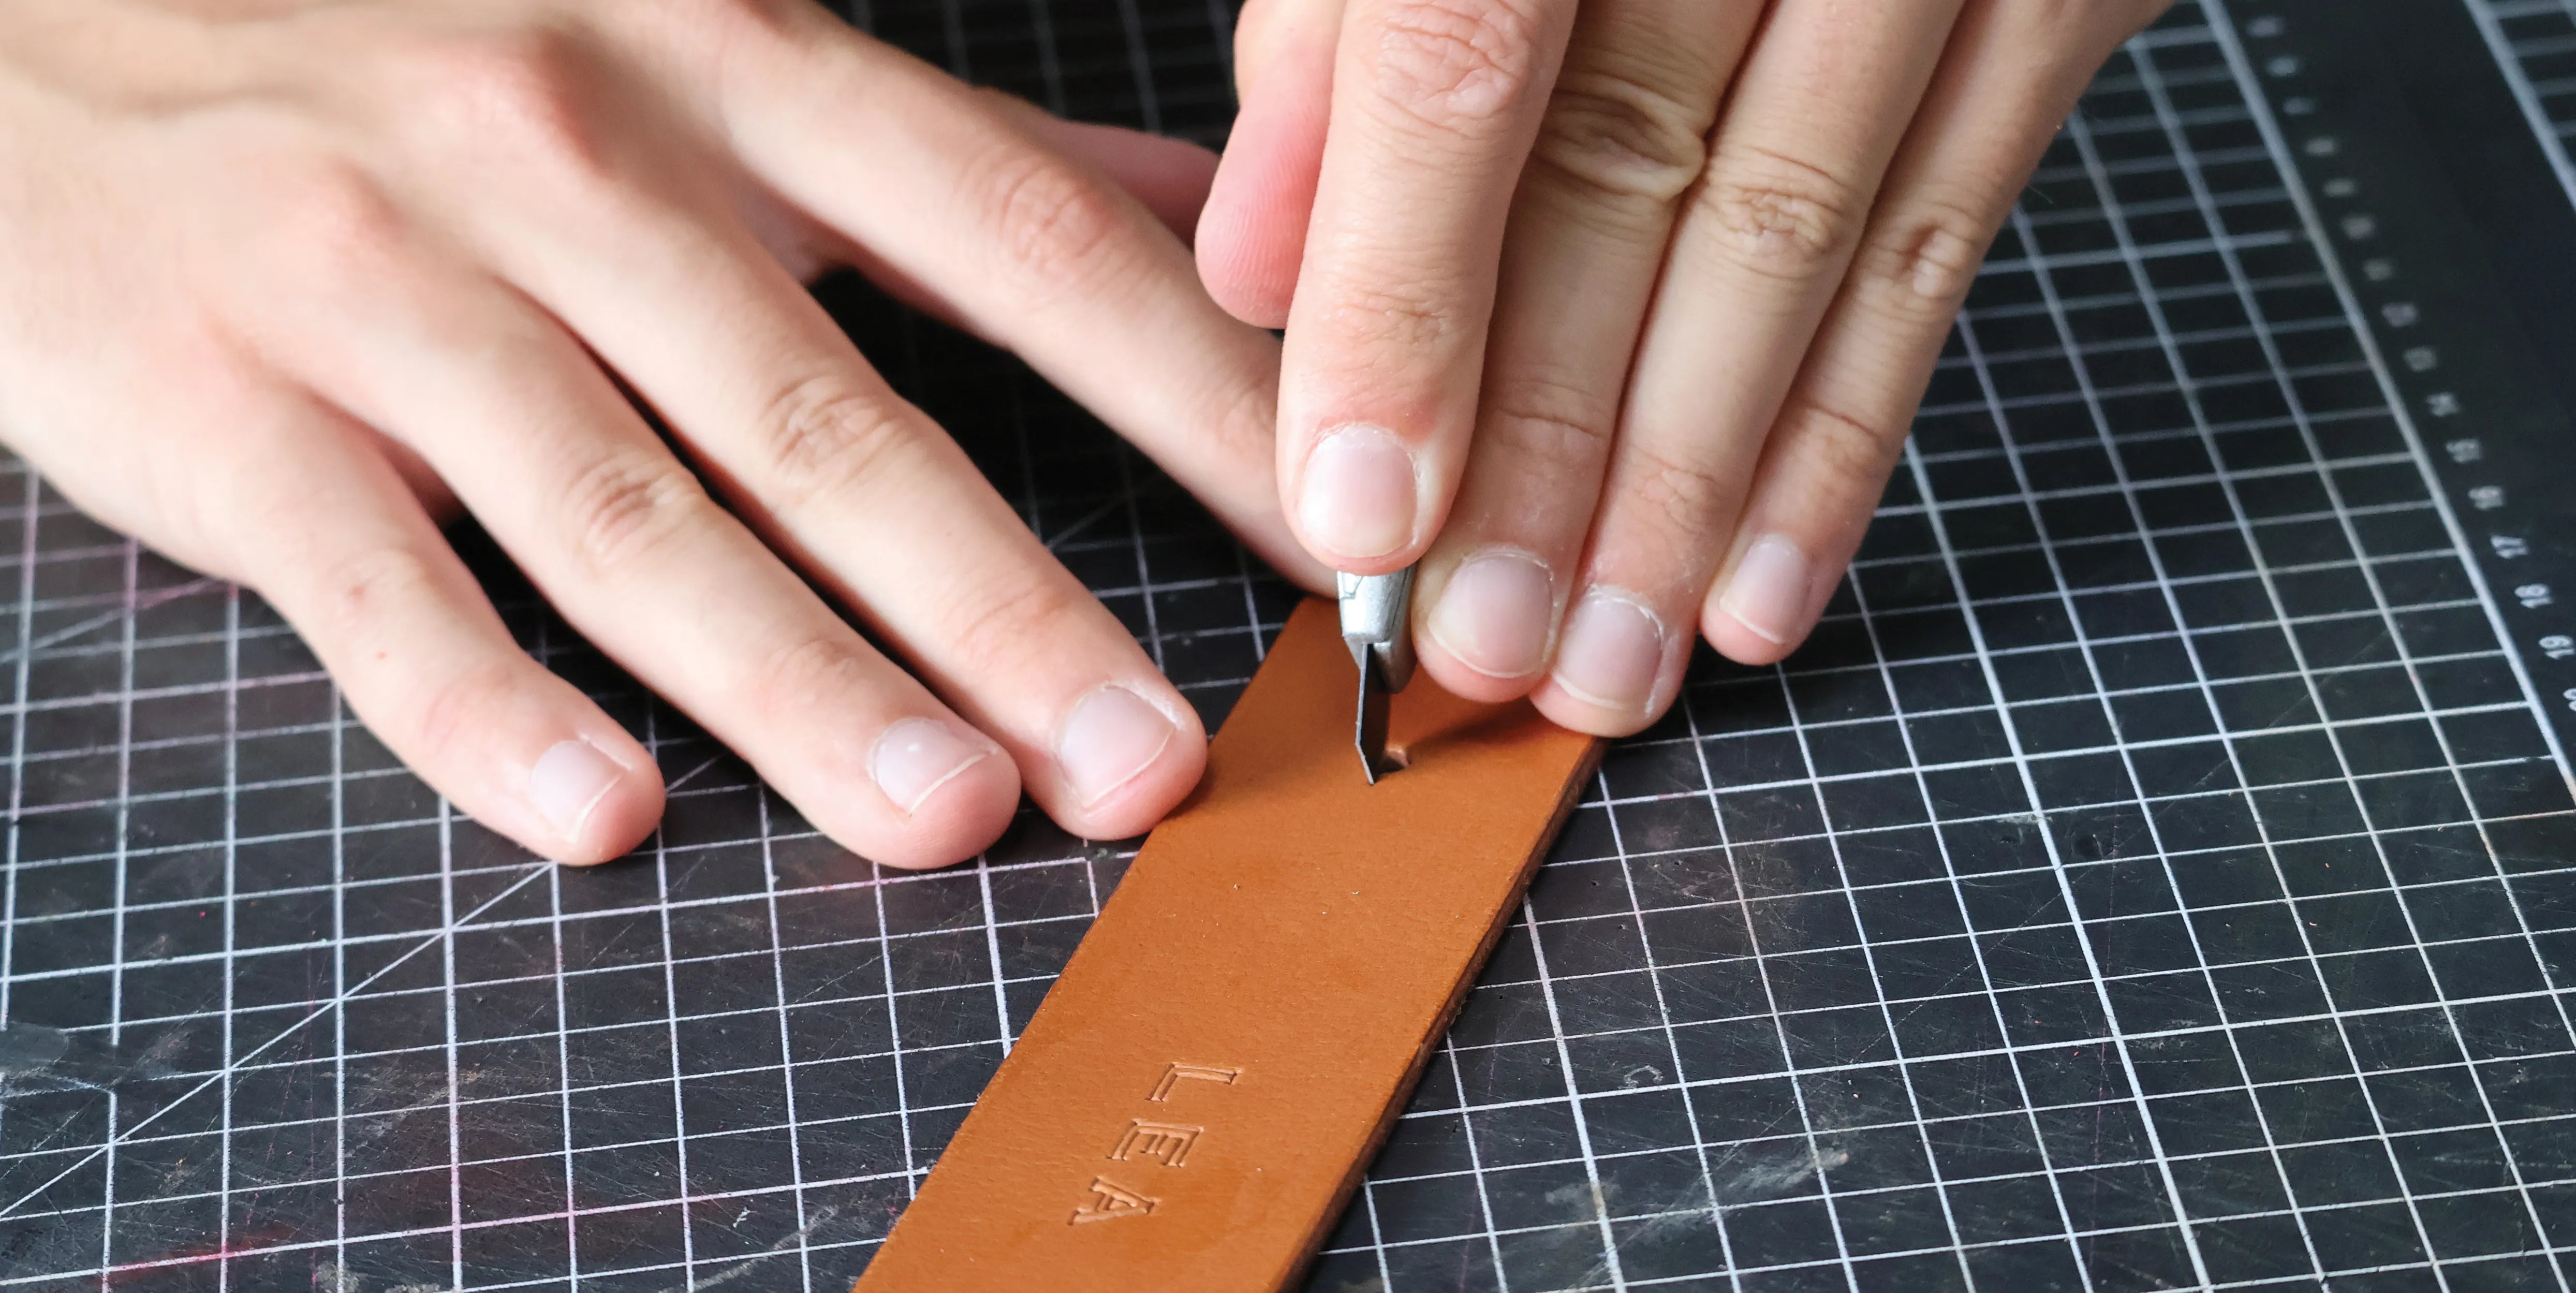
6. Make an incision
Make a 2 mm long incision at the level of the two holes on the left using a cutter. Orient the incisions toward the inside of the strip to make it easier to insert the head of the collar button.
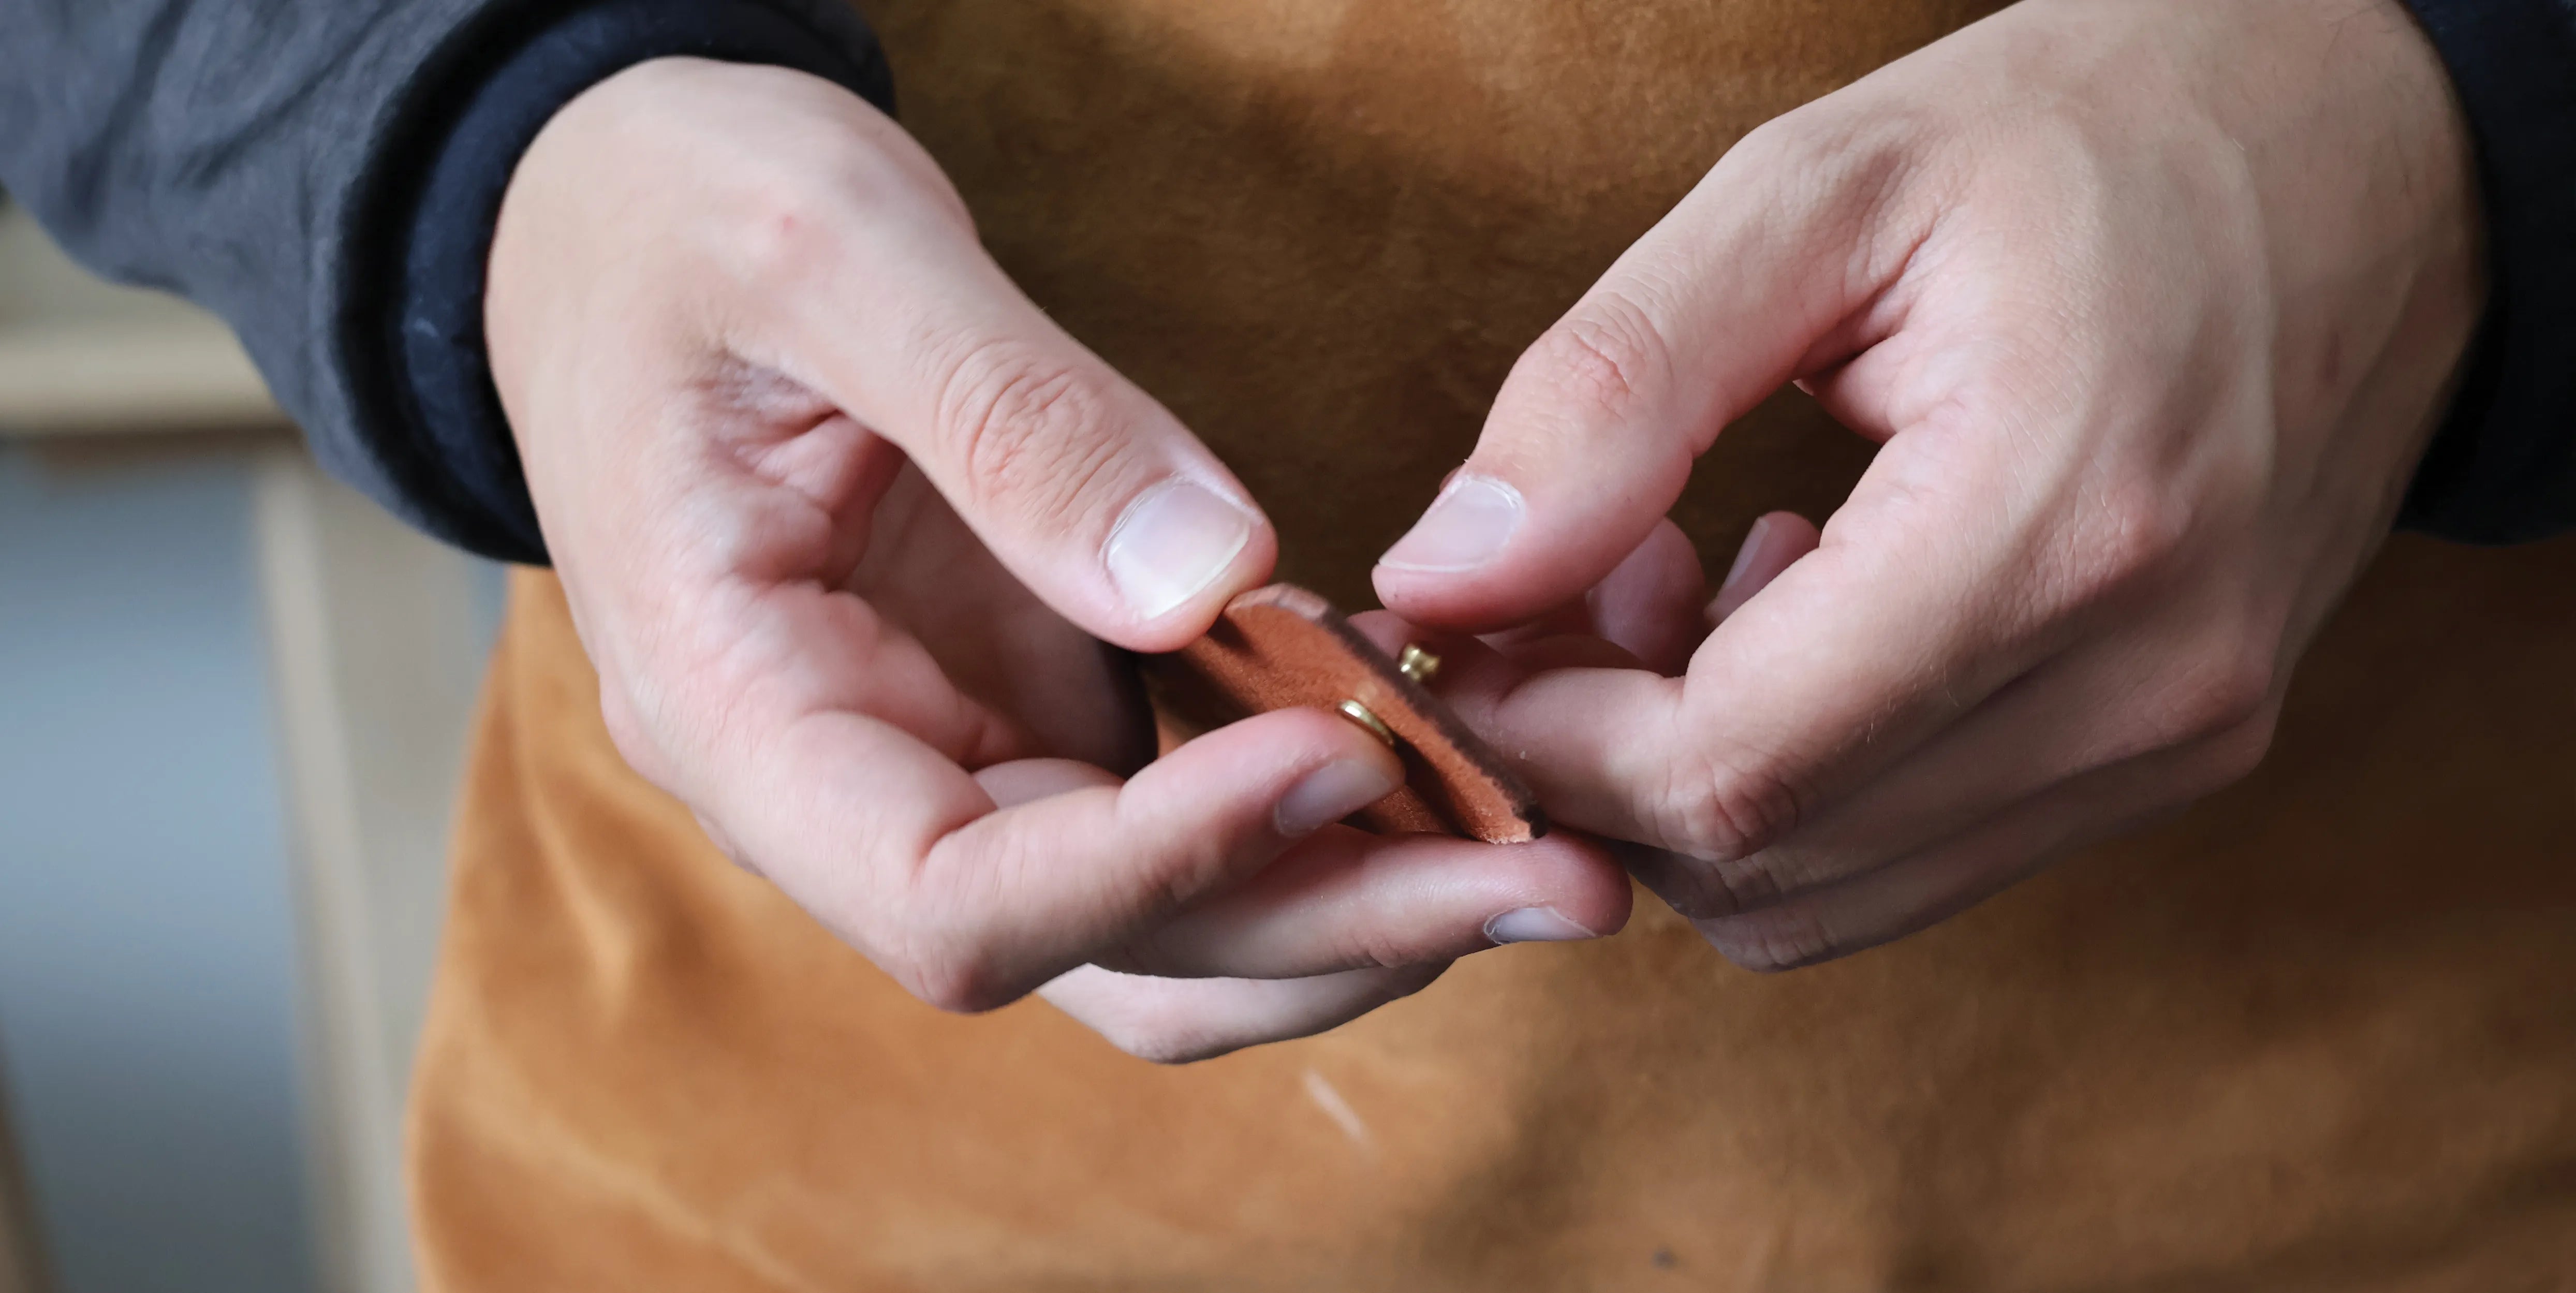
7. Screw in the collar button
Screw the collar button into the hole on the right, 2 cm from the edge. Apply a dot of superglue to the screw thread if necessary. Close the napkin ring. Enjoy your meal!
You're finished!


