


Simplified Hand Sewing for Leather
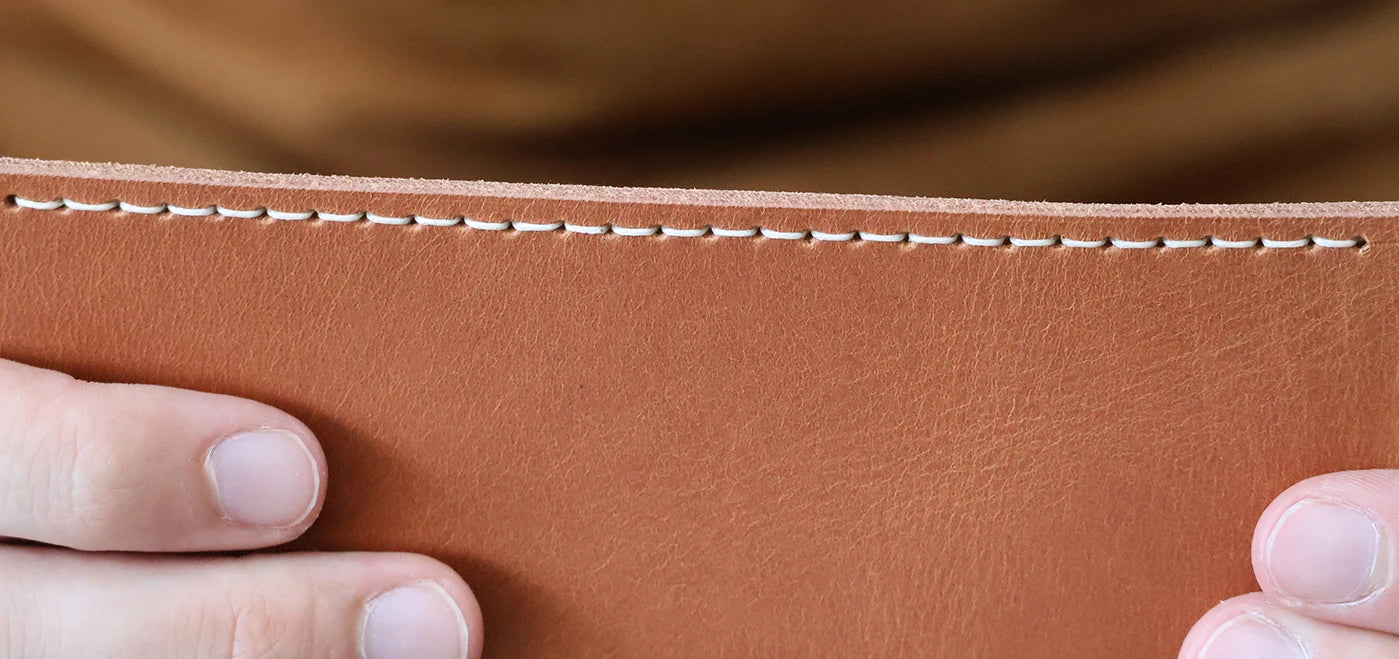
Simplified hand sewing for leather involves punching/marking the stitch holes using a round strike punch. There is therefore no need to punch the leather with a diamond-point awl (and thus no need for a saddler's hammer). This "hole-punching" straight-stitch method is ideal for beginners.
The Tools Needed for Simplified Leather Sewing
Choosing the Thread
You need to use a polyester or linen thread, thick enough, with a diameter of around 0.60 mm, to properly fill the stitch holes. The thread diameter used in the photos is 0.6 mm (braided and waxed polyester thread). For small leather goods, we recommend choosing a thread with a diameter of around 0.50 mm, such as Meisi reference M50.
Choosing the Needle
We recommend using round-end needles with a maximum diameter of 1 mm, corresponding to the diameter of the stitch holes (Size 002 - Ø1 mm (ref. CA118_010).).
As a reminder, as with saddle stitching, you need to thread a needle at each end of the thread.
GUIDE: WHICH NEEDLE TO CHOOSE FOR MY THREAD?
Unlike saddle stitching, there is no need to make a "comma" (pass the thread over the needle) to get an angled stitch on both sides: simplified sewing uses a straight stitch.
Choosing the Strike Punch
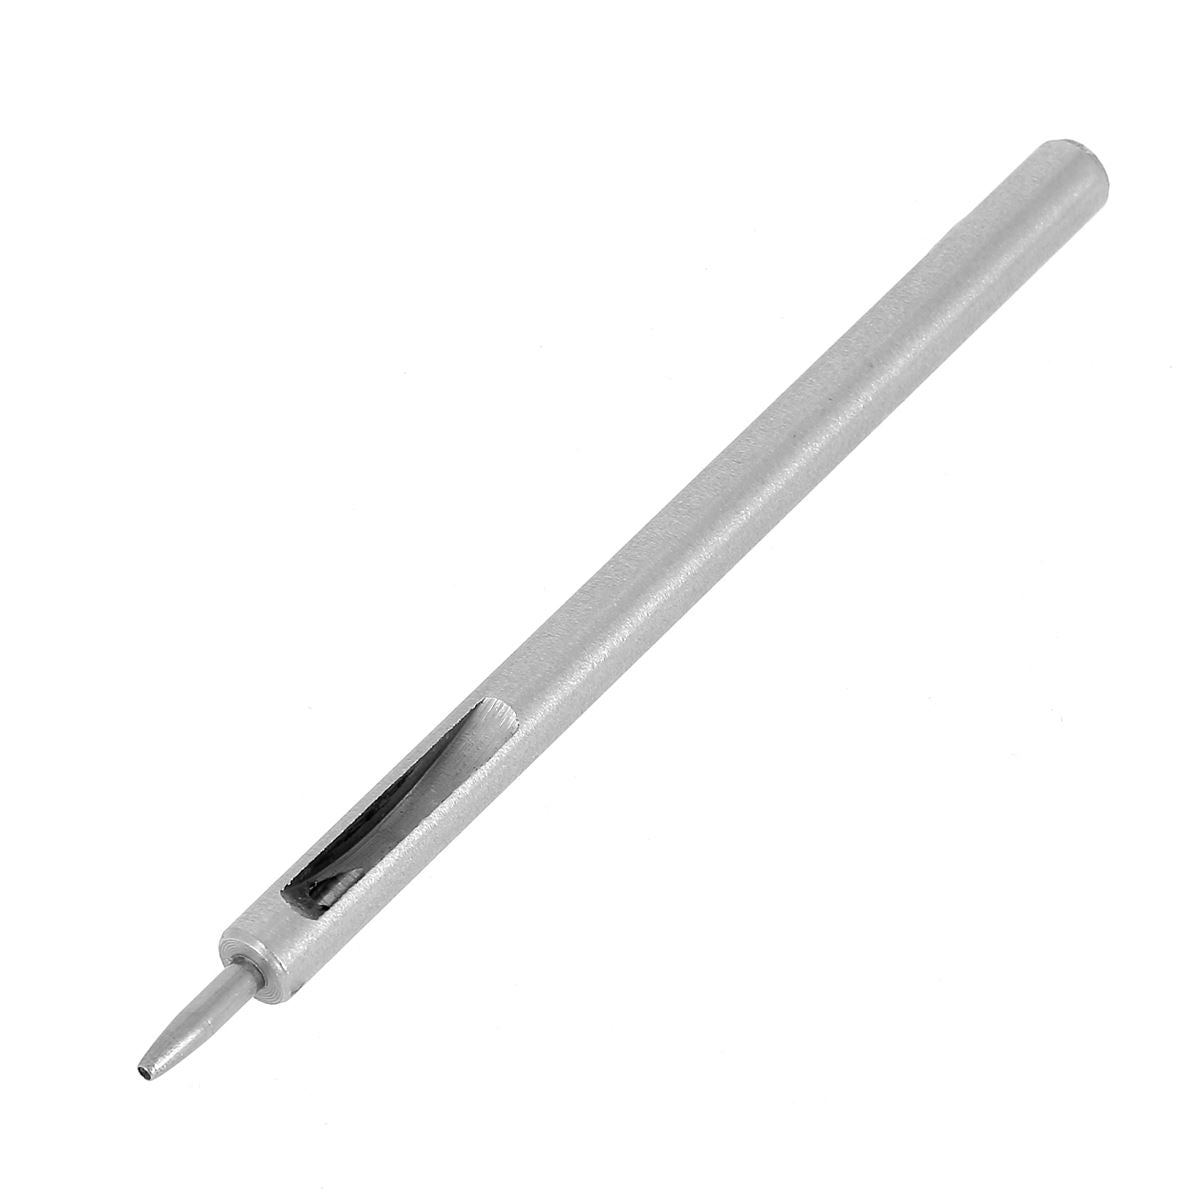
Simplified leather sewing involves making stitch holes around 1 mm in diameter, with a center-to-center distance of 4 to 5 mm (the distance between the centers of the holes).




How to Position the Stitch Holes?
Ideally, position the stitch holes directly on the pattern, especially using design software. Many patterns now have the stitch holes built directly into the design.
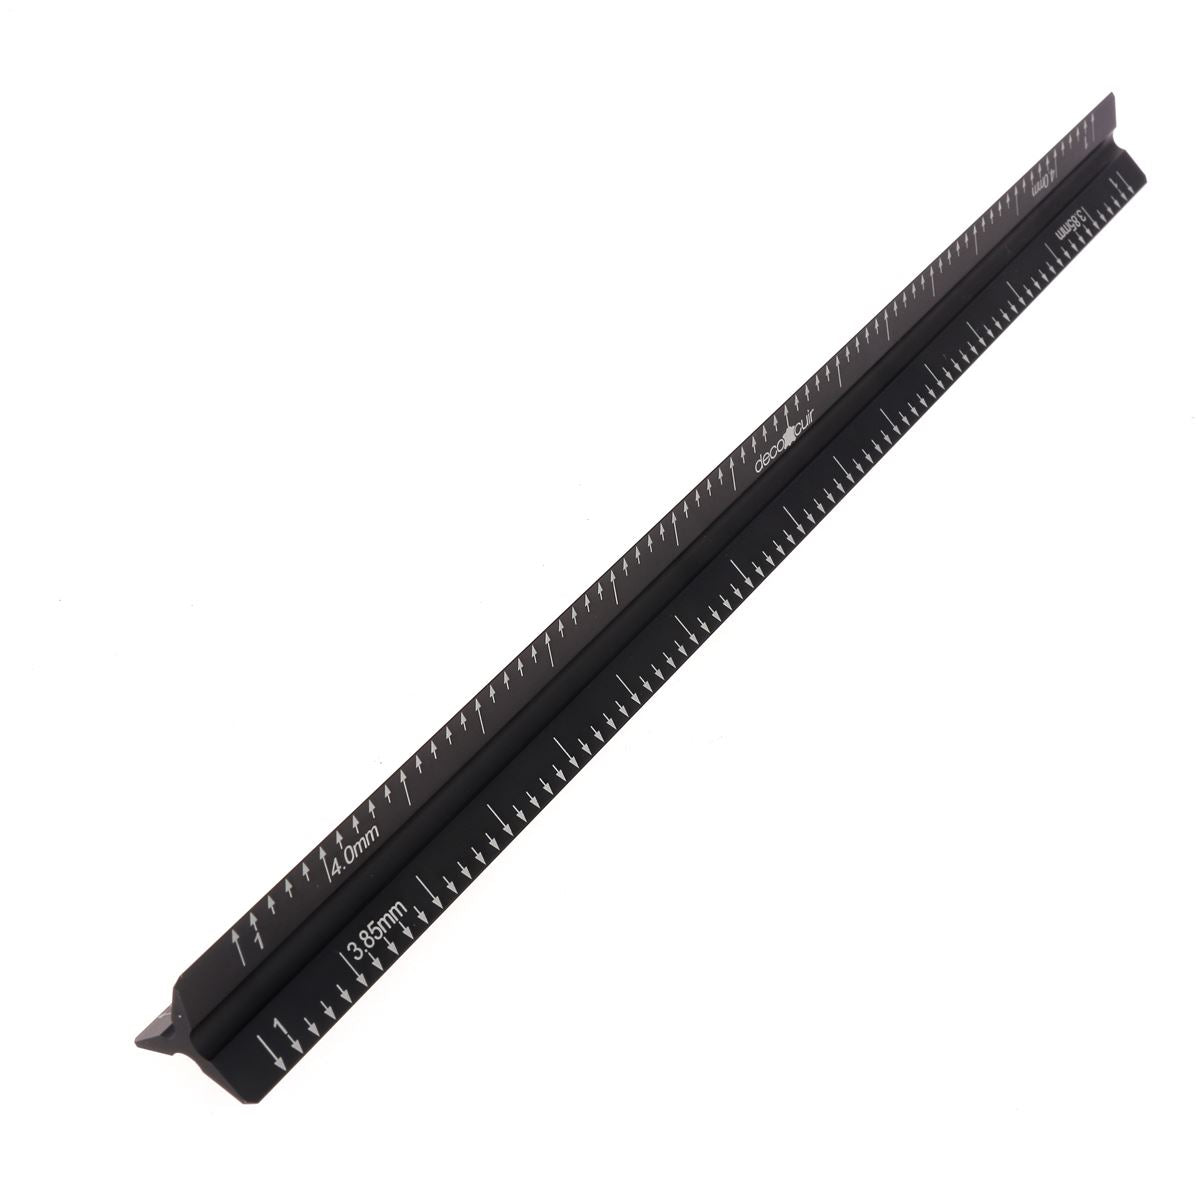
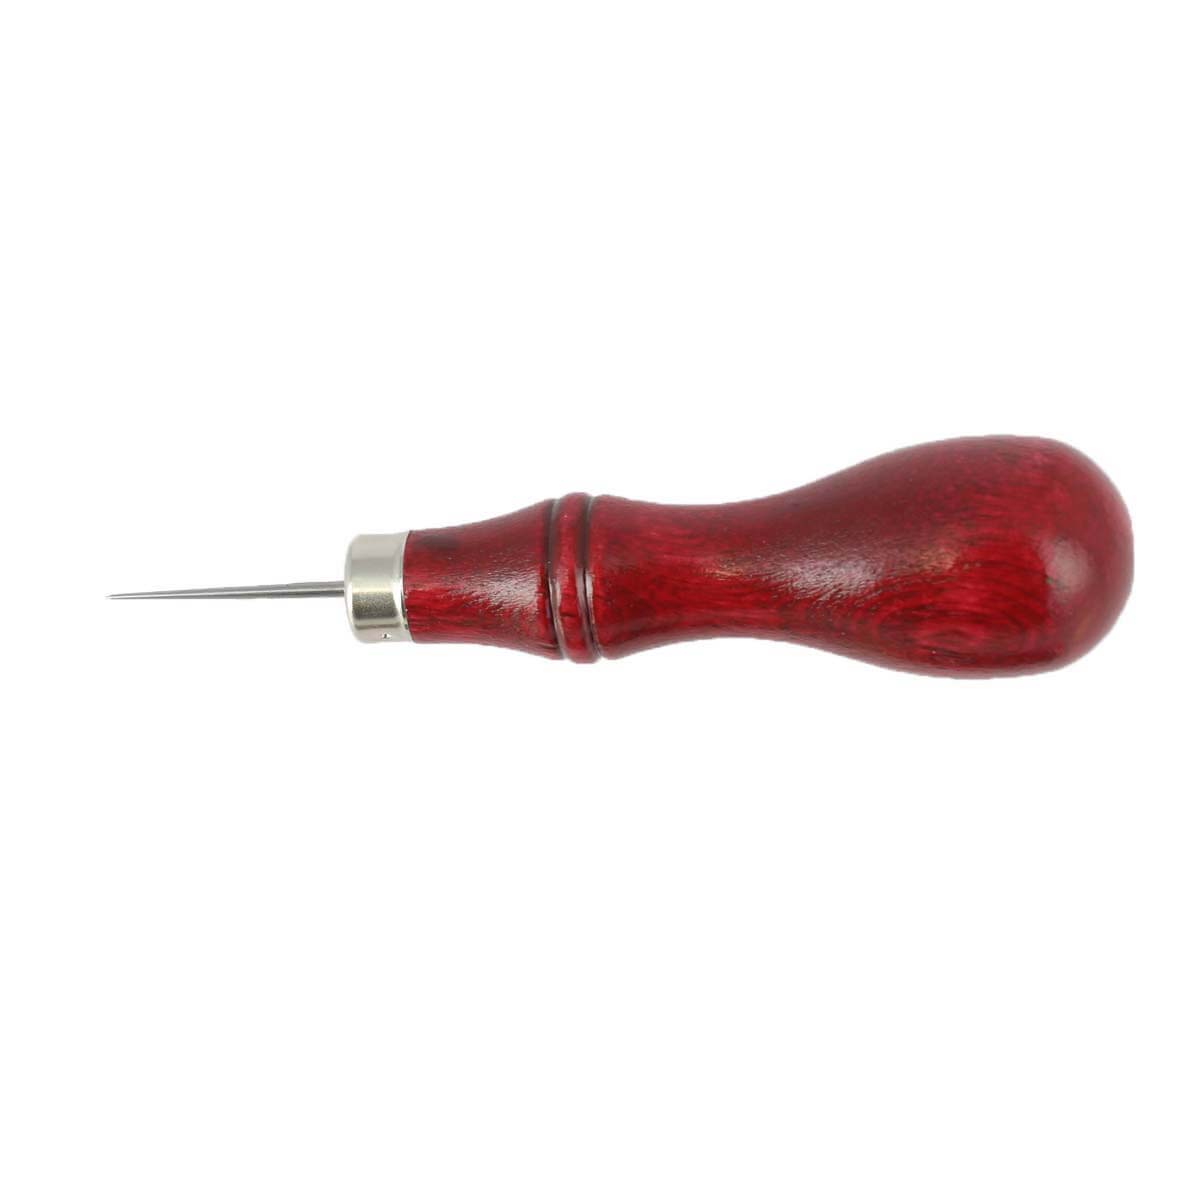
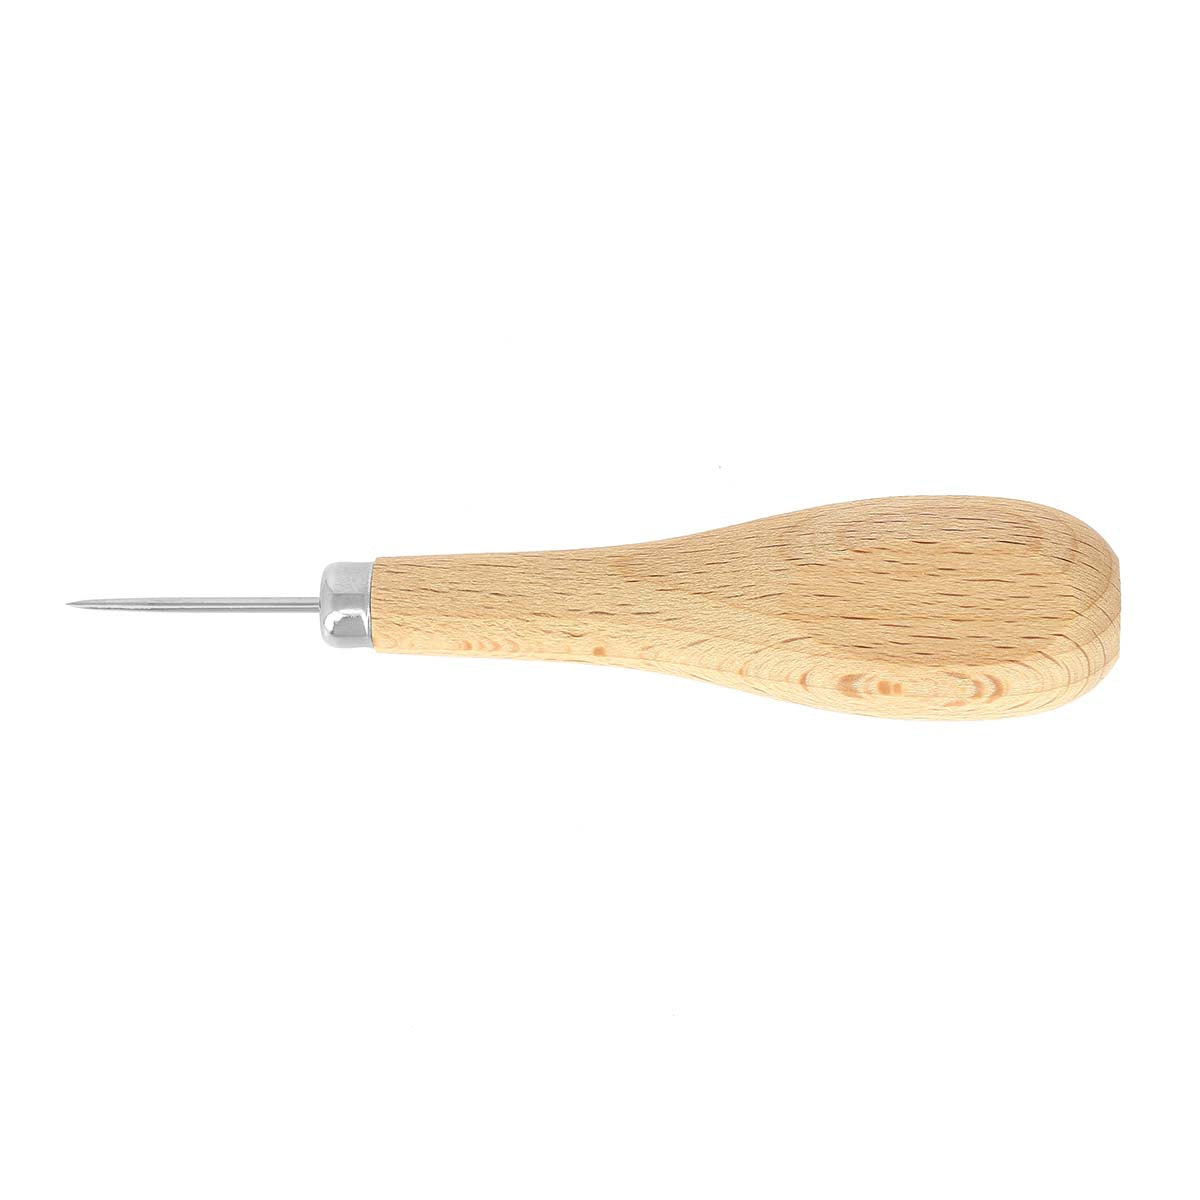
Otherwise, you can position them using a ruler. As a reminder, stitch holes are generally located about 3 mm from the edge and spaced 4 to 5 mm apart. Ne recommend using our Kutsch ruler (ruler for marking stitch holes) and a round awl.
For hole-punching sewing, we recommend using the largest center-to-center distance of 4.00 mm.
As a reminder, for simplified sewing, we generally space our stitches (center to center) every 4 to 5 mm.




The Sewing Steps
Step 1
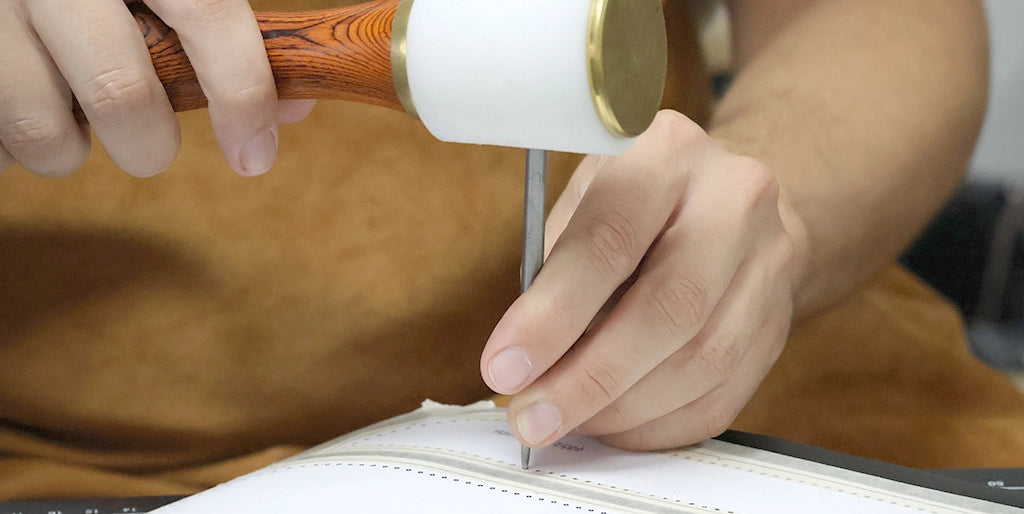
Place the template on the leather and hold it in place using masking tape, so as not to mark or damage the leather. Punch the stitch holes using a Ø 1 mm strike punch.
Step 2
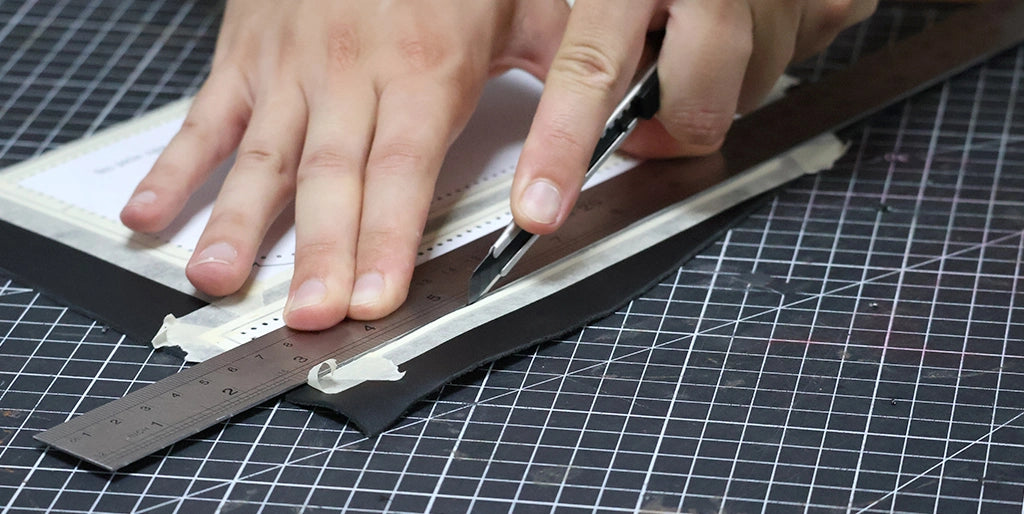
Cut the leather piece(s) using a utility knife.
Step 3
Take a length of thread equal to four times the length of the stitch line. To make a long stitch, take a length of thread equal to the length of your outstretched arms, to avoid handling several meters of thread. Then, plan to join the thread when it runs out.
If the thread is linen, wax it using beeswax. Pass the thread over the wax three times, then wipe off the excess with a cloth.
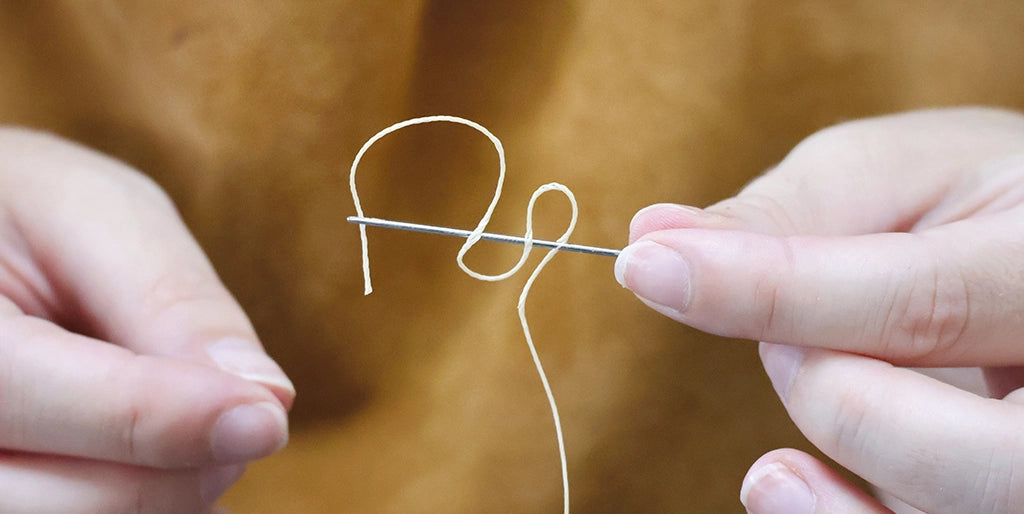
Then thread a needle at each end of the thread:
- Thread the thread about one needle length from its end, then re-thread it twice.
- Flatten the end of the thread slightly, then pass it through the eye of the needle.
- Pull on the longer part of the thread, towards the eye, to form the knot that will hold the needle in place.
Step 4 - Starting the Sewing
Before sewing, assemble the pieces if necessary with a leather glue. Do not hesitate to use needles to position the pieces correctly and align the stitch holes.
Start sewing by passing a needle through the first stitch hole, then equalize the two ends of the thread.
Sewing can start from the first stitch, by equalizing the two ends of the thread, or by making a bridle stitch when you start at the edge of a piece, for example on a cardholder.
For a more aesthetic and symmetrical finish, you can also start sewing at the 4th stitch. You will thus get three double stitches at the beginning of the sewing, mirroring the three stop stitches made at the end. This method should only be used when the two ends of the sewing do not meet.
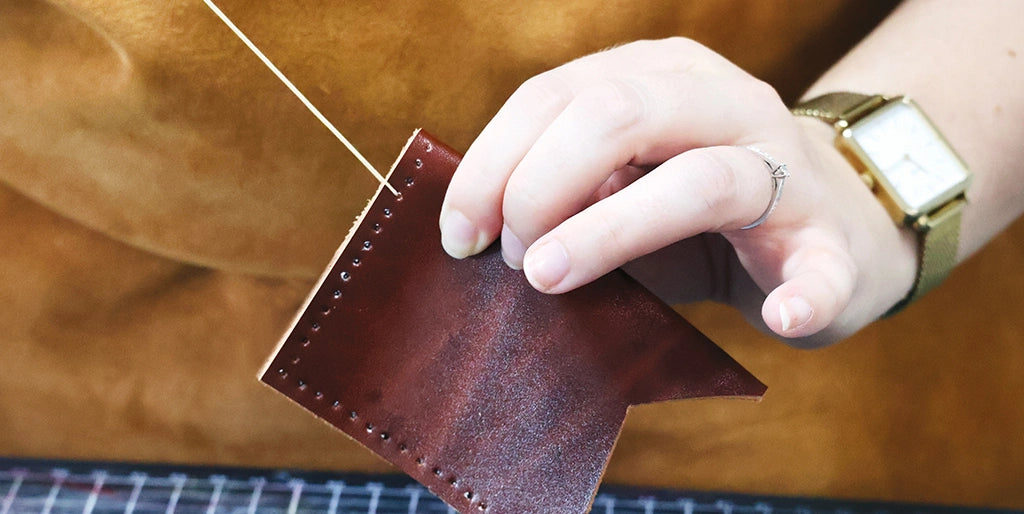
Step 5 - Sewing
Sew by passing, one by one, each needle through each stitch hole. To make it easier to pass the second needle through each hole, make sure to pull the thread well to avoid making a "marriage", that is, piercing the thread with the needle.
Repeat the same motions regularly throughout the sewing to obtain uniform stitches and a neat finish.
Another important point: the tension of the stitch. Always tighten the thread with the same angle and the same force to maintain a regular stitch.
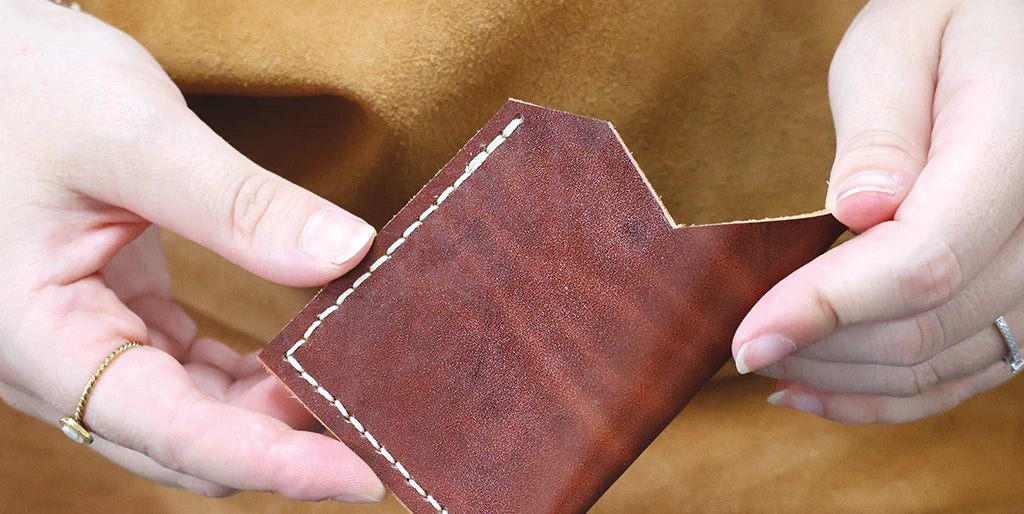
Step 6 - Finishing the Sewing
Finish the sewing with 3 stop stitches (3 stitches back), making sure not to overlap the thread.
Cut both ends of the thread flush, then apply a small dot of glue using a round awl.
If the thread is polyester, you can also lightly burn the end of the thread to secure it.
Optional: gently hammer the stitch holes using a tack hammer to flatten them and obtain a regular finish.
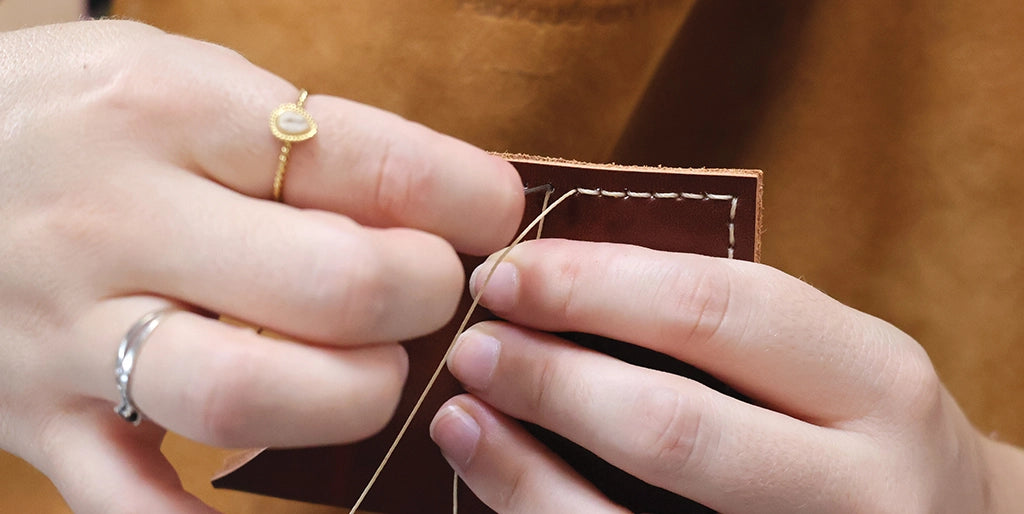
Which leather to choose for hand sewing?
Ideally, select a thick leather (at least 1.2 mm thick) that is not too soft. We invite you to check out our guide on the different leather finishes.
WHICH LEATHER TO CHOOSE FOR MY CREATION >
Free tutorial ideas to practice
 |
|
Leather backpack for children |
 |
 |
|
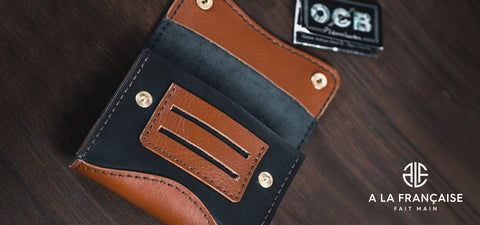
Leather tobacco pouch |
Minimalist cardholder |
Other hand sewing techniques
Saddle stitching:
saddle stitching is the most appreciated stitch by leather lovers because it is the strongest stitch. The specifics of this stitch: you need two needles to sew leather with saddle stitching and the stitch is angled.
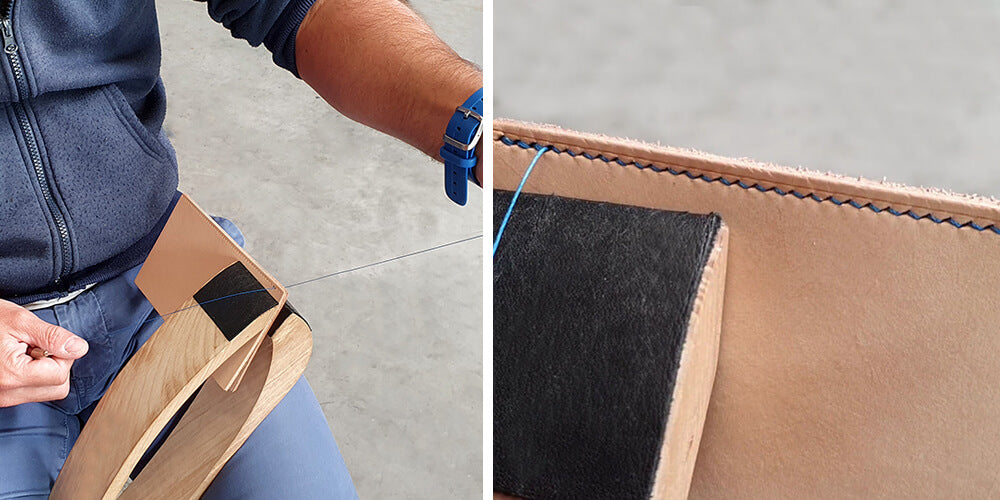
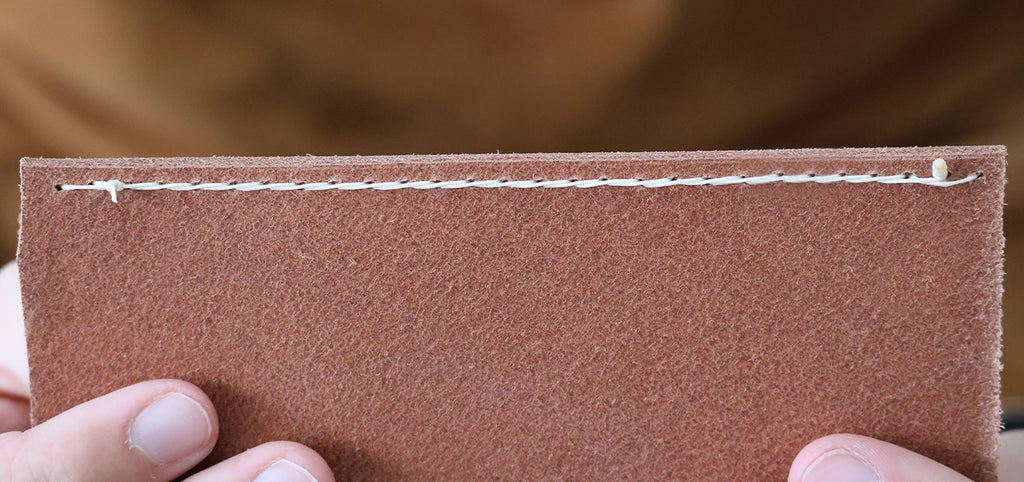
English stitch:
Discover the English stitch sewing technique: a simple method accessible to everyone. English stitch sewing is done with a thread and a needle. In upholstery, the English stitch is called "Backstitch" and in embroidery "Stem stitch".
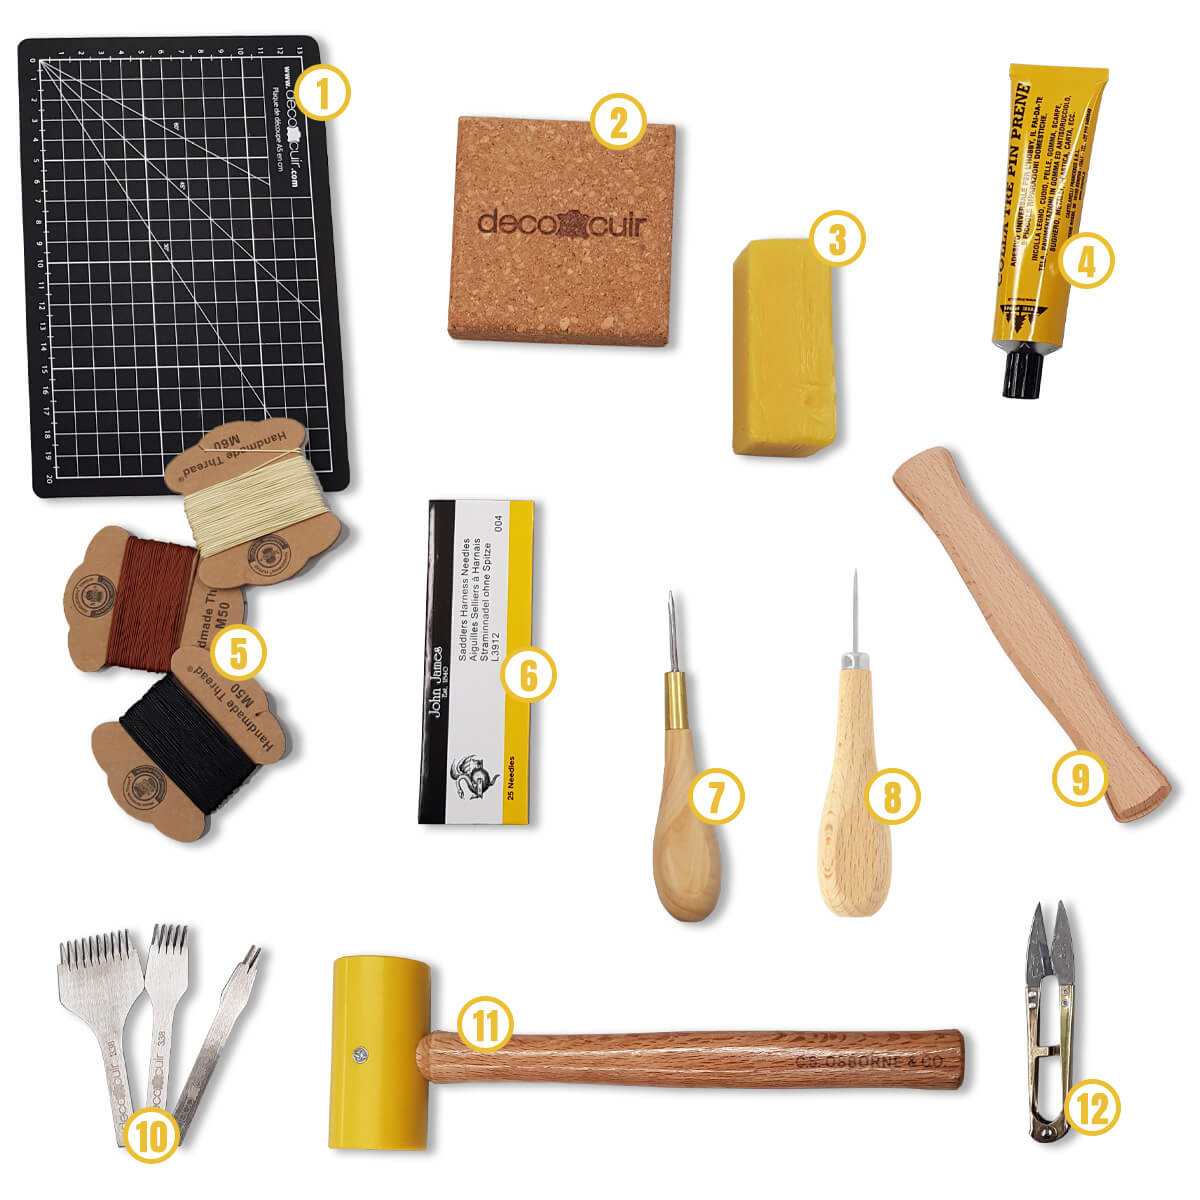
Deco cuir tool kits
We have relied on our experience to offer you in a starter kit the essential tools for hand sewing leather.


4 comments
merah
bonjour
je me suis inscris pour apprendre le métier du cuir donc je remercie les responsables du site pour le partage un grand merci
Laura Verónica Chámarez
Soy Argentina, quiero agradecer todo lo que aportan para la persona que desea trabajar de manera honrada.
Gracias, aprendo mucho con ustedes.
Gracias a Dios existe el traductor para que podamos expresarnos.
Saludos
Taleb
Bonjour
Merci pour tout les Tutos.
Mon rêve serais de pouvoir faire une formation dans vos locaux pour faire des sacs.
Maria cristina leal
Super