










REQUIRED MATERIALS
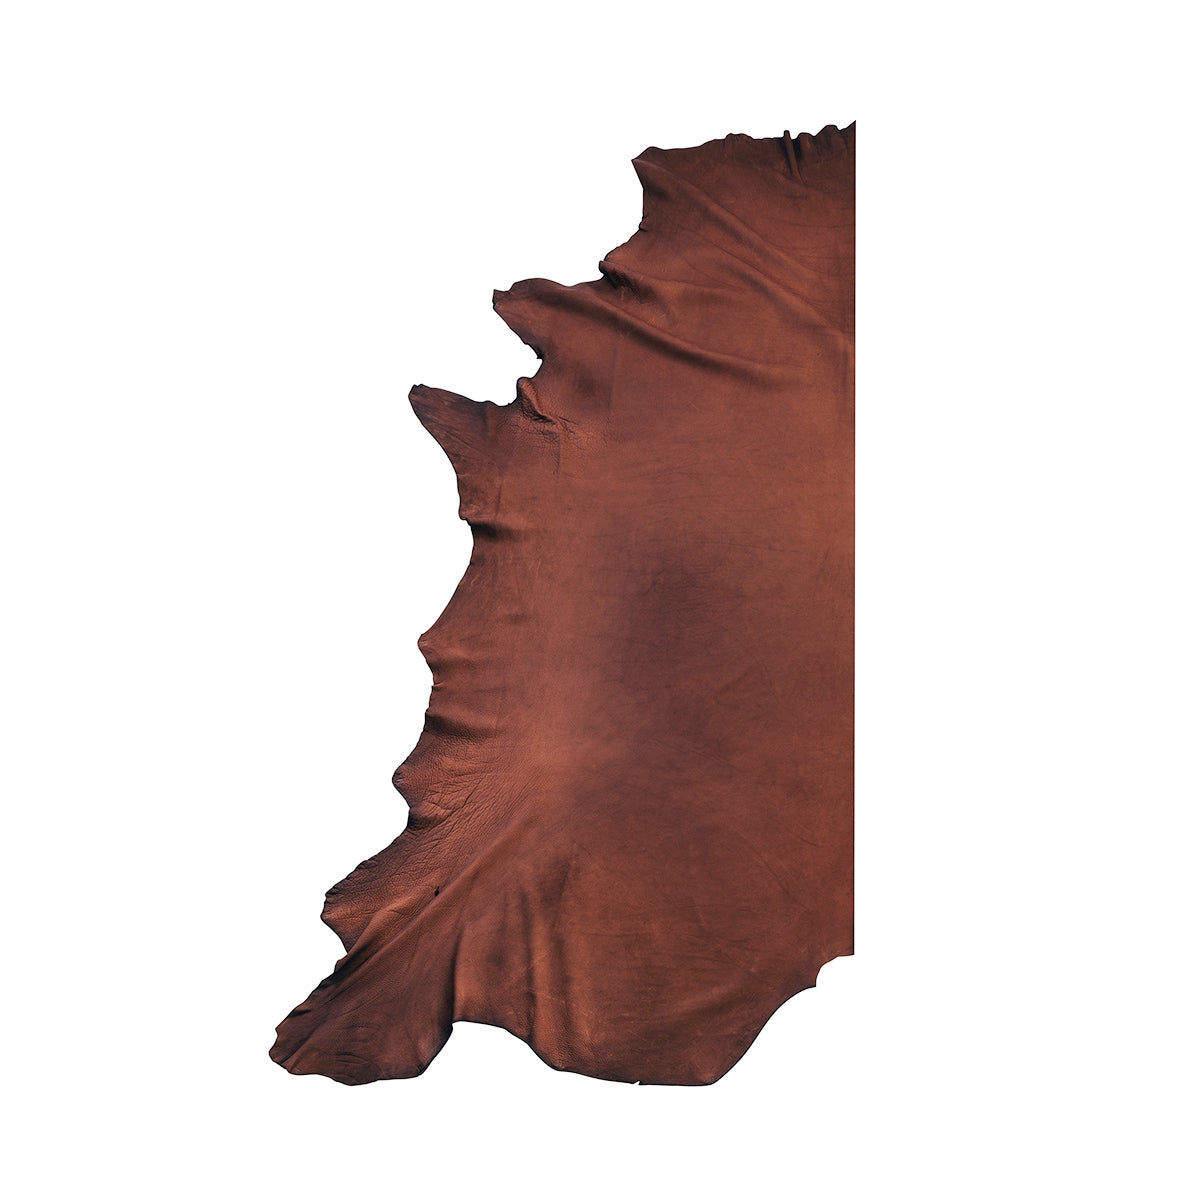
- 55.5 cm (for a 40 cm circumference) of saddle leather strap - 3.3 mm thick - 20 mm wide
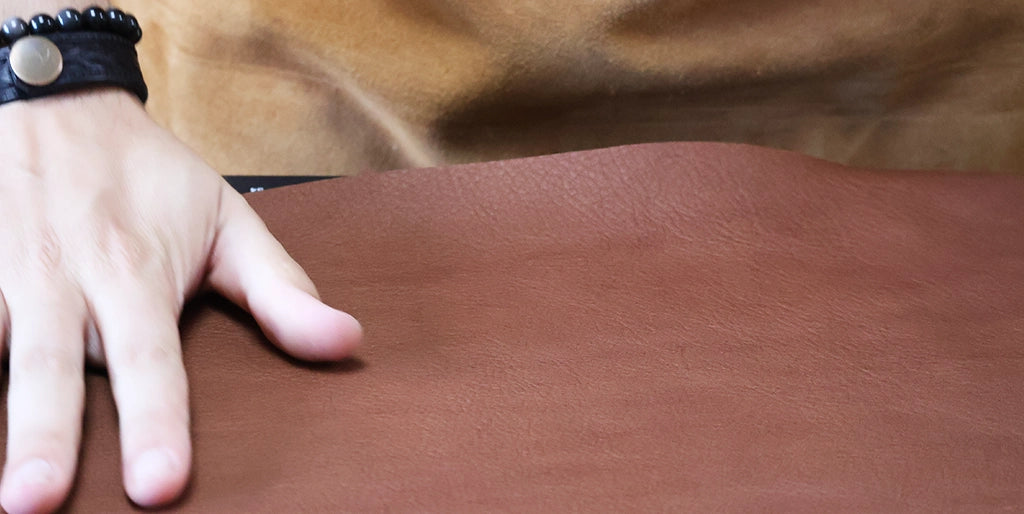
For this tutorial, we have selected the NIAGARA saddle leather strap - Radermecker - HAVANE.
GUIDE: PARTS OF BOVINE LEATHER
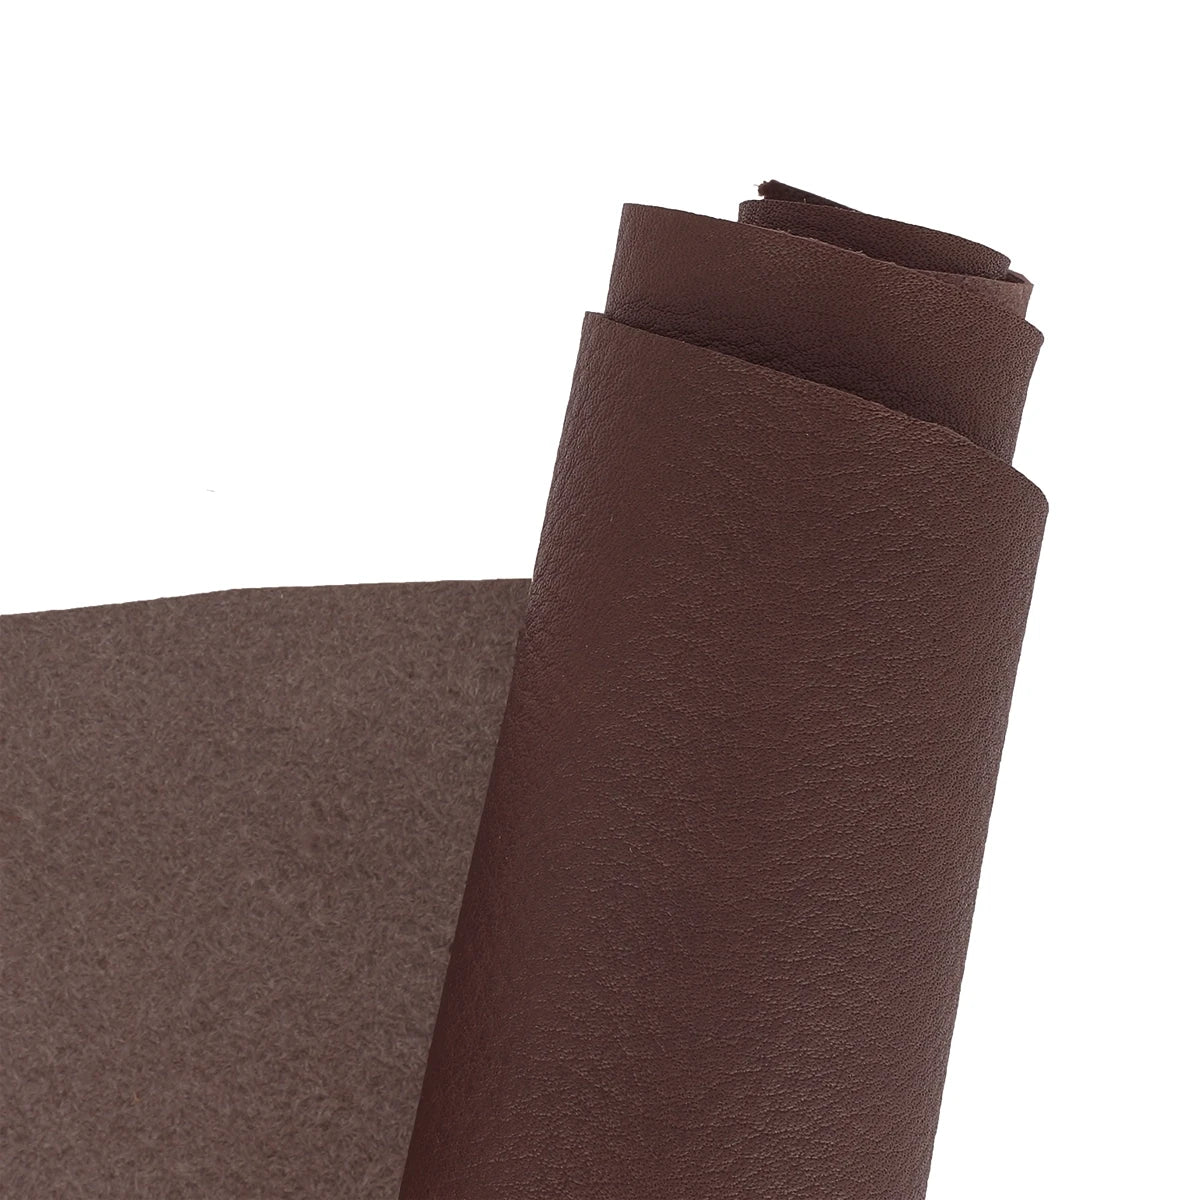
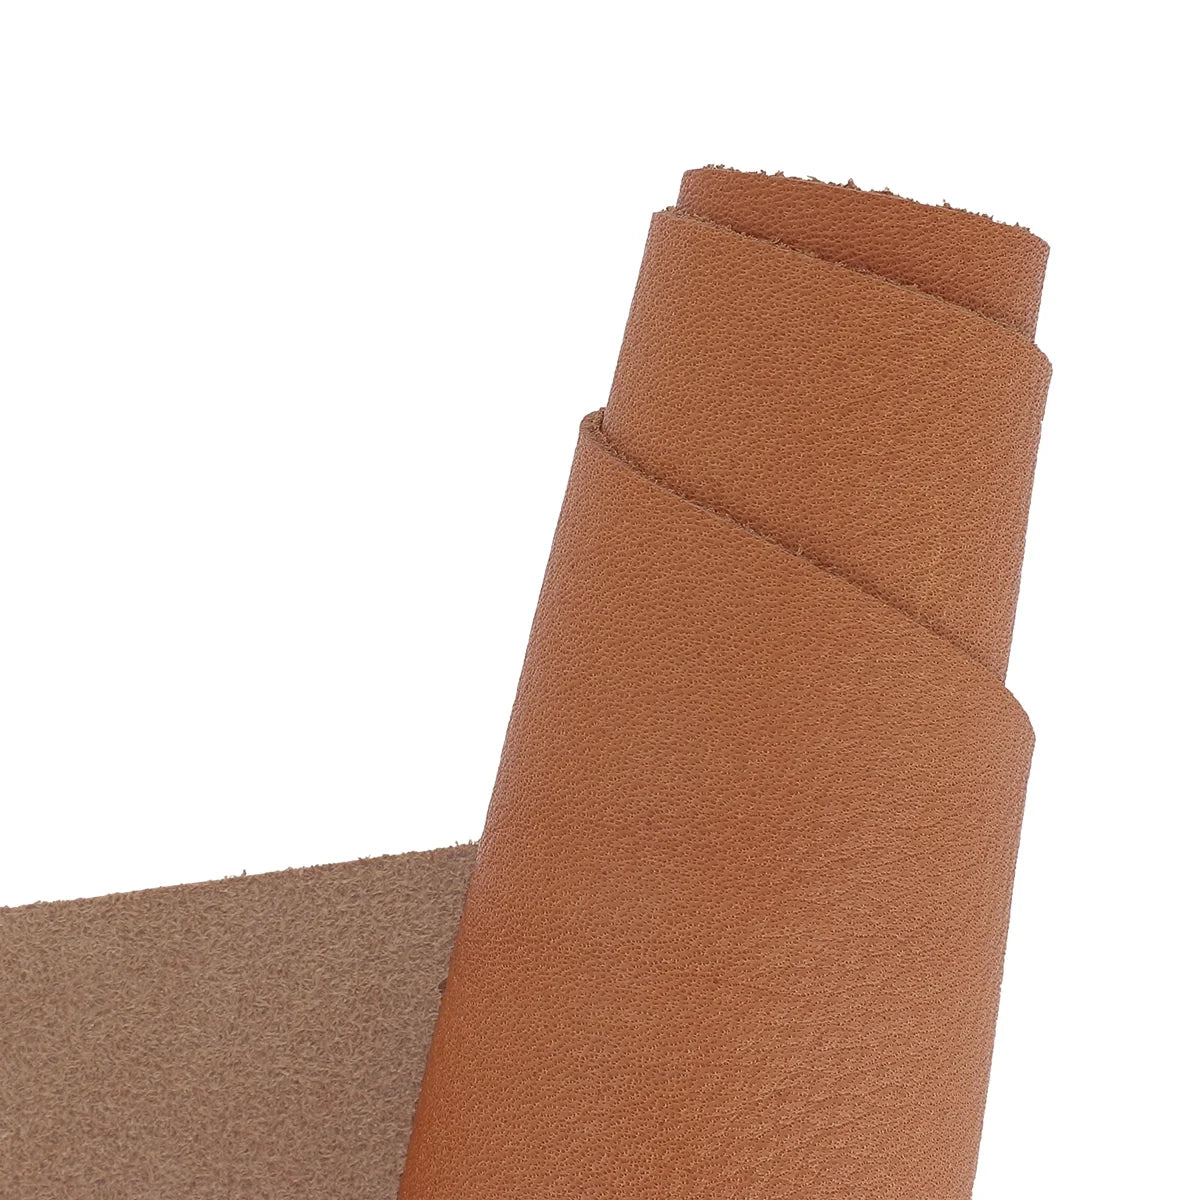
- At least 35 x 6 cm of leather from the Radermecker Angel range for the padding
Choosing the right leather is essential for making padding, especially for a dog collar. Choose leather that is supple, durable, and suited to the demands of use, capable of retaining its properties over time. For this guide, we have selected Angel leather, chrome-tanned by the Radermecker tannery, with a thickness of approximately 1.8 mm. This saddle leather resists moisture and regains its appearance after drying at room temperature. Pig leather is not recommended for this use, as its porous structure promotes water absorption. It is also important to consider the nature of the leather, especially when it is intended to be in direct contact with the skin.
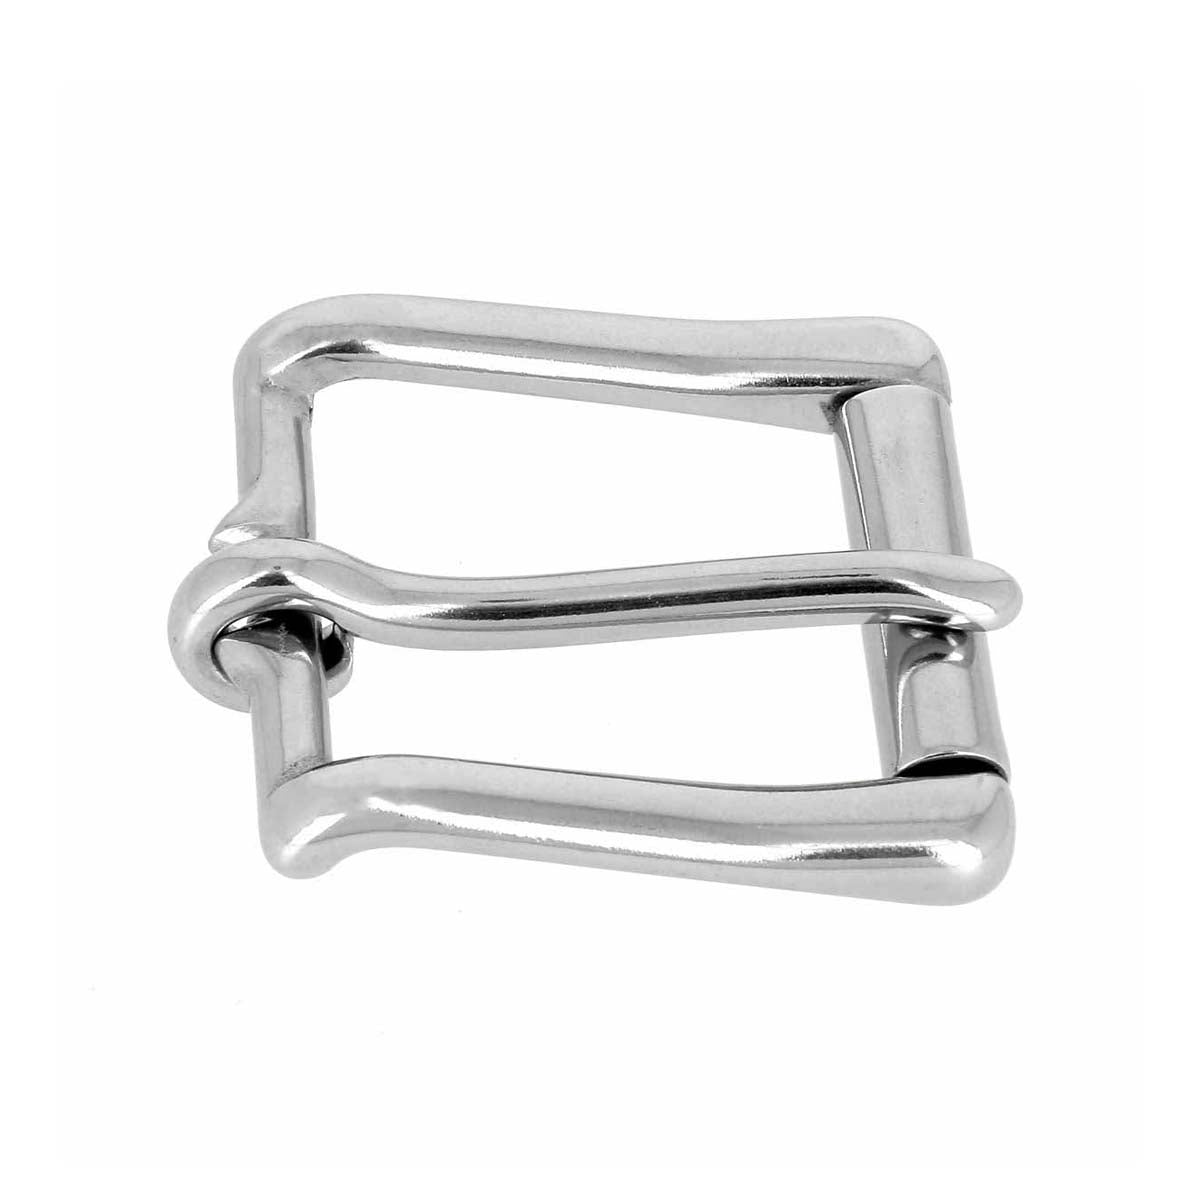
- 1 belt buckle in stainless steel or brass - 20 mm wide.
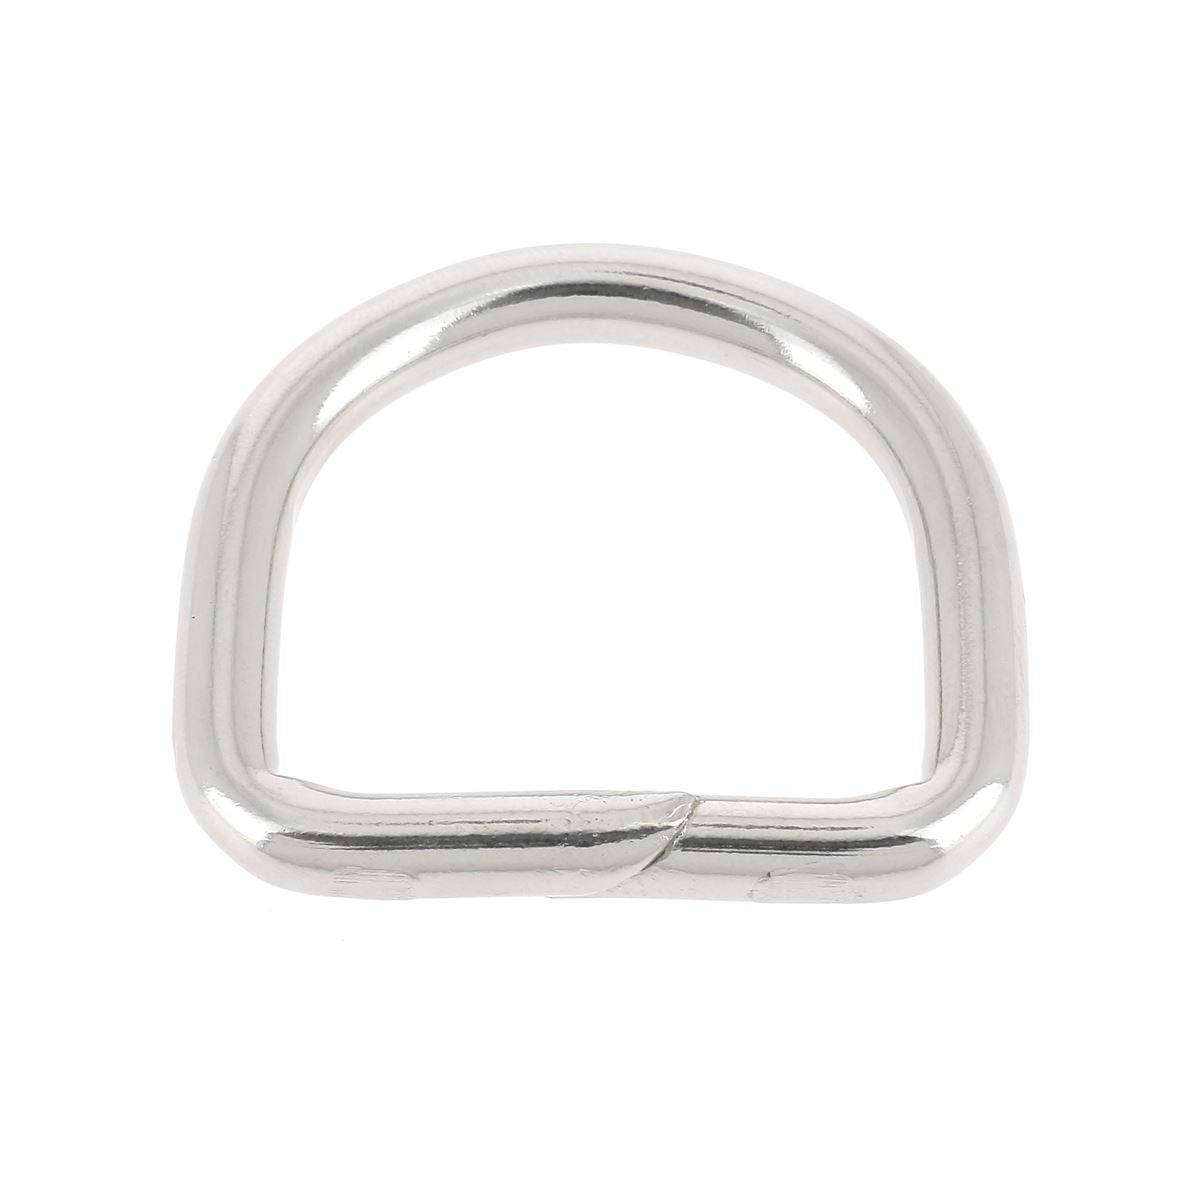
- 1 welded half-round ring in stainless steel or brass - 20 mm wide.
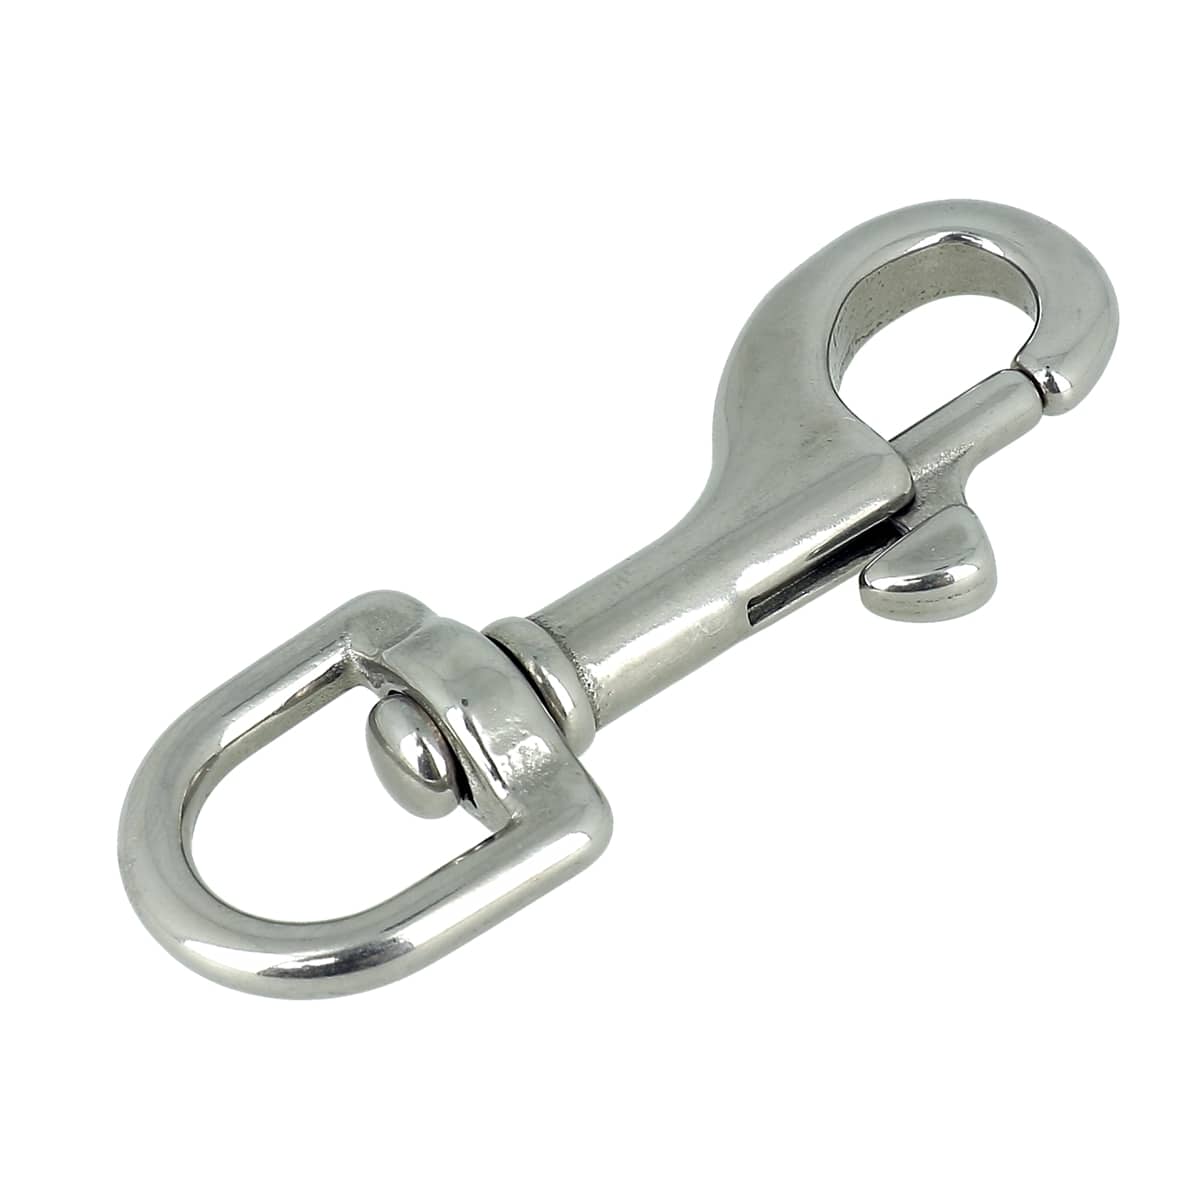
- 1 swivel snap hook with pull tab - 20 mm wide.
You should choose a welded buckle in stainless steel or brass.
- The materials required for saddle stitching (linen thread or waxed polyester thread Ø 0.6 mm, awls, size 002 needles)
- Skiving blade or skiving knife
- Leather glue (neoprene)
- Ø4 mm hole punch
- One forming tool
- Edge finishing
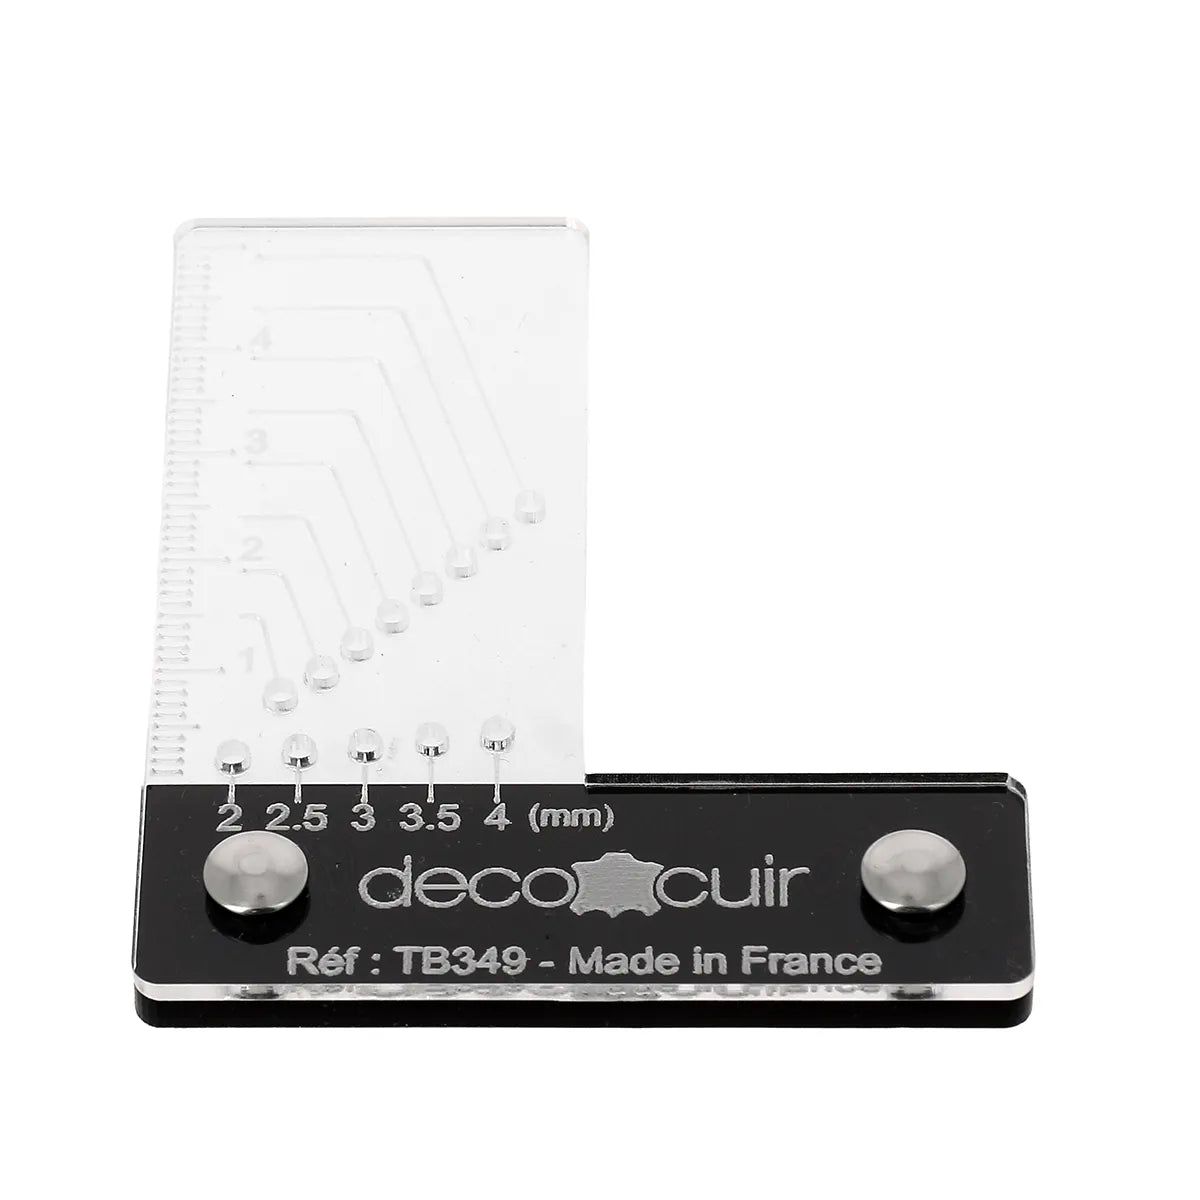
- Small multifunctional square - Deco Cuir exclusive
FULL VIDEO OF THE DOG COLLAR ASSEMBLY
HOW DO YOU DETERMINE THE NECESSARY STRAP LENGTH?
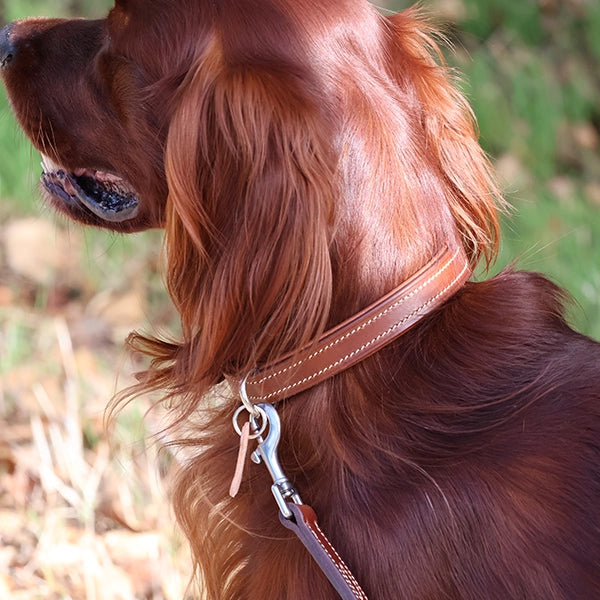
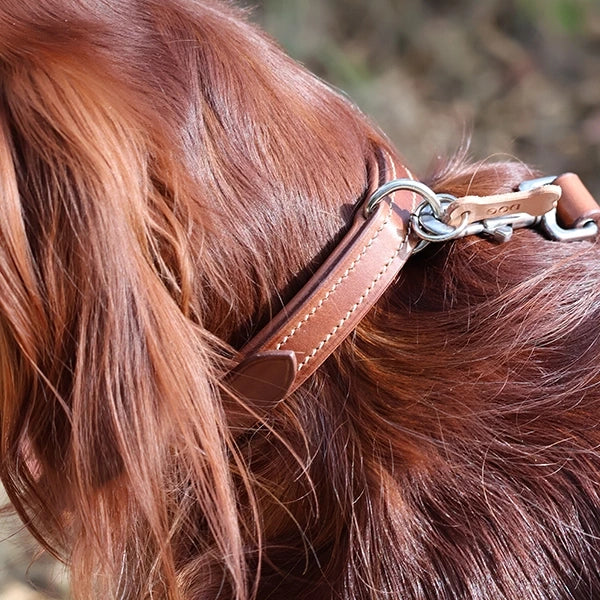
Our pattern is designed for a collar for a neck circumference of 40 cm. For larger circumferences, we invite you to add the extra centimeters at the dashed lines of the pattern (markers A>). To measure your dog's neck circumference, take a flexible tape measure and wrap it around the middle of the neck (where the collar will rest). Allow for a comfort margin of approximately 2 cm for an adult dog. This value generally corresponds to the length occupied by the belt buckle: it is therefore already taken into account in the calculation and should not be added to the length of the strap to cut.
For a neck circumference of 40 cm, allow for a total strap length of 55.5 cm. This measurement includes the 9 cm strap end (from the center of the middle hole) as well as the 6.5 cm return at the buckle end (40 + 9 + 6.5 = 55.5 cm). For this tutorial, we have selected a 3.3 mm thick saddle leather strap from the Niagara range by Radermecker.
 |
 |
WHAT COLLAR WIDTH FOR MY DOG?
- For small dogs under 5 kg: width 15 mm
- For dogs between 5 and 11 kg: width 20 mm
- For dogs between 12 and 25 kg: width 25 mm
- For dogs over 26 kg: width 30 mm
WHAT LEASH WIDTH AND LENGTH FOR MY DOG?
The leash width is often equivalent to the collar width.
Lengths vary depending on use and the type of walk
- Small dogs (< 10 kg): 1 m to 1.20 m in the city.
- City and busy areas: 1 m to 1.50 m.
- General-purpose walk: 1.50 m to 2 m.
- Open spaces, countryside or forest: 5 m to 10 m (and more) as a long line.
All these measurements are given as a guide.
WHAT IS THE PADDING AND WHAT ARE ITS DIMENSIONS?
The padding is a quilted part added to the back of a leather strap, it is a comfort lining to limit friction.
We advise you to consult our technical guide to padding, which notably presents the making of an equestrian browband with a salmon leather insert.
For the dog collar, the addition of a salmon leather insert remains optional. The foam reinforcement is also not essential: the selected Angel leather is already thick enough to offer a supple and comfortable result.
The padding of the dog collar starts 1.3 cm from the center of the first hole and ends 3 mm from the buckle end. Depending on the total strap length defined, then adjust the length of the padding by referring to the pattern.
1- PATTERN THE PADDING AND CUT IT
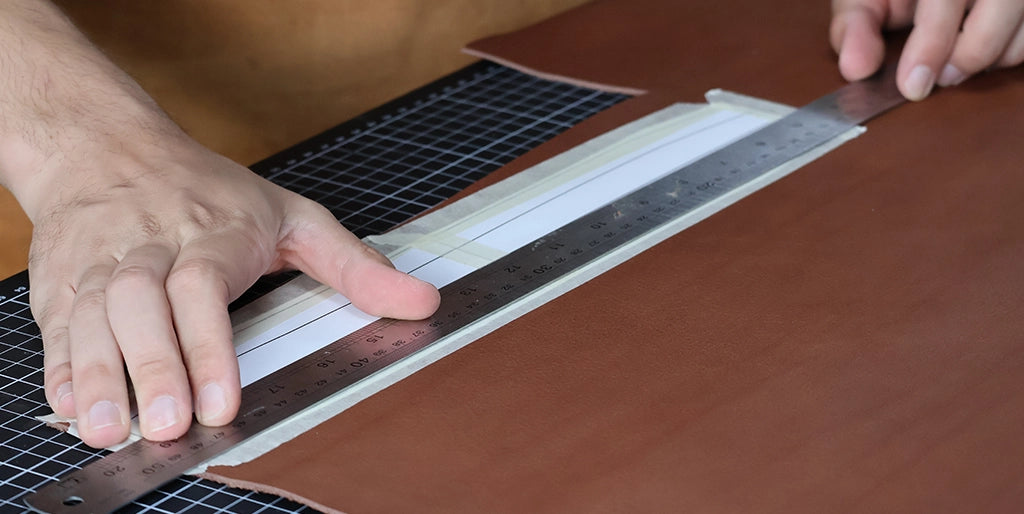
A pattern is available for free download for a neck circumference of 40 cm. Position the padding pattern on suitable leather and hold it in place using masking tape. Then cut the piece using a cutter and a ruler.
2. PREPARE THE BASE OF THE PADDING
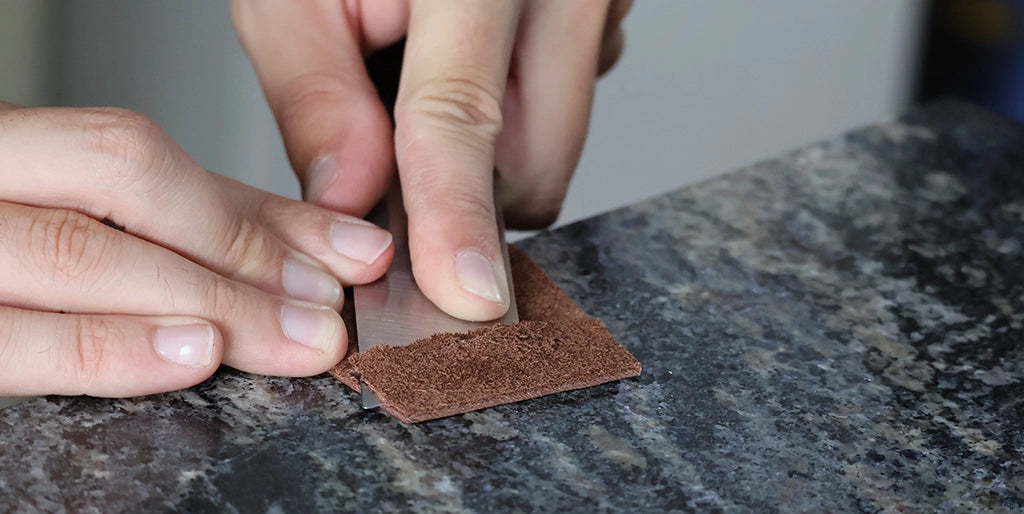
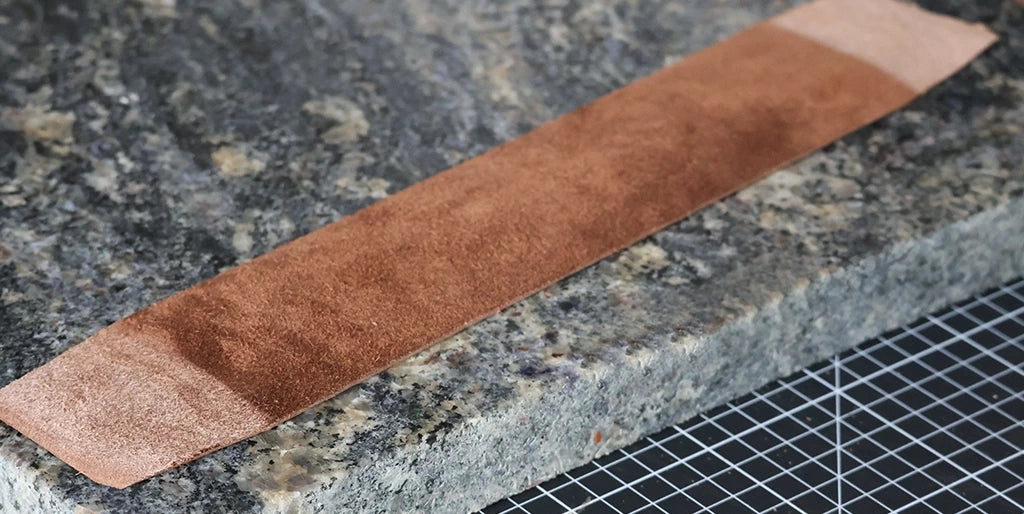
Mark a reference point at the notch (here 30 mm) on the leather to delimit the area to be skived, then skive the ends.
3. MARK THE CENTERS OF THE PADDING AND GLUE
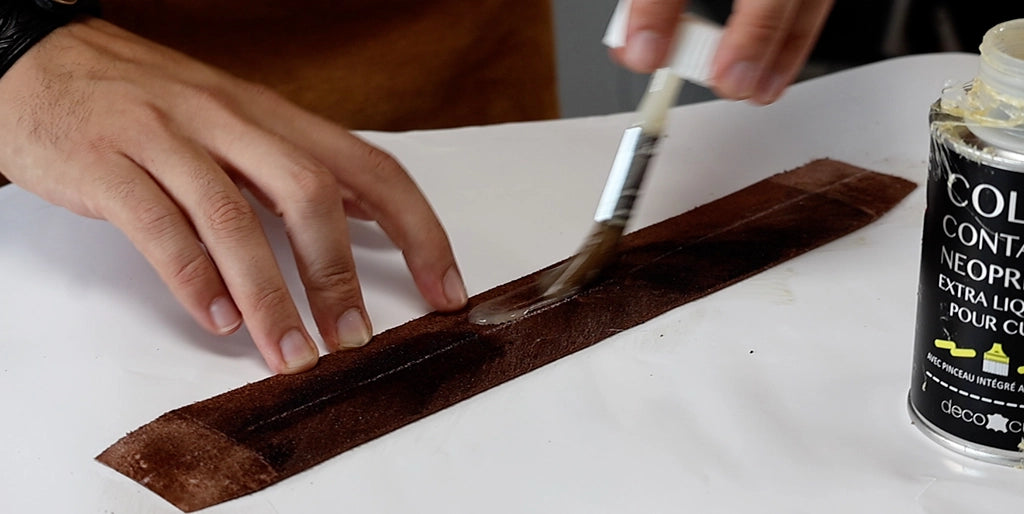
Draw the center line to facilitate folding then glue the entire flesh side of the padding with neoprene glue.
4. TURN DOWN THE SIDES
Wait a few minutes for the glue to soak in then fold the two lengths along the center line. Start with the middle of the strip then go to the ends.
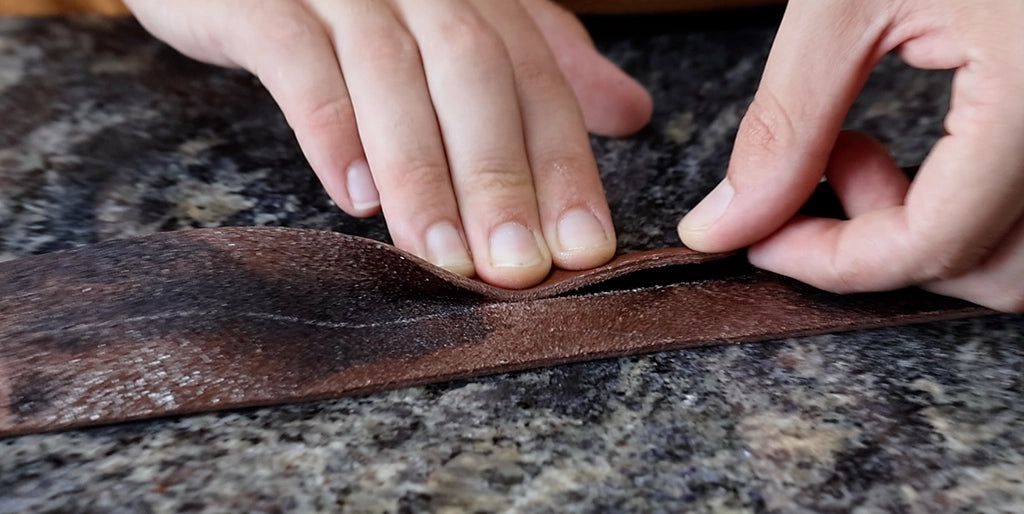
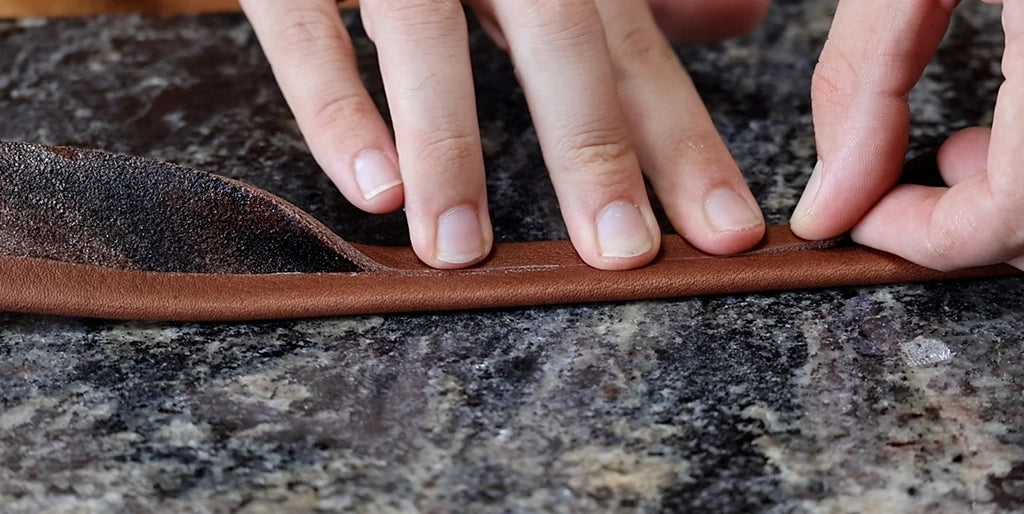
At the ends, turn down the leather by bringing the corner to the corner of the center line. Tap the glue lightly with a cobbler's hammer.
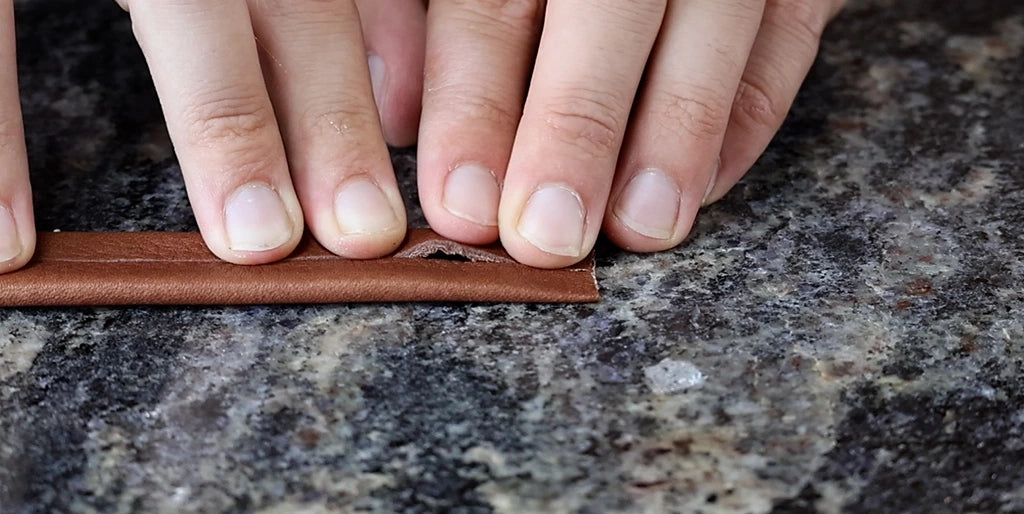
5. RE-TRIM THE STRAP
Re-trim the strap to the desired length and width. For this tutorial, we used approximately 55.5 cm of 2 cm wide strap.
Correctly trim one end of the strap, then make a mark at 55.5 cm on the other side (the other end will be worked with a pointed end).
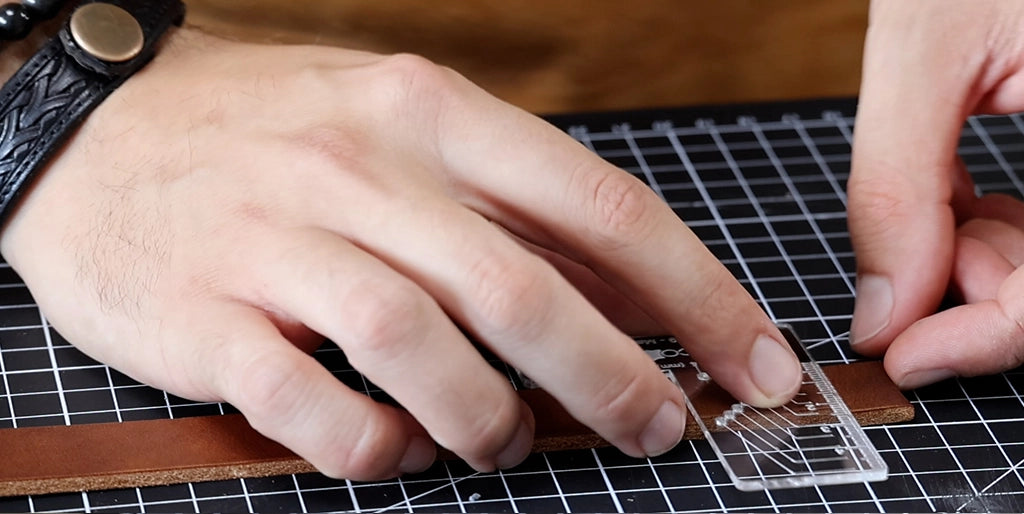
For the most experienced, it is possible to cut the strap across its width using a half-moon knife. For a more even and easier to master cut, we recommend using a strap cutter (strap cutter).
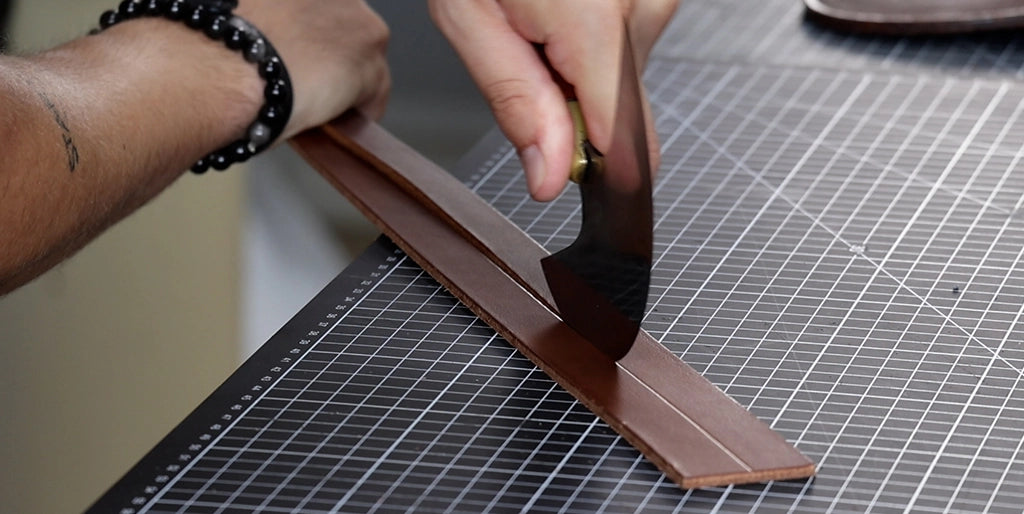
6. POINT THE CENTER AND DRAW THE POINTED END
Point the center of the strap on the reference line made at 55.5 cm and draw the pointed end using a dry point compass or a template.
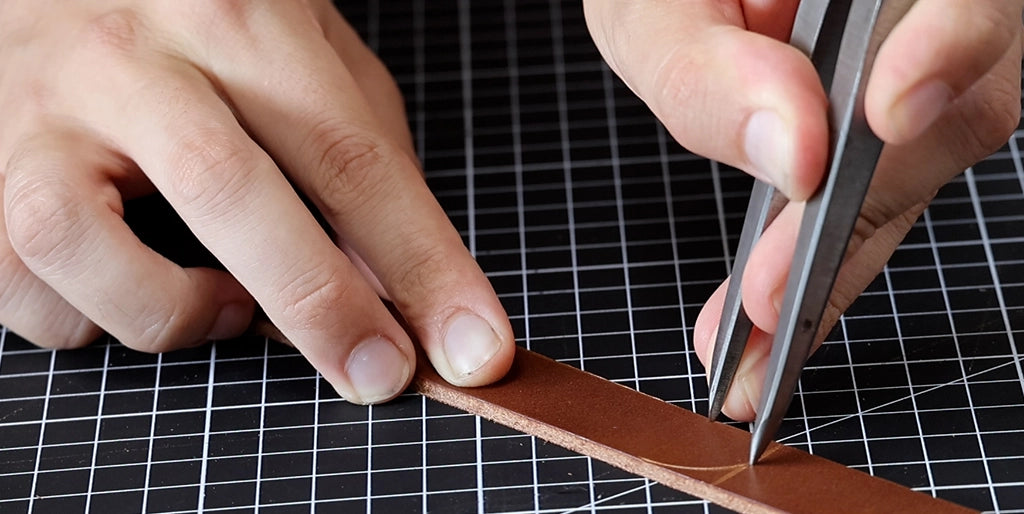
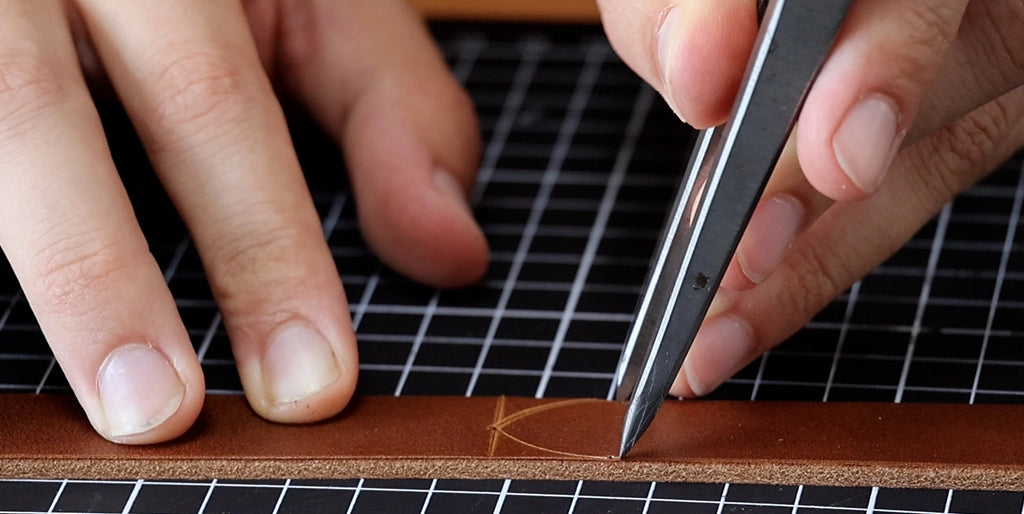
Then cut the pointed end: the edges will be properly sanded at the edge finishing step.
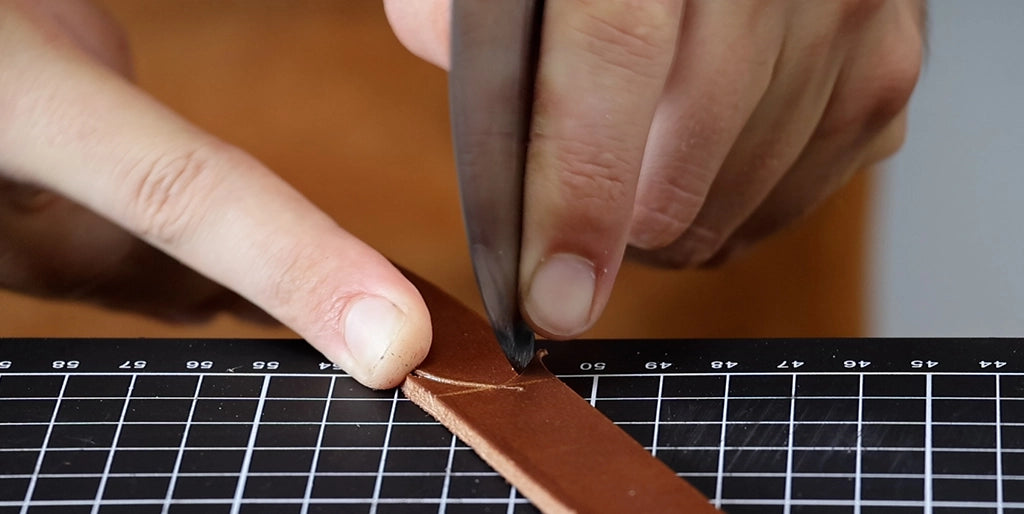
7. TRANSFER THE DIFFERENT MARKINGS
Transfer the different markings to the strap (using the pattern), notably the buckle end and the 5 adjustment holes. The first hole is located 6 cm from the pointed end, this measurement corresponds to 3 x the width of the strap (here 2 cm). There is then a hole every 1.5 cm (center to center distance). Punch all the holes with a round strike hole punch of 4 mm diameter.
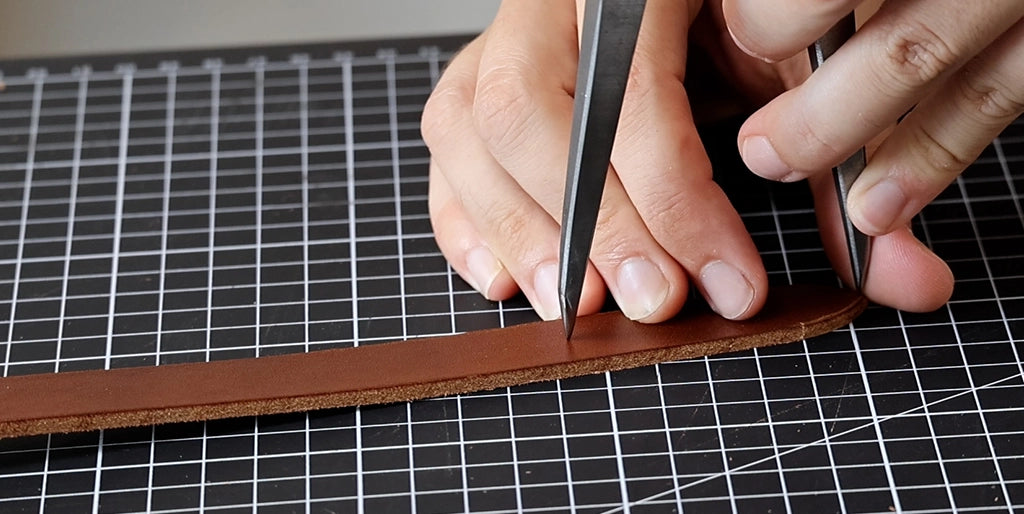
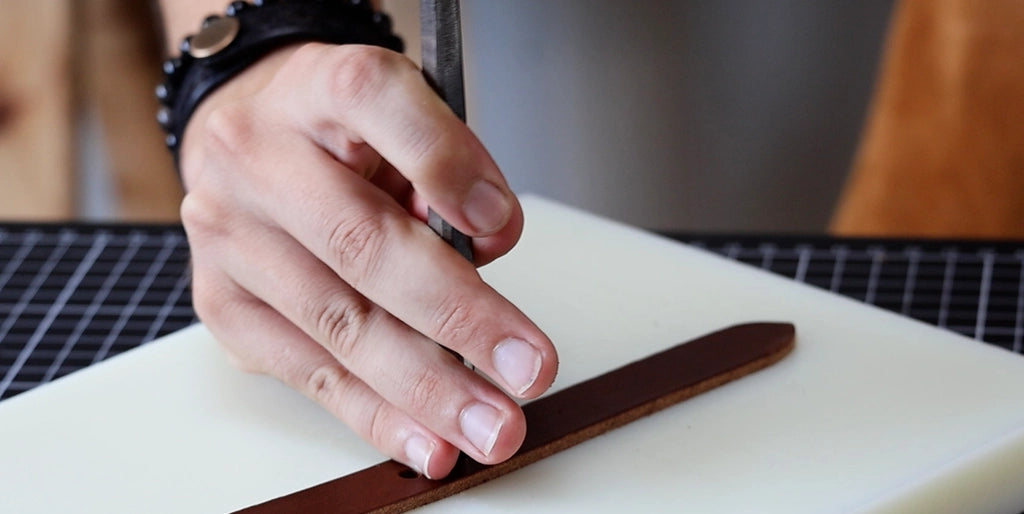
Then make the buckle end: punch 2 holes of 4 mm diameter at each end then join them with a cutter.
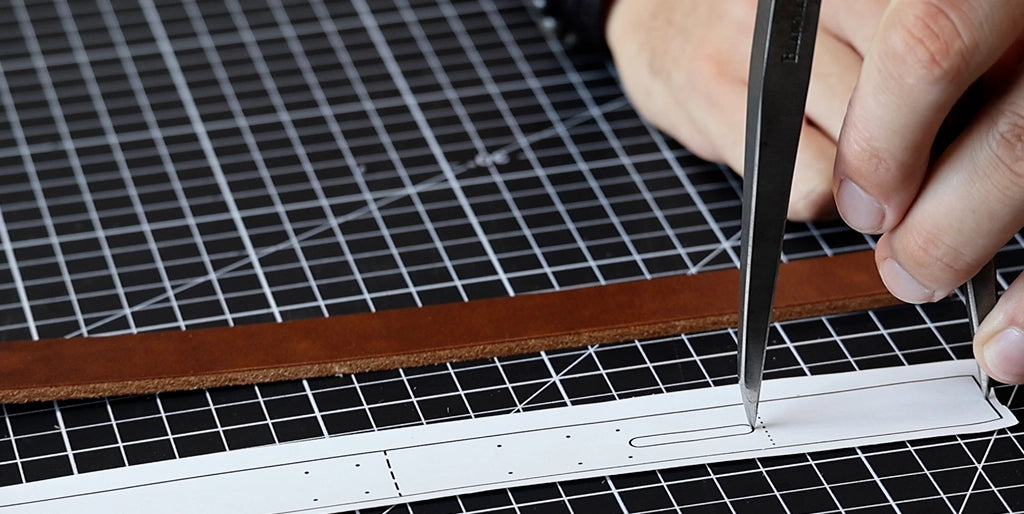
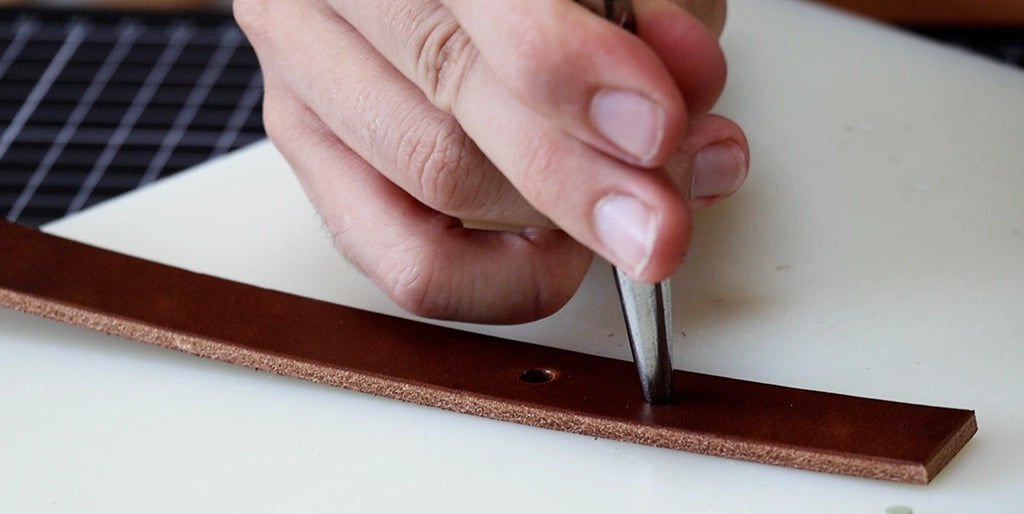
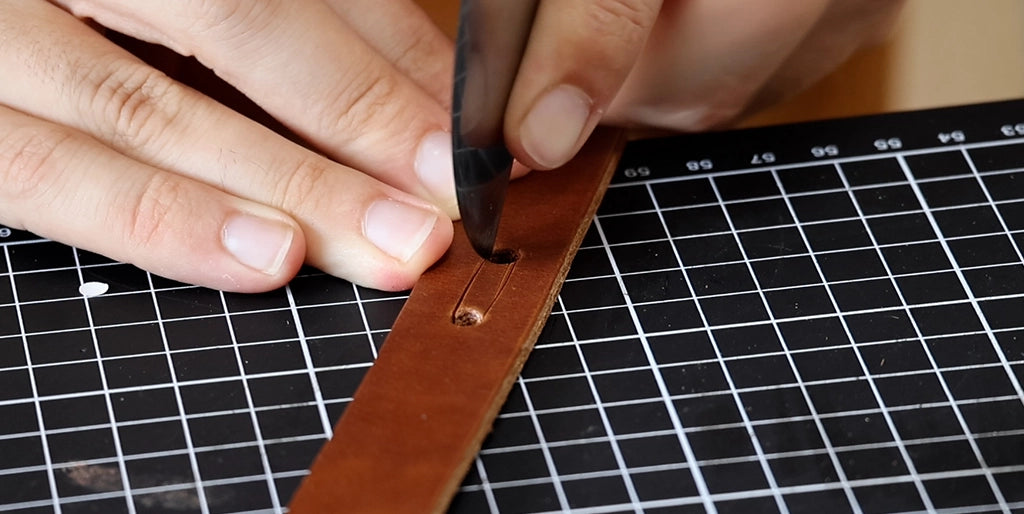
Then make the other markings indicated on the pattern notably the buckle return value, the start/ end of the padding, and the start/end of the stitching.
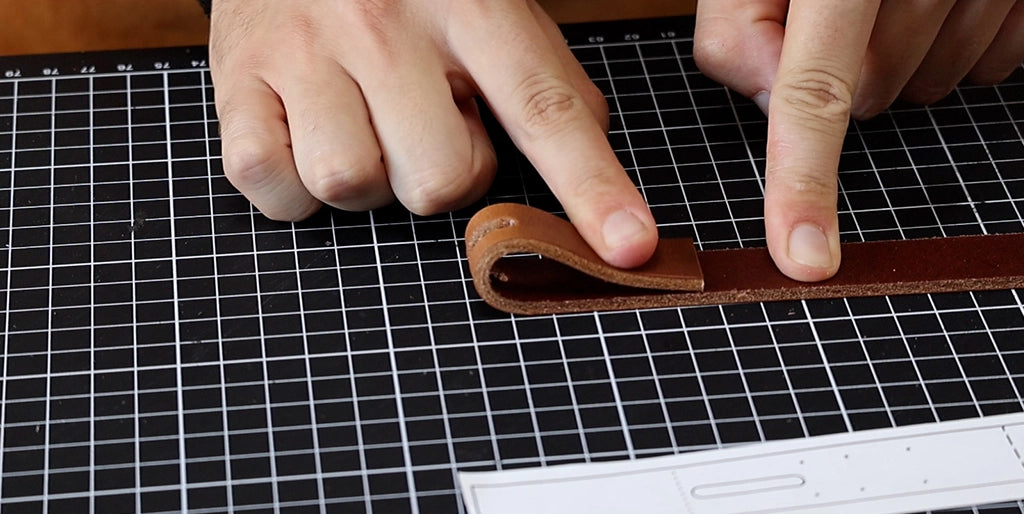
8. DRAW THE STITCH LINES
Using a dry point compass, draw the two stitch lines (4 mm from the edge) by relying on the markings made in the previous step.
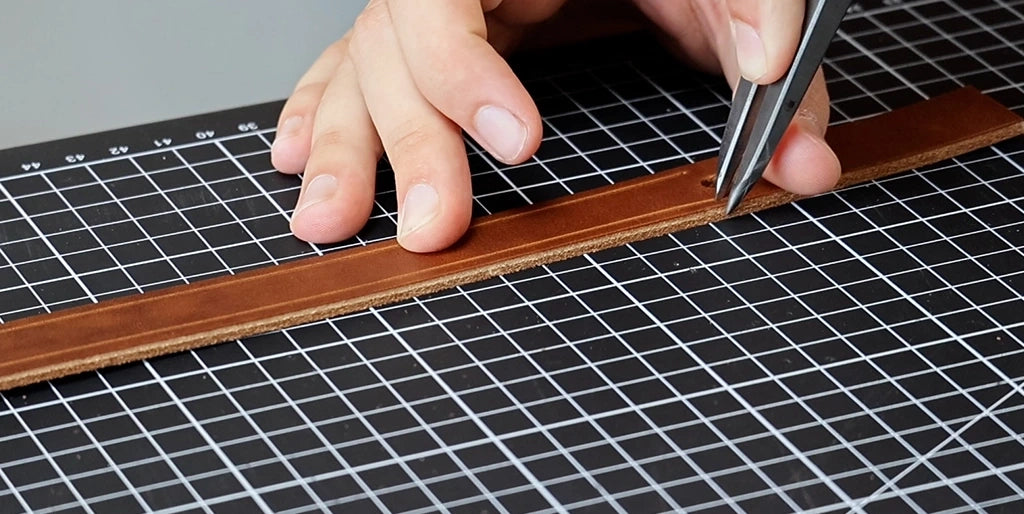
Then transfer the other markings, notably those of the keeper and the half-round ring. The keeper is always located 3 stitch points after the buckle end (3.38 mm x 3 = 10.14 mm). It is a standard in saddlery.
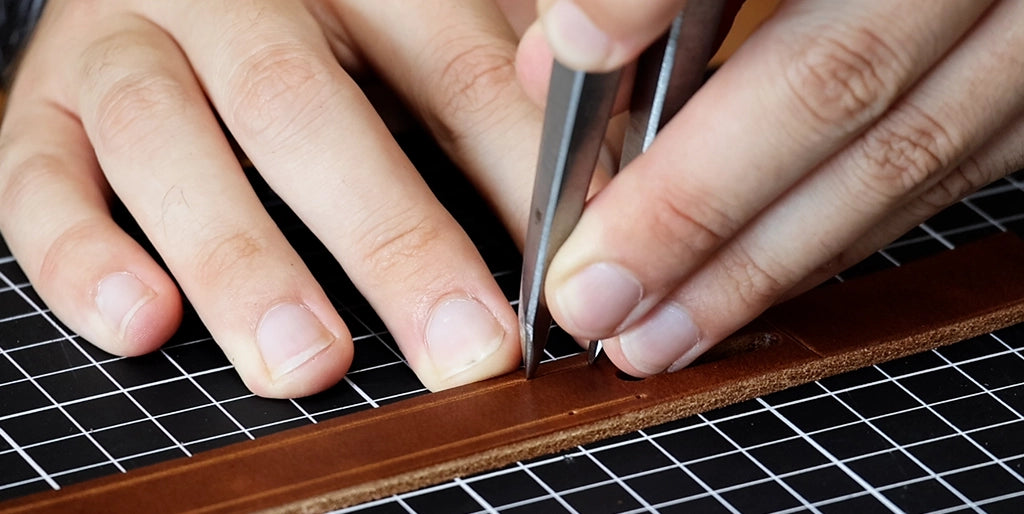
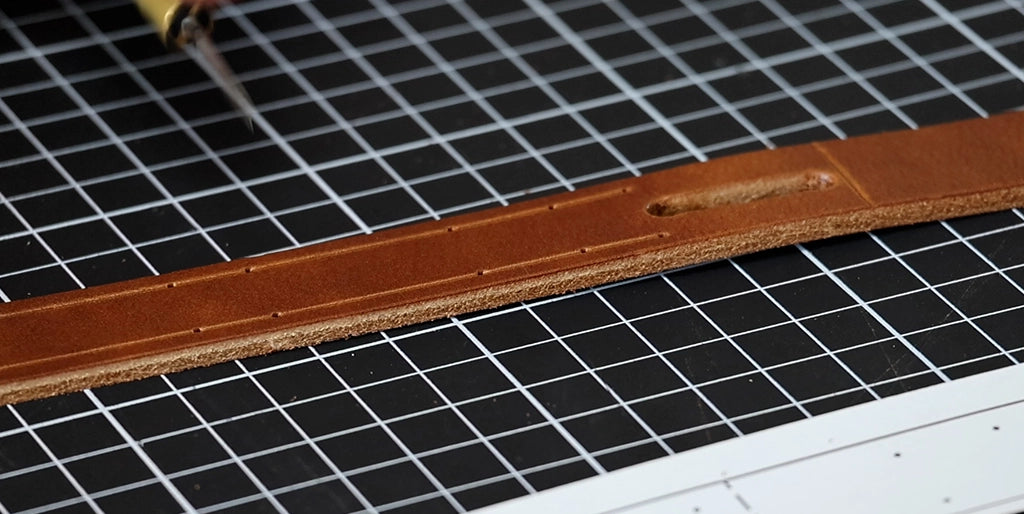
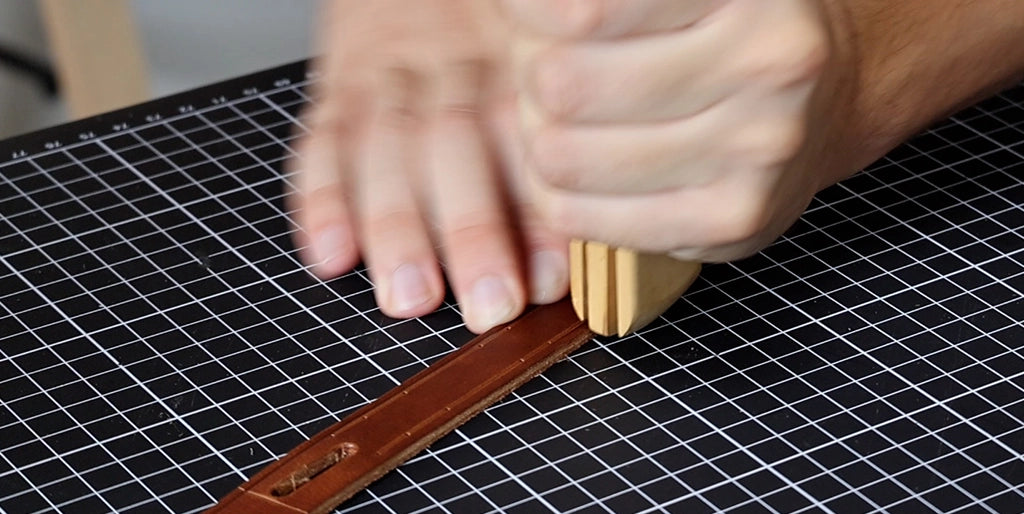
9. MAKE A DECORATIVE STITCH
Using a forming tool, draw a decorative stitch along the edge of the strap, lengthwise (3 mm from the edge).
10. BEVEL THE EDGES
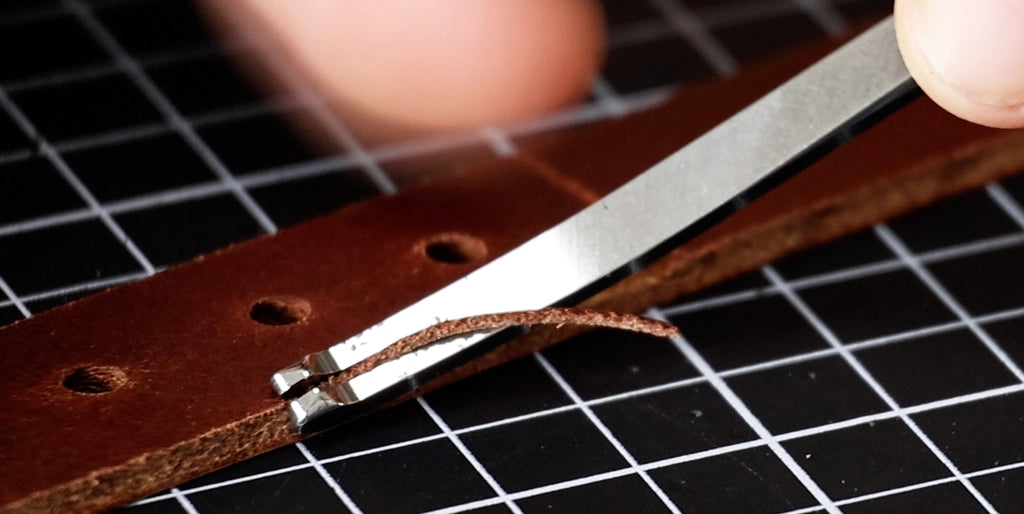
Bevel only the edges that will not be in contact with the padding. Do not bevel the edges at the end that will be skived.
11. SKIVE THE STRAP AT THE BUCKLE END
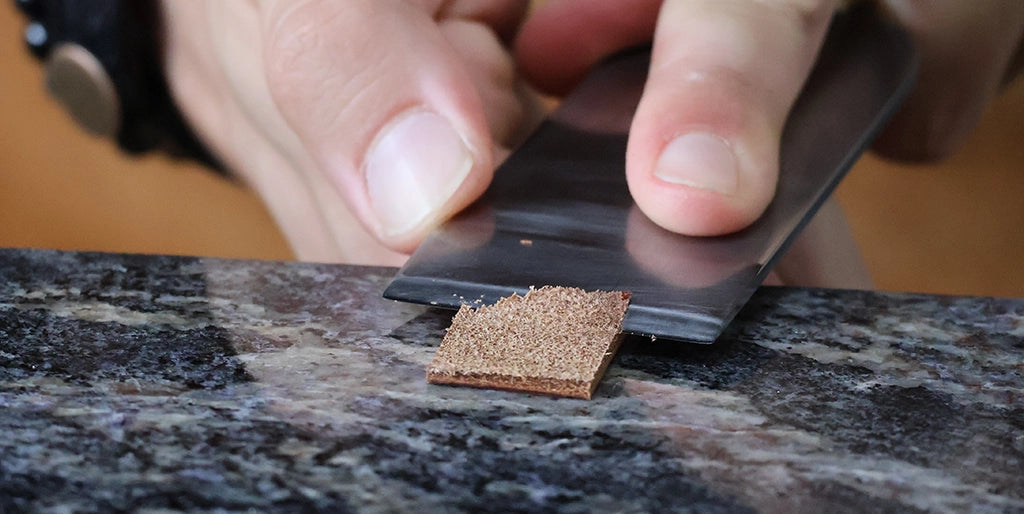
Skive the end of the strap at the buckle end for about 7 cm.
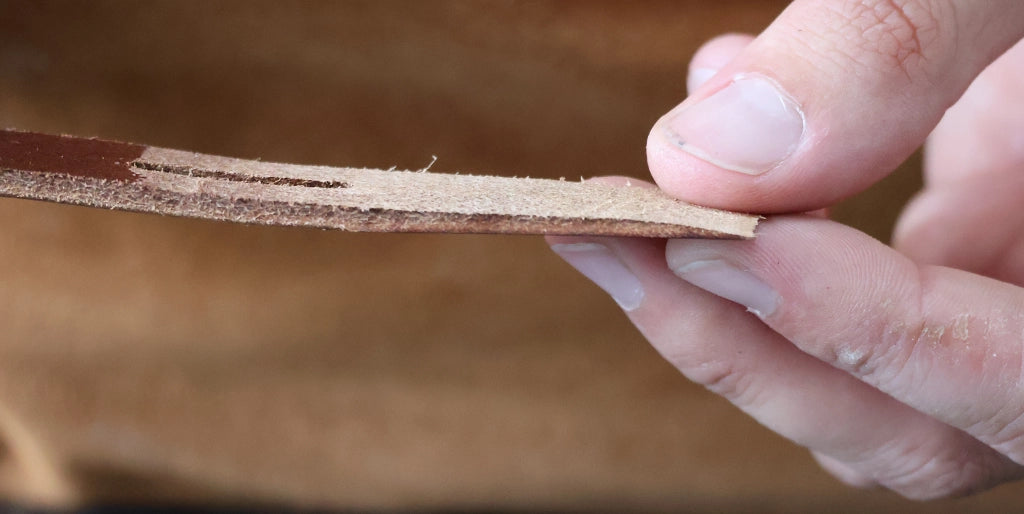
12. MAKE THE KEEPER FOR THE DOG COLLAR
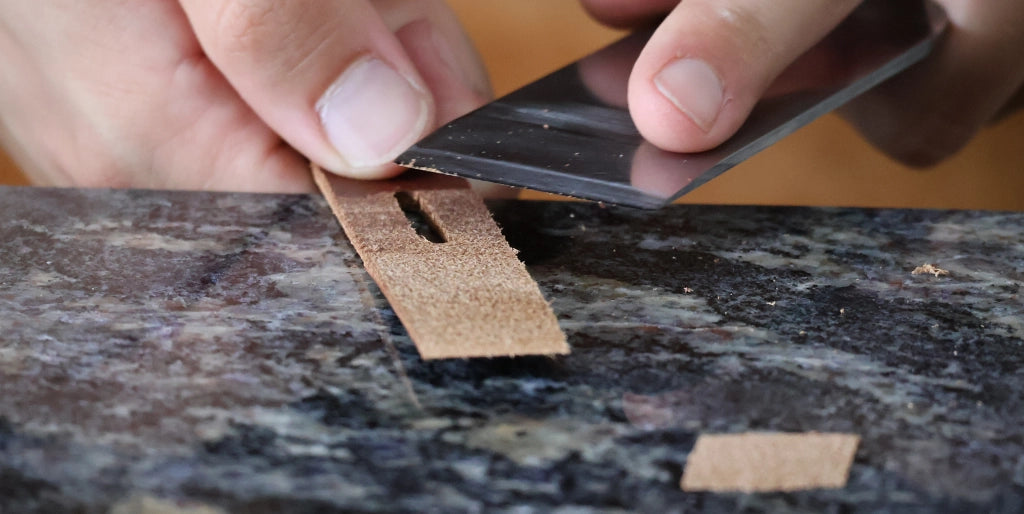
Take a strap offcut of about 10 cm then cut the keeper. The width of the keeper is equivalent to about 2/3 of the width of the strap. That is about 13 mm here (20 / 3)*2 = 13 mm).
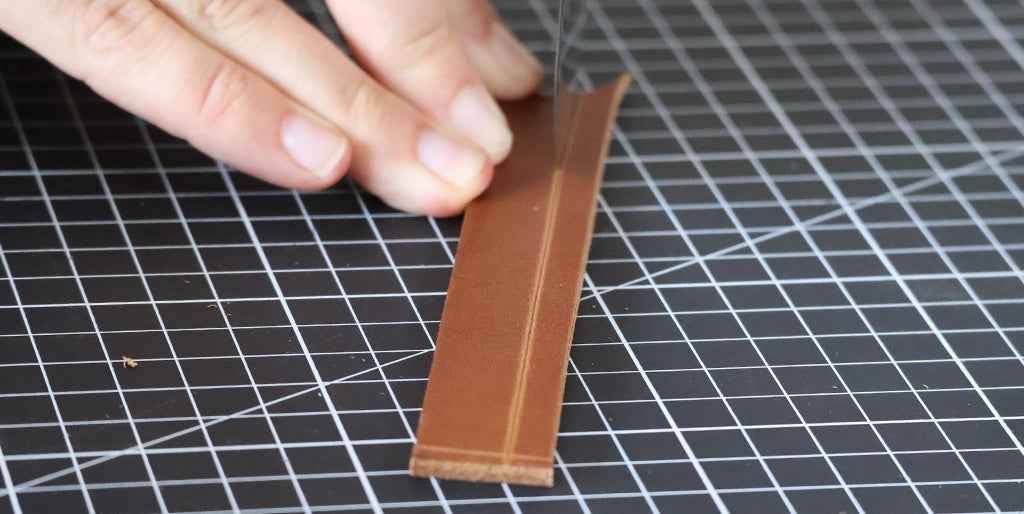
Then skive the entire thickness of the keeper using a skiving knife. Start by skiving each side then attack the center of the strap for the keeper.
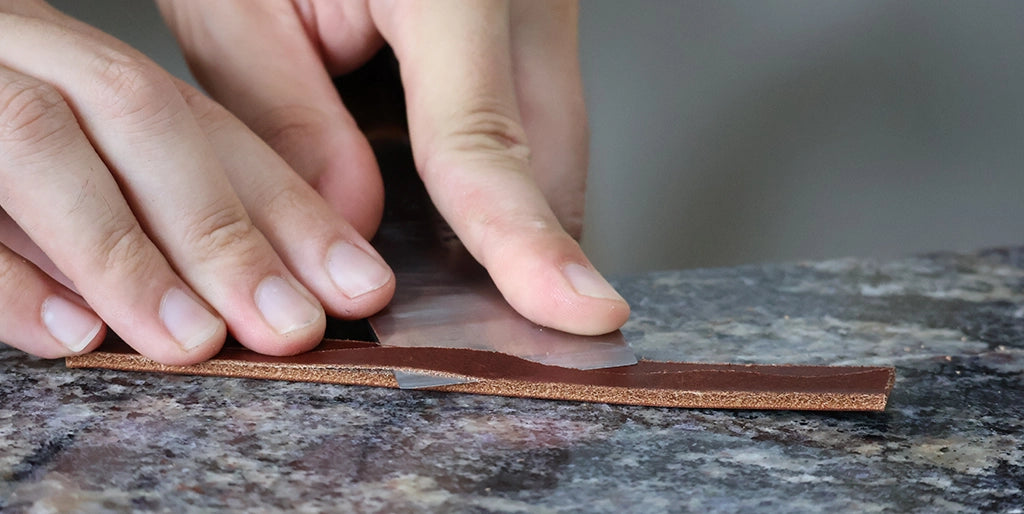
To define the length of the keeper you must take into account the thickness of the buckle end, the strap and the buckle side, so there are 3 thicknesses. Pass the strap for the keeper around these thicknesses and make a mark by removing 3 mm. Be careful to tighten well.
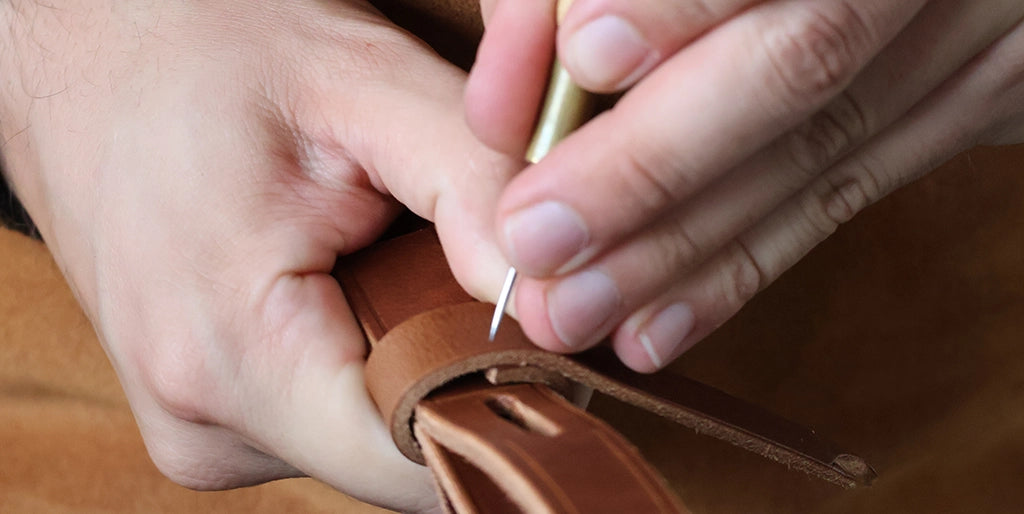
Cut the loop at the mark and make a decorative stitch with the stitching wheel. Then bevel both sides (flesh and grain) of the loop. Then trim both ends of the loop.
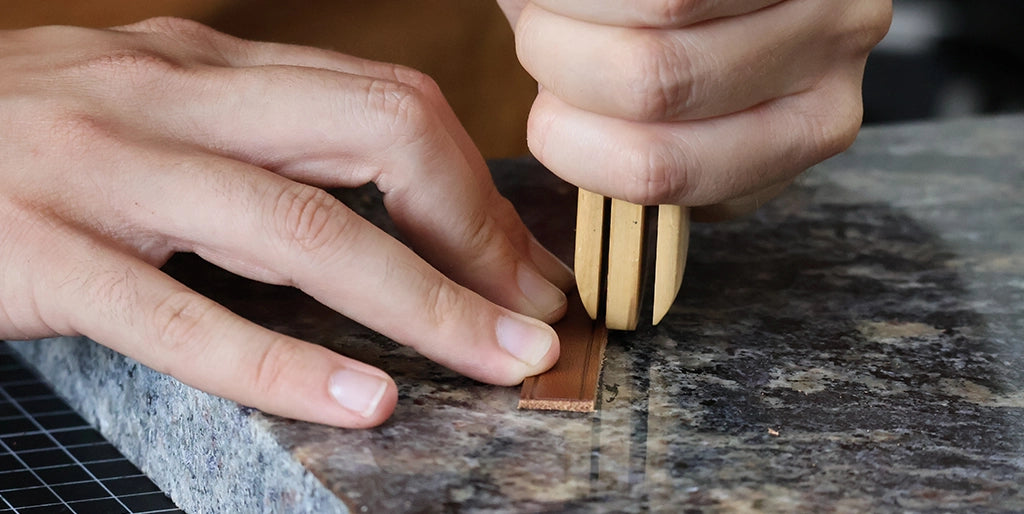
13. LIGHTLY SAND THE FLESH SIDE OF THE COLLAR
Using sandpaper, lightly sand the flesh side of the dog collar only where the white leather will be positioned. This will make the glue adhere better.
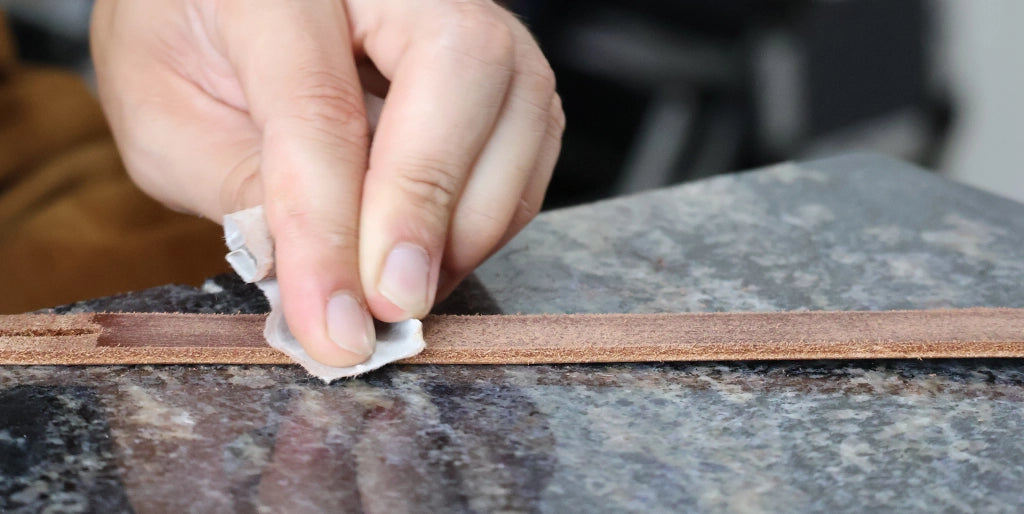
Also sand the grain side on the part that will be covered.
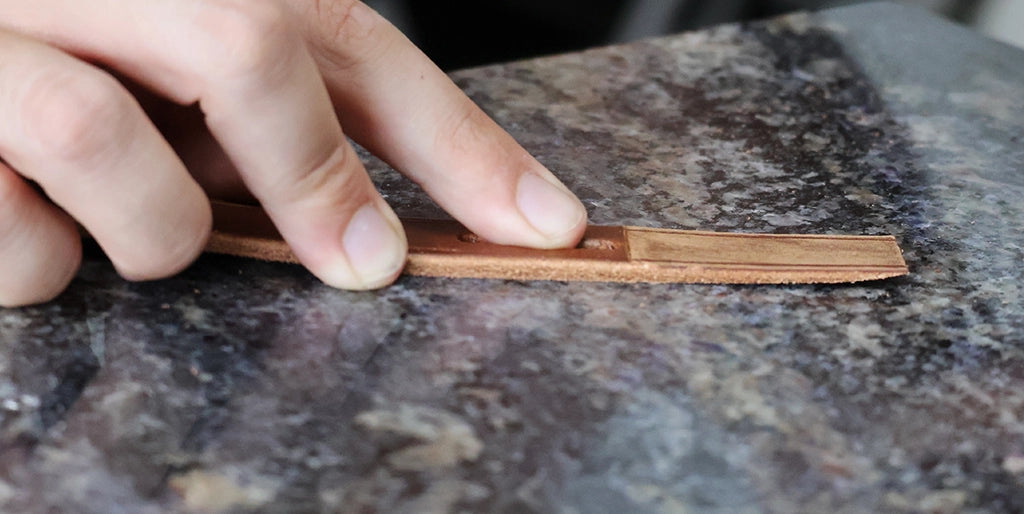
14. WORK THE EDGES OF THE LOOP AND COLLAR
Apply an edge finish using a small sponge. Before it dries, smooth the fibers by passing a cotton cloth through them in the direction of the fibers. Apply at least two coats for a neat finish.
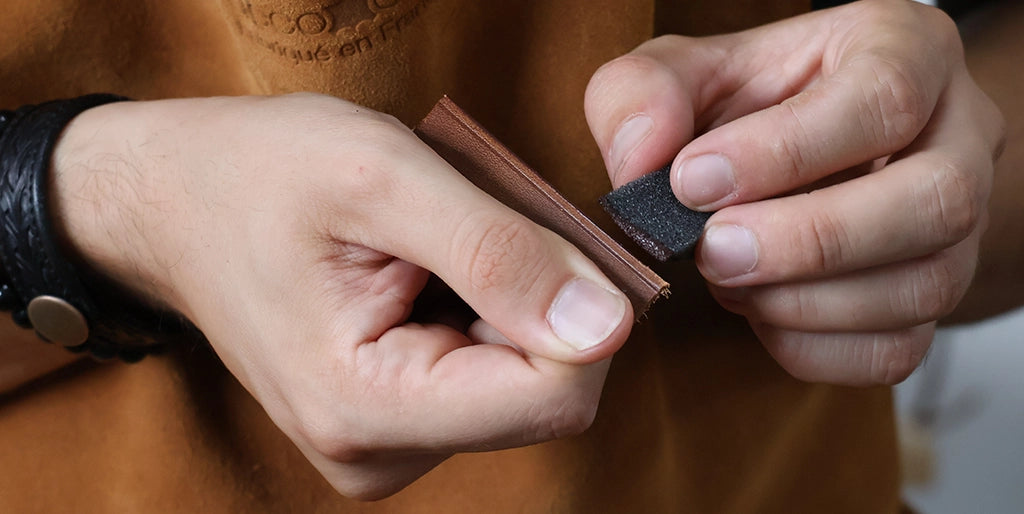
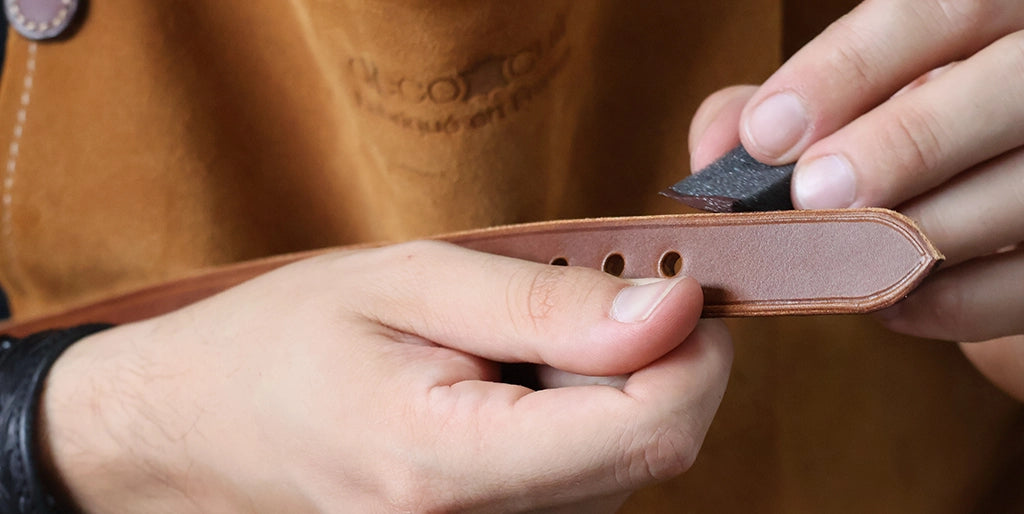
Do not forget to work the inside of the covered part and do not hesitate to apply a little dye over the edge on the flesh side, at the covered part, to get a nice finish.
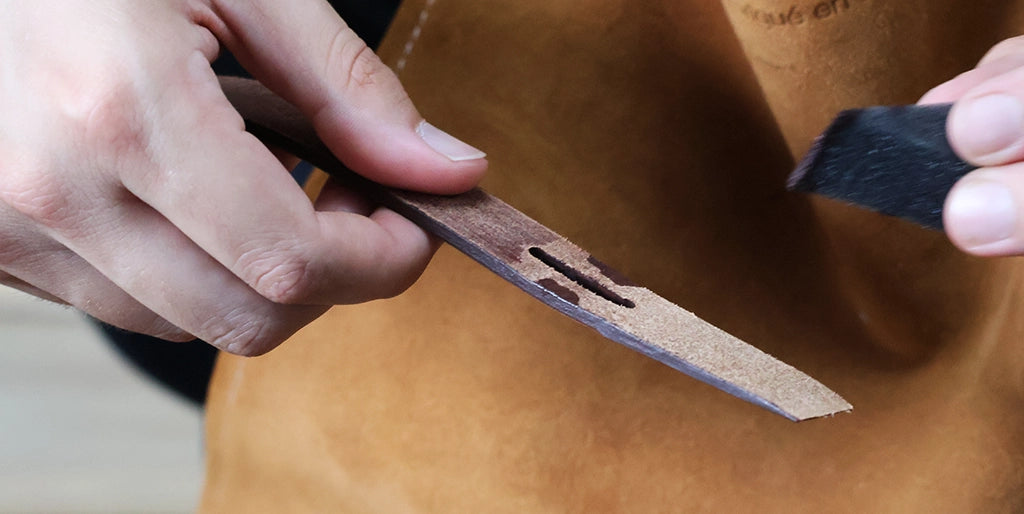
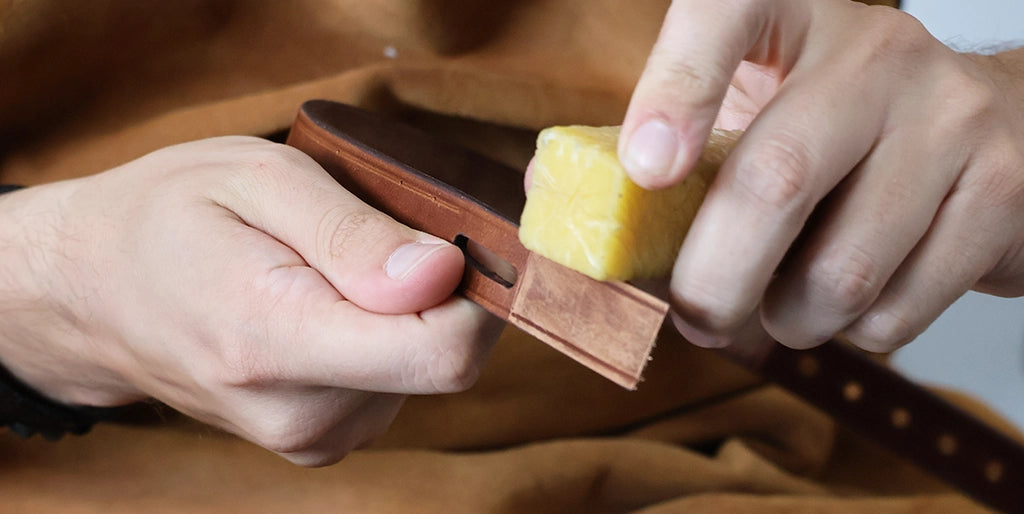
Apply beeswax and heat it with a burnisher.
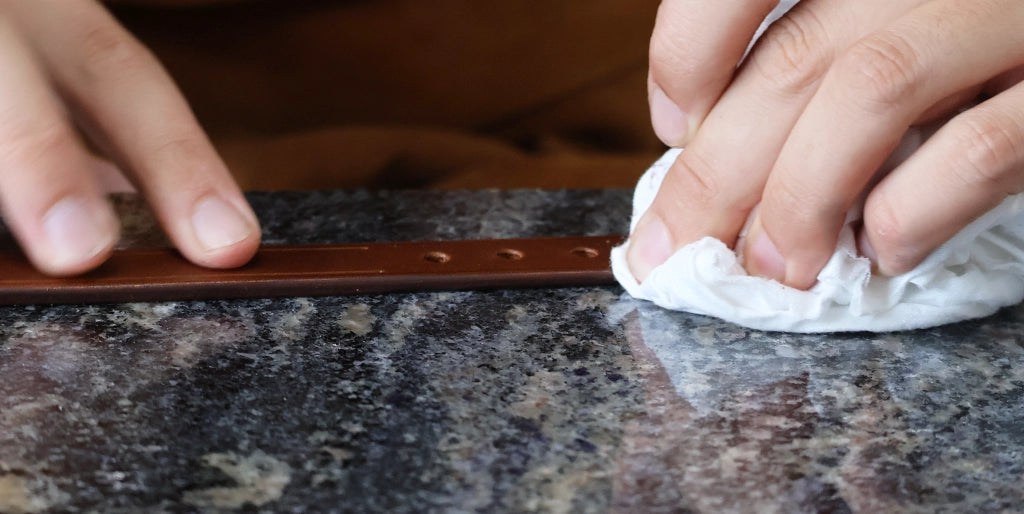
Then remove the excess with a cotton cloth to also prevent it from whitening.
15. MARK THE STITCH POINTS
Mark the stitch points using a stitching wheel with 3.38 mm centers.
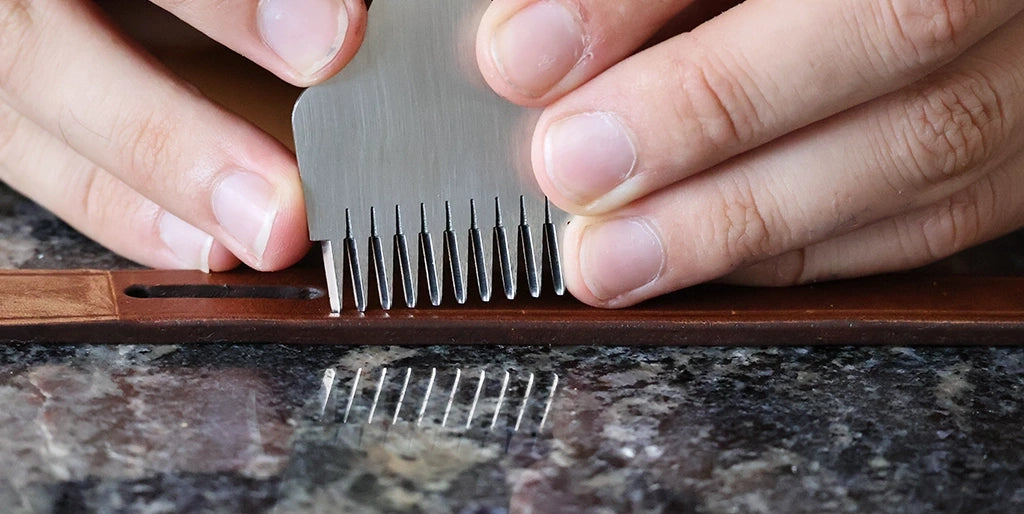
16. APPLY GLUE TO THE WHITE LEATHER
Apply glue to the back of the strap where the white leather will be positioned. Then apply glue to the back of the white leather, in the center. Also apply glue to the end of the strap at the covered part on the flesh and grain side (the area that was lightly sanded).
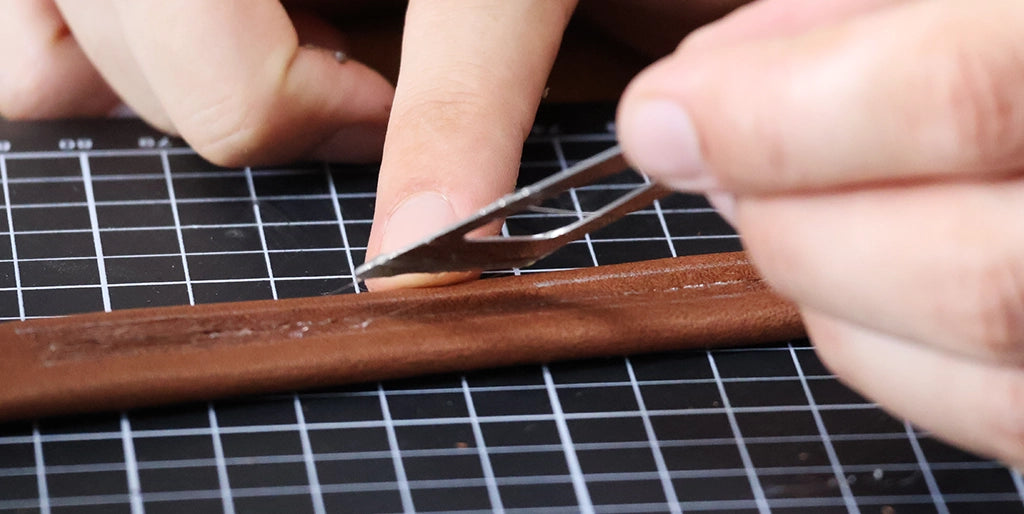
Pass the buckle tongue through the covered part then fold the end of the strap.
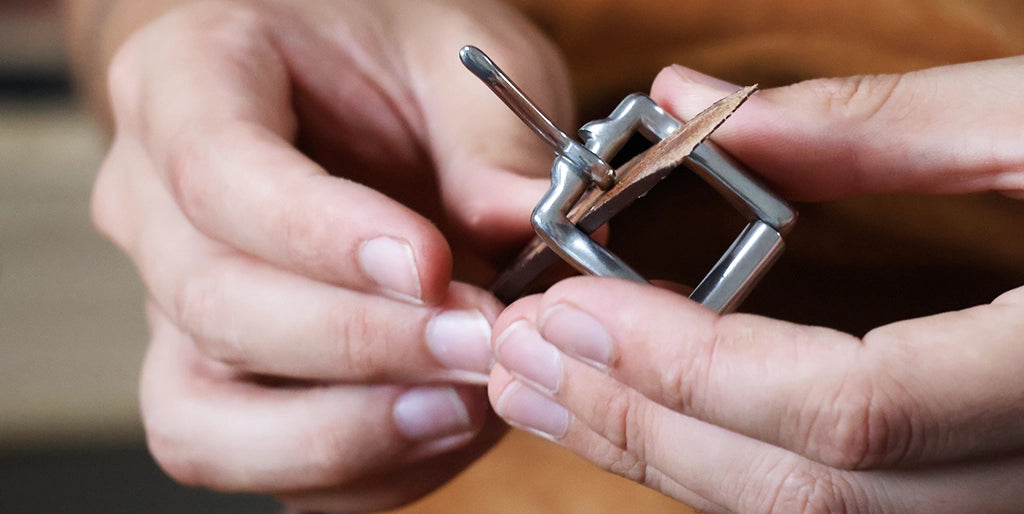
Then thread the D-ring onto the strap and the loop.
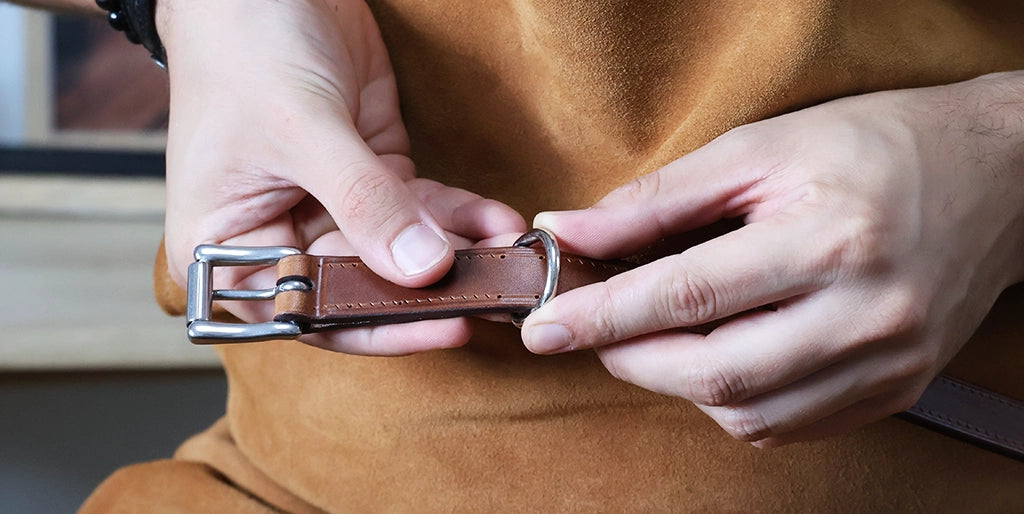
17. GLUE THE WHITE LEATHER
Position one of the ends of the white leather on the flesh side then turn the strap over to glue it and center it correctly. The white leather will slightly widen at the time of sewing because it will be compressed.
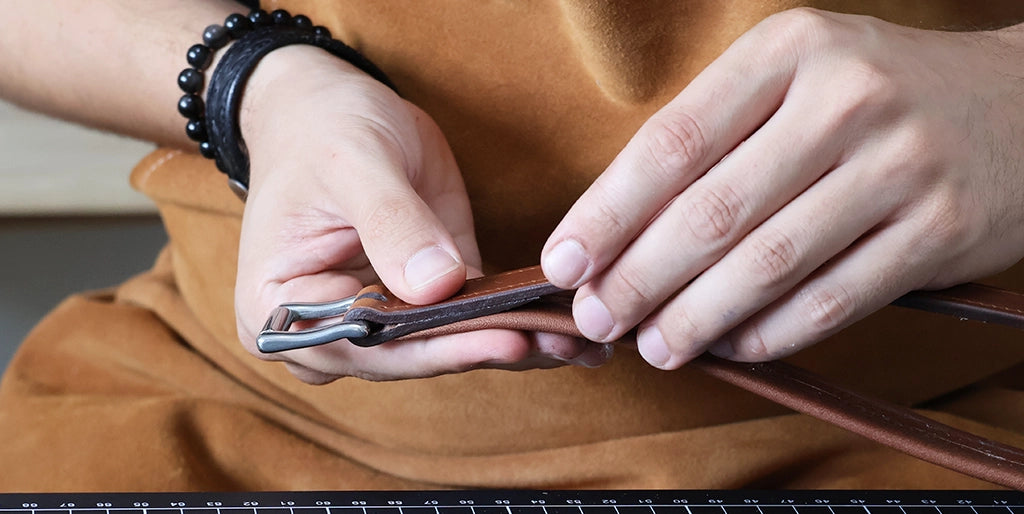
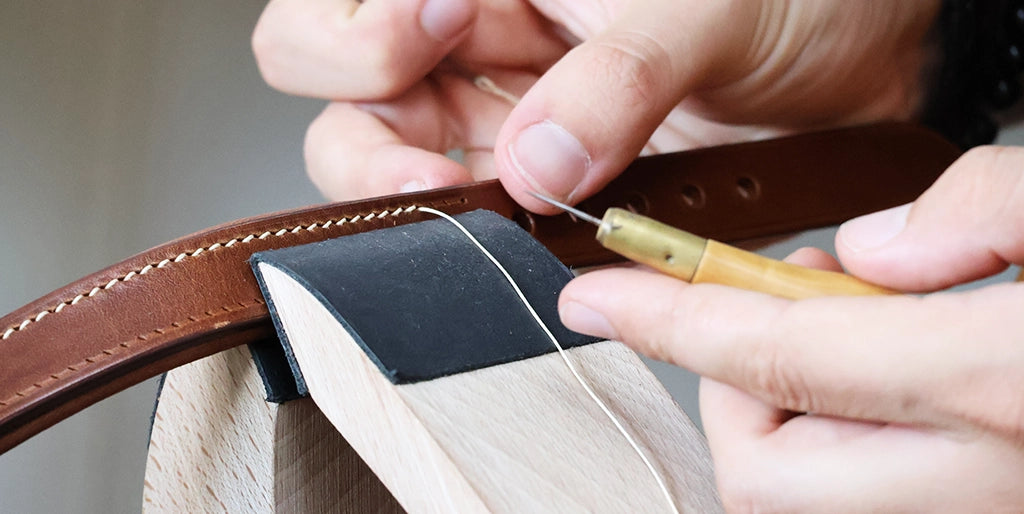
18. SEW THE LOOP, THE WHITE LEATHER AND THE D-RING
Sew the first row of stitching at the loop.
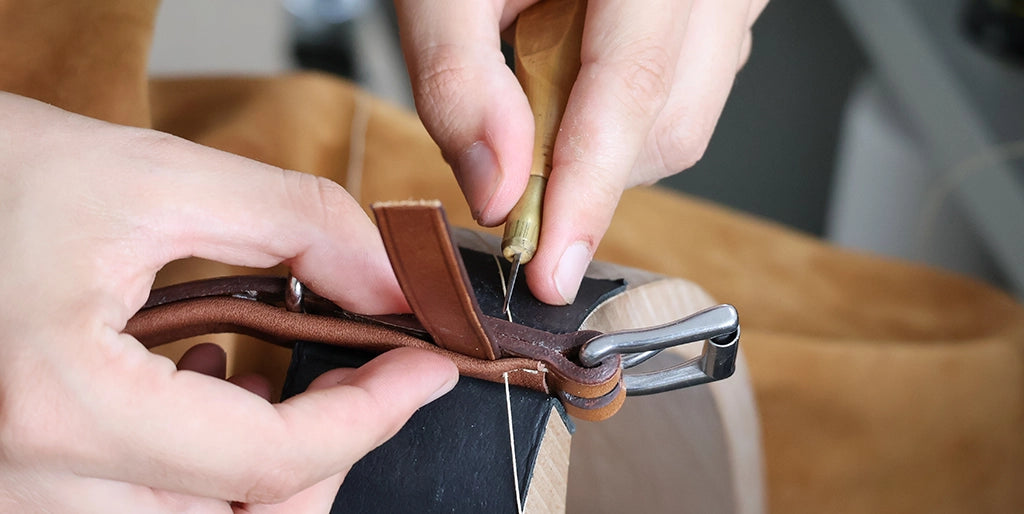
Bring the threads out through the edge, then twist them together to distribute the friction on both threads. Then pass them through one stitch after the other, going over the D-ring.
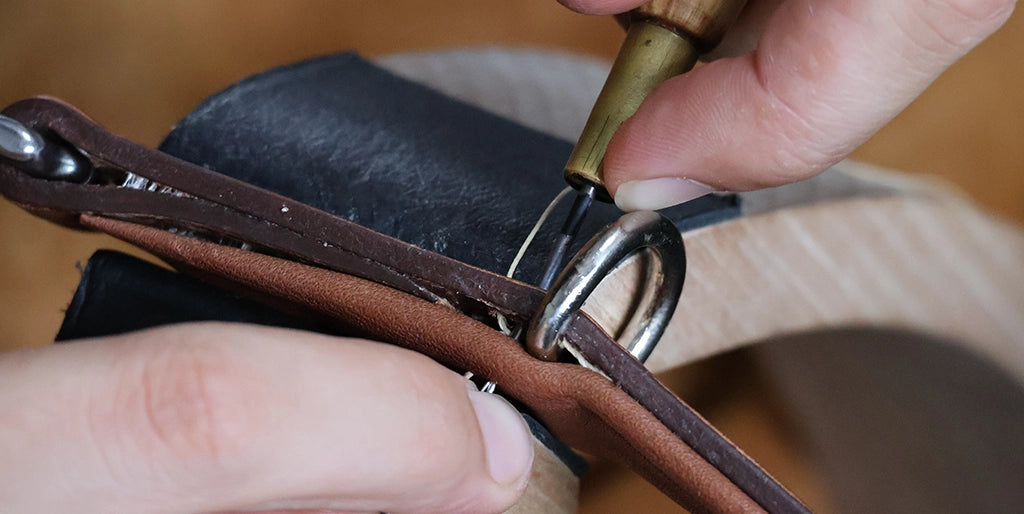
Sew the other part of the loop on the back to make it easier to pass the awl through.
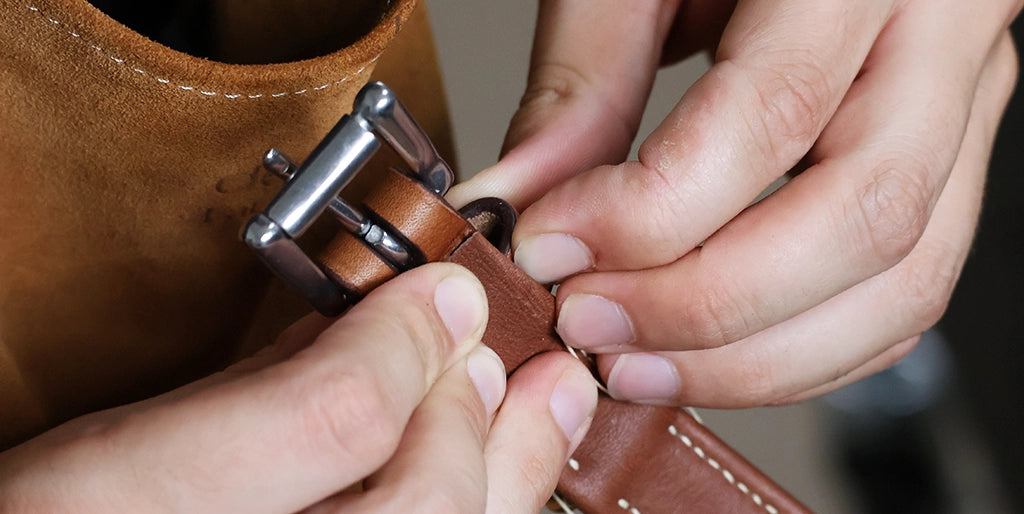
19. BUFF THE COLLAR WITH A CLOTH
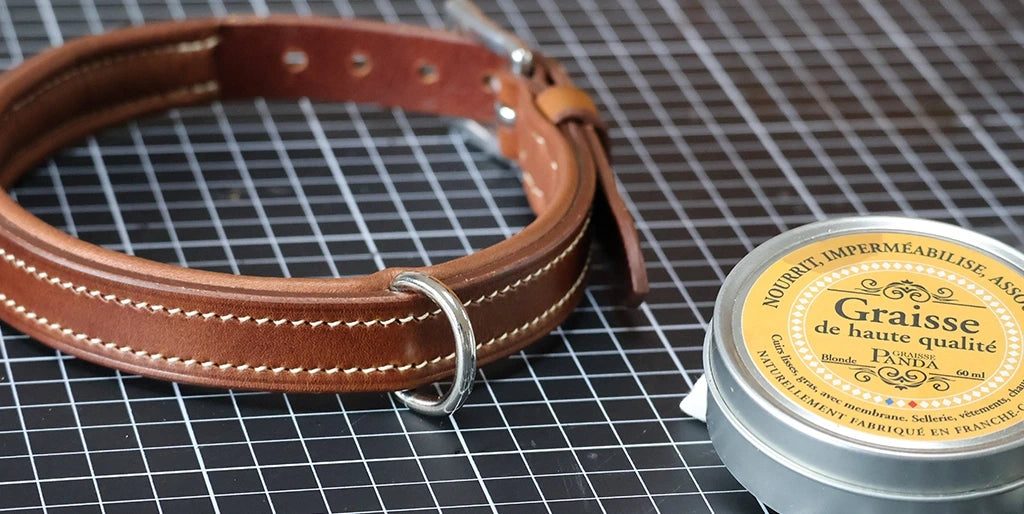
Buff the collar by rubbing it with a cotton cloth. Optionally: apply a grease to protect the collar (example of the Panda grease).
Let's move on to the leash matching the collar!
20. MAKE THE 150 CM LEASH
For the leash, cut a strap 150 cm long and 2 cm wide.
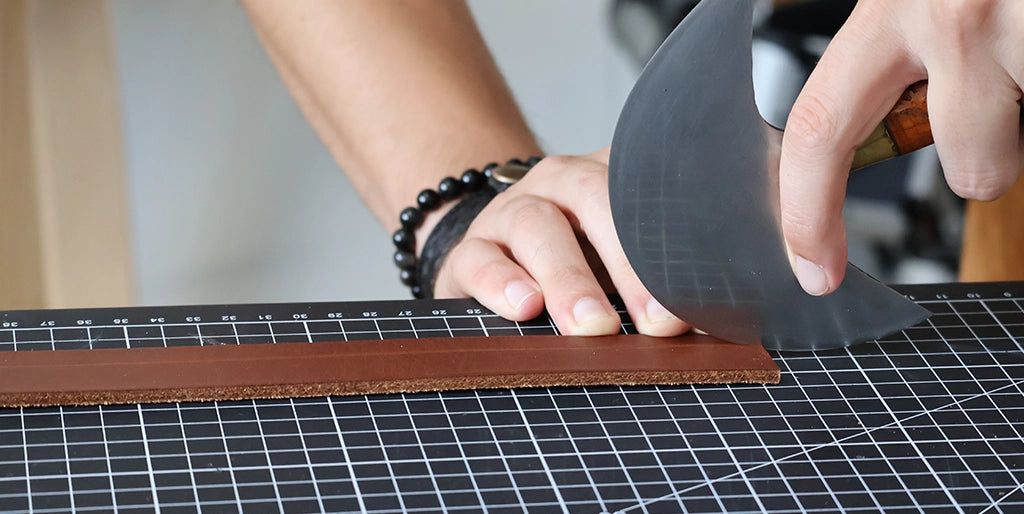
Then trim the ends properly.
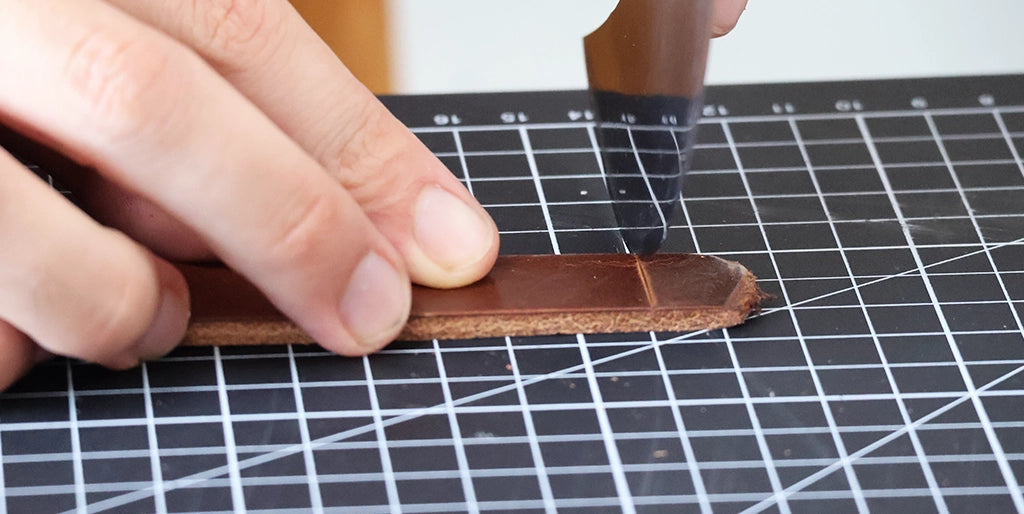
Make a mark at one of the ends at 40 cm for the handle return. Make another mark on the same side at 33 cm for the 7 cm decorative stitching (decorative stitching). Draw the stitching lines 4 mm from the edge at the places where the decorative stitching will be (see the pattern). On the other side, make a mark at 15 cm for the strap return. This mark can be adjusted depending on the size of your snap hook.
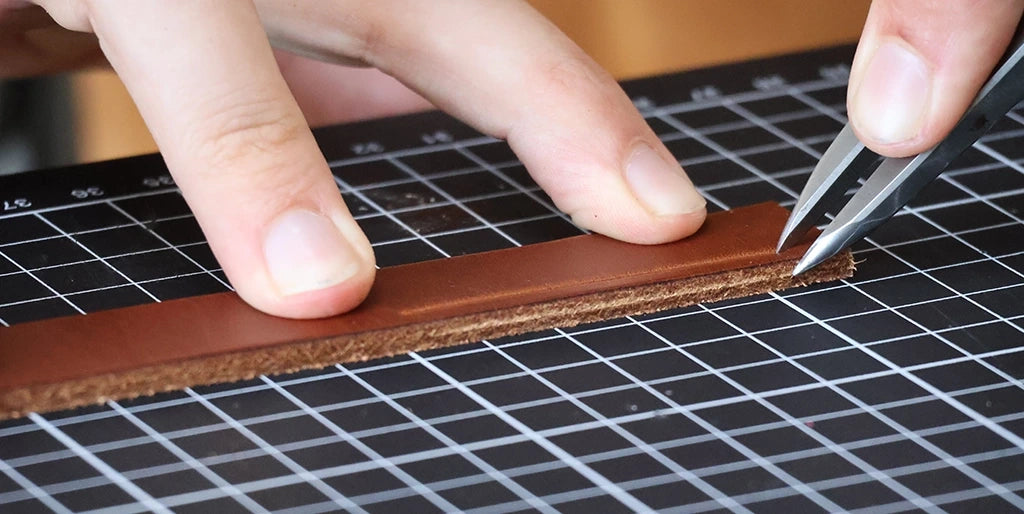
21. DRAW THE DECORATIVE STITCH PATTERN
Using a dry point compass, take the value of the point then draw a point in the center at the end of the strap (where the mark at 15 cm is). Then use a 50 mm circle template to draw the decorative stitching. Do the same for the other decorative stitching on the other end at 40 cm from the edge.
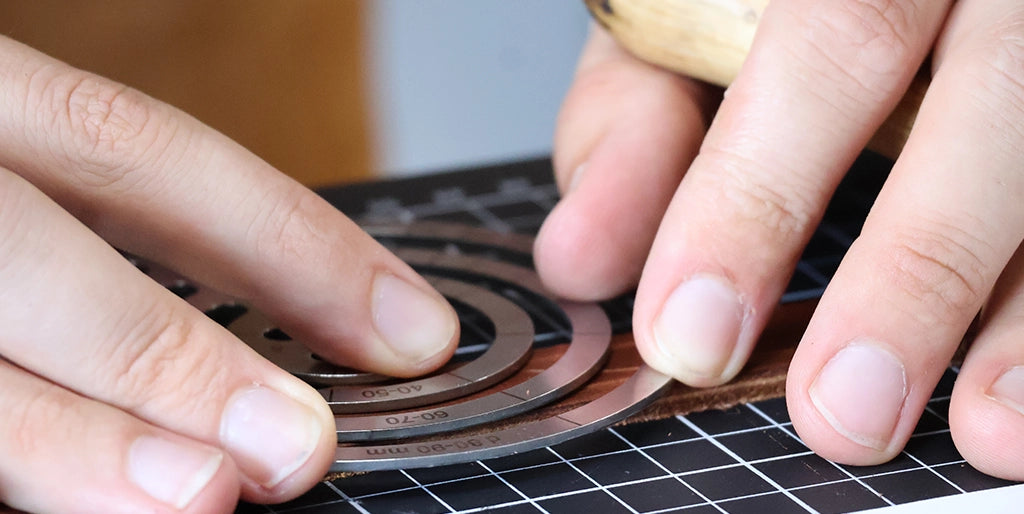
22. POINT ALL THE INTERSECTIONS
Using a round awl, point all the intersections of the 6 cm and 7 cm decorative stitching.
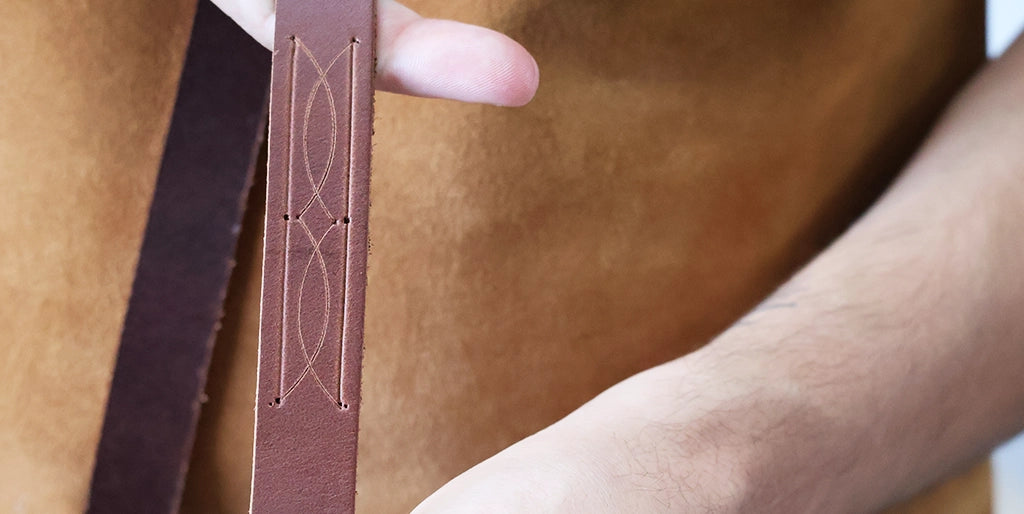
23. MARK THE GLUE AREA
Draw on the flesh side the mounting value of the handle (located at 40 cm). At the other end, pass the snap hook through the strap and make a mark.
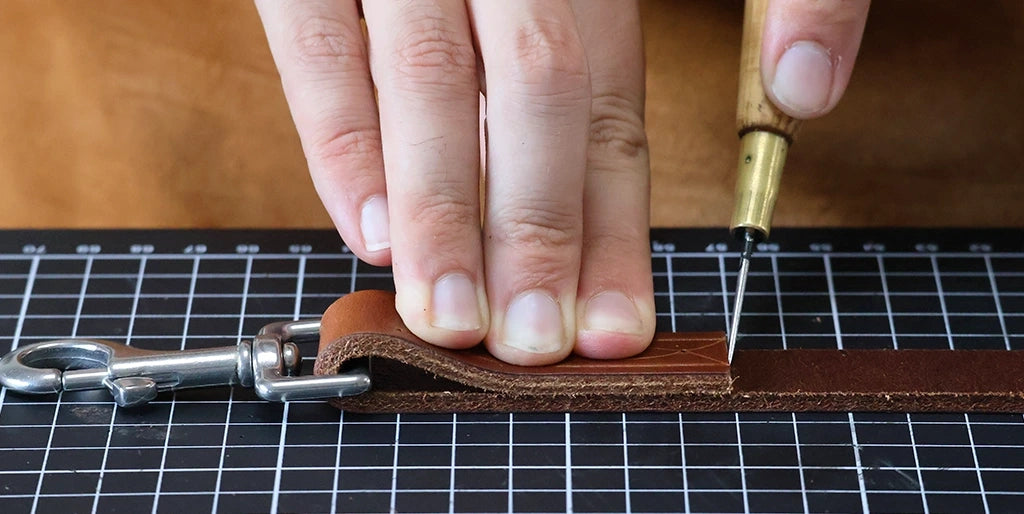
24. MAKE A DECORATIVE STITCH
Make a decorative stitch 3 mm from the edge along the entire length of the leash using a stitching wheel.
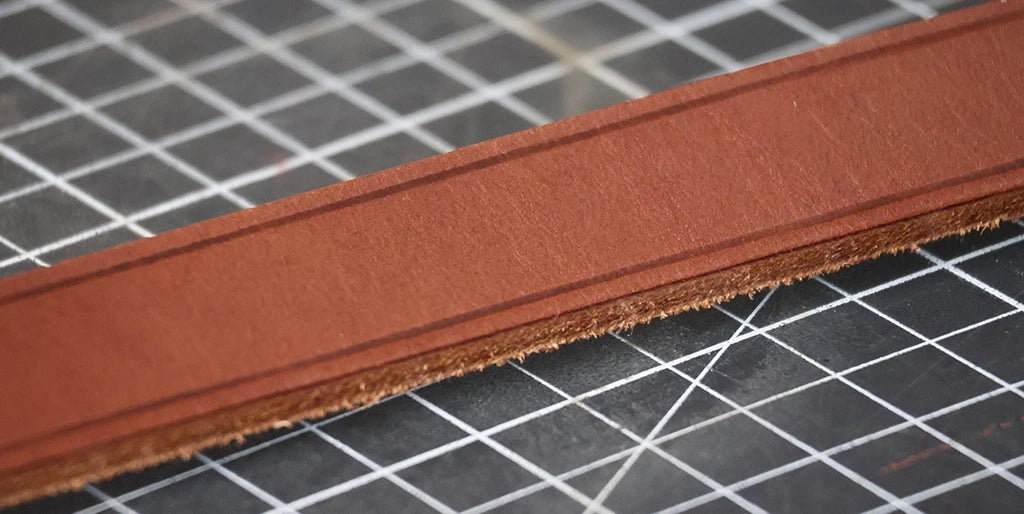
25. BEVEL THE EDGES
Bevel the untrimmed edges of the leash (the two ends for about 7 cm).
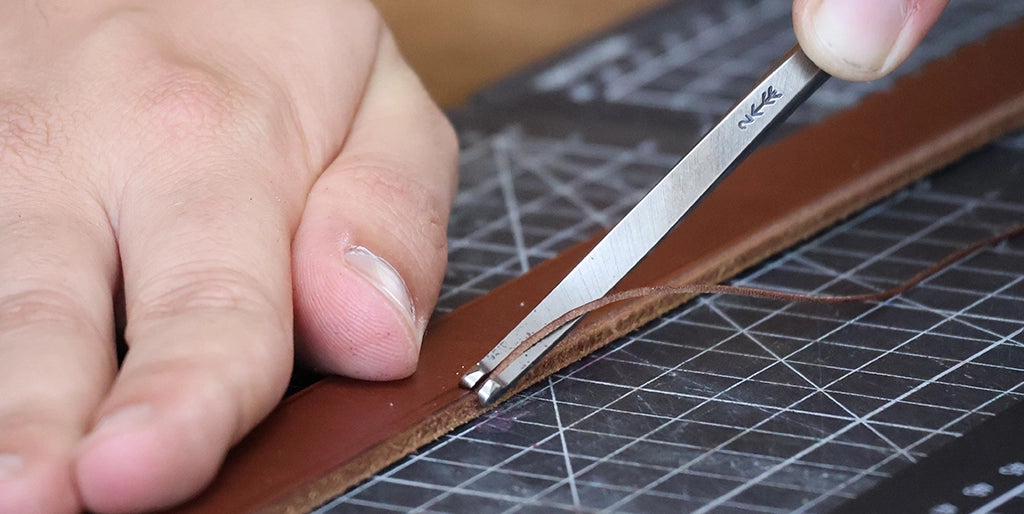
26. TRIM BOTH ENDS OF THE STRAP
Trim both ends of the leash for about 7 cm.
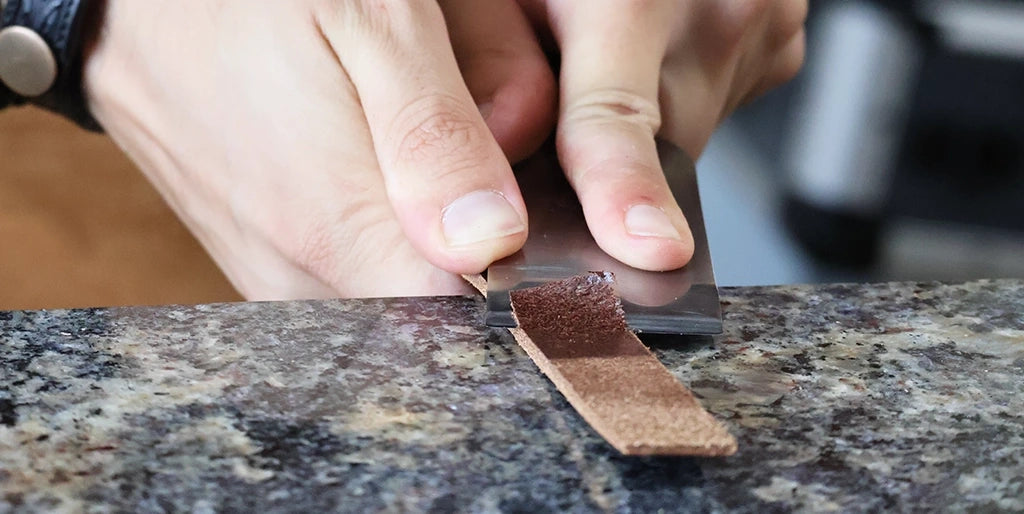
Little extra: break the corners slightly for a nice finish.
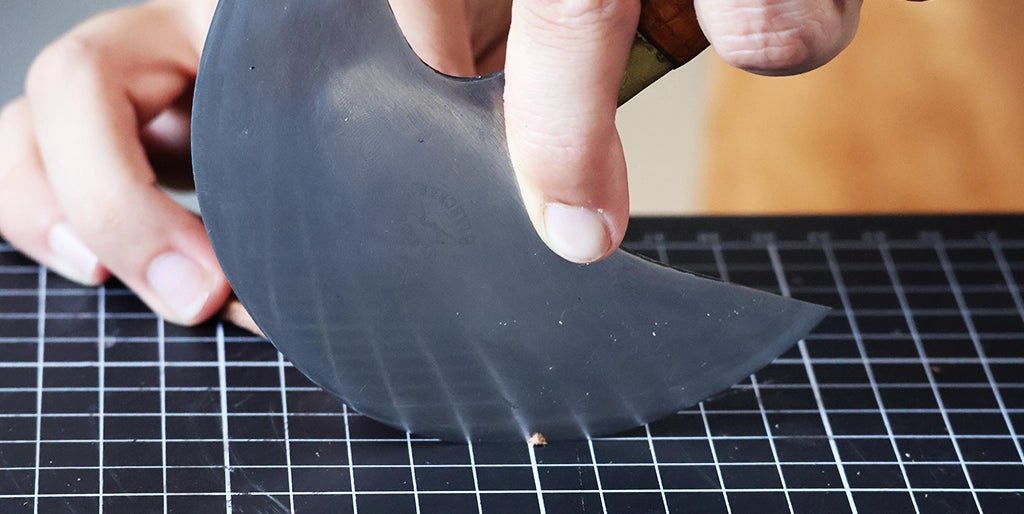
27. WORK THE EDGES
Work the edges of the leash in the same way as the dog collar.
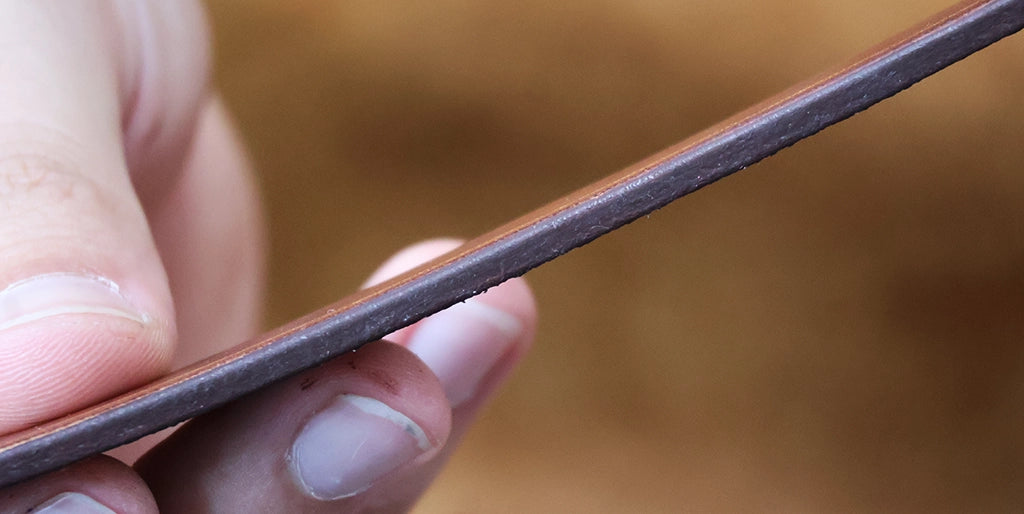
28. MARK THE STITCH POINTS
Using stitching wheels, 3.38 mm centers: mark the stitch points of the decorative stitching.
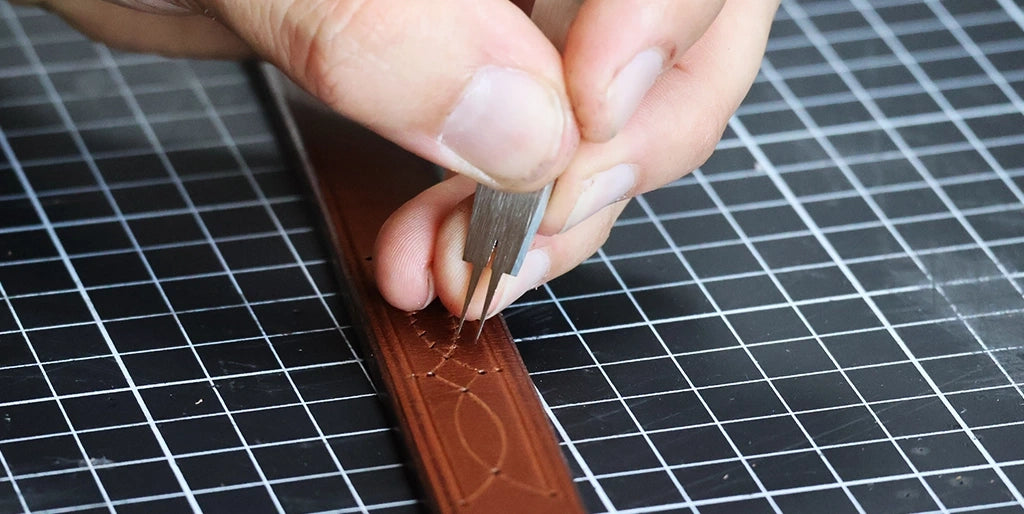
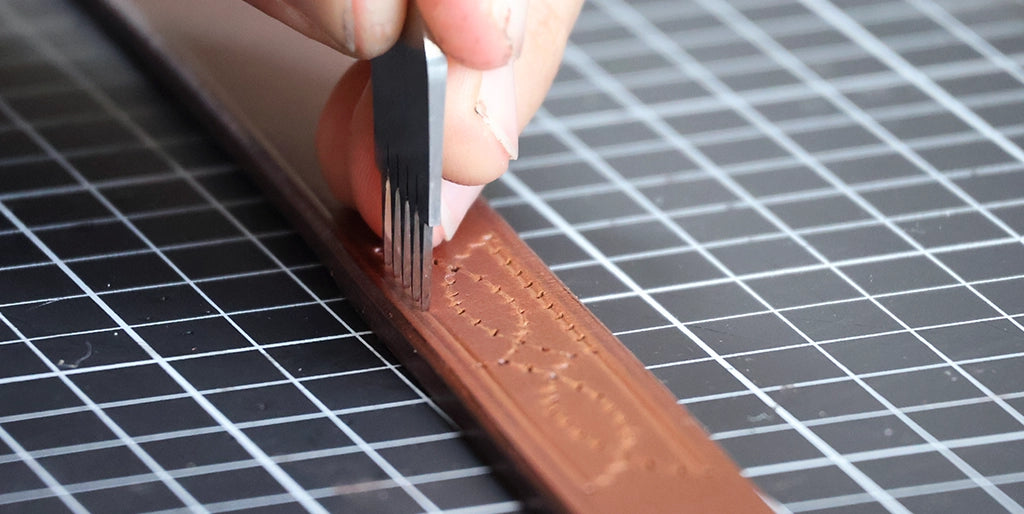
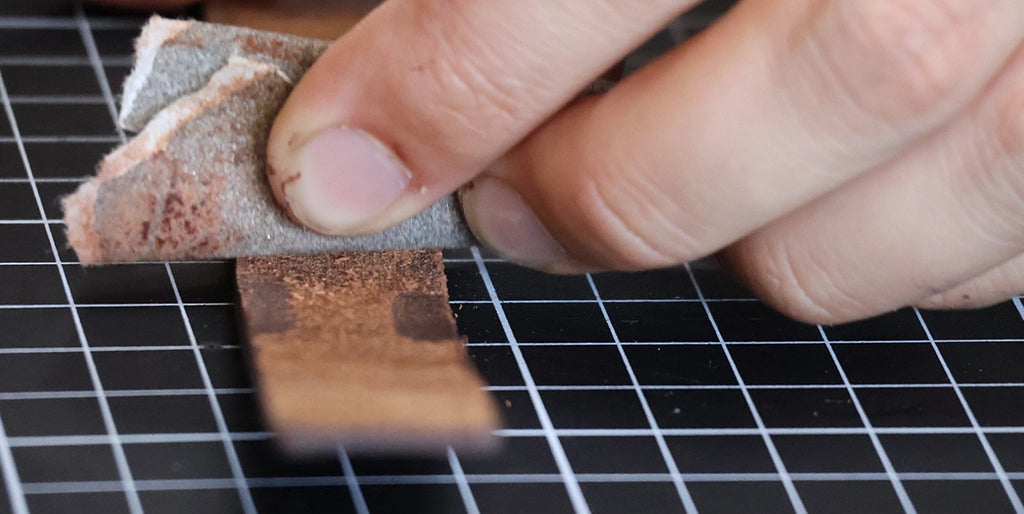
29. GLUE THE ENDS
Sand the flesh side of the areas that will be glued to make the glue adhere better. Then proceed with gluing using neoprene glue.
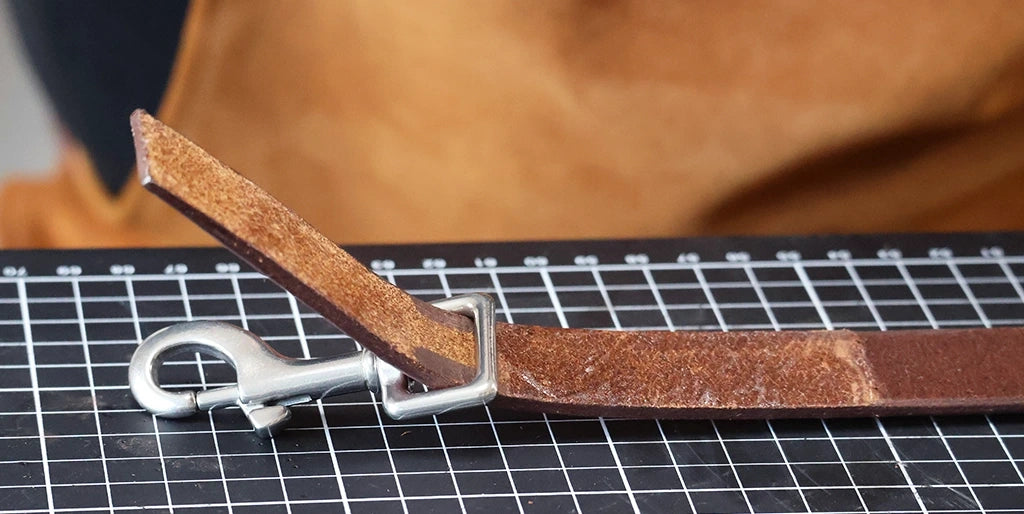
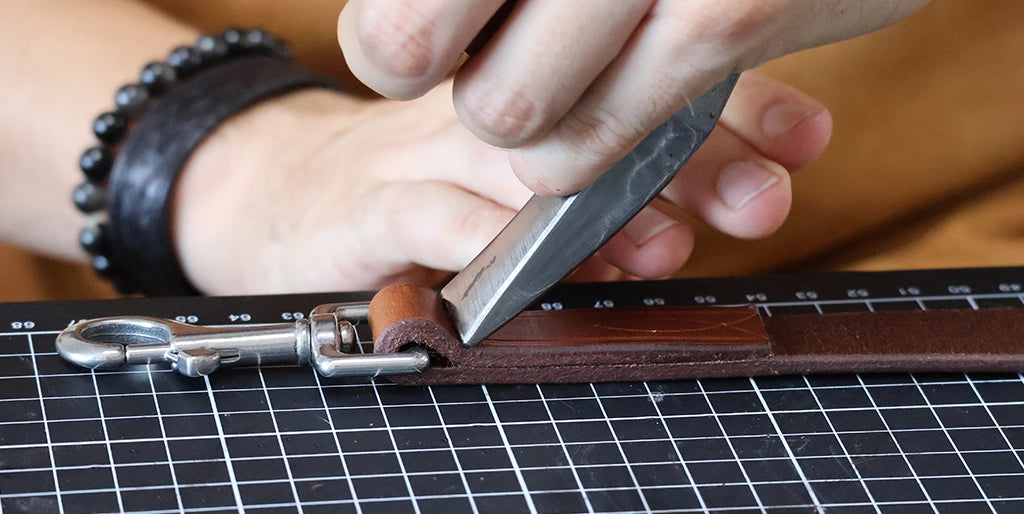
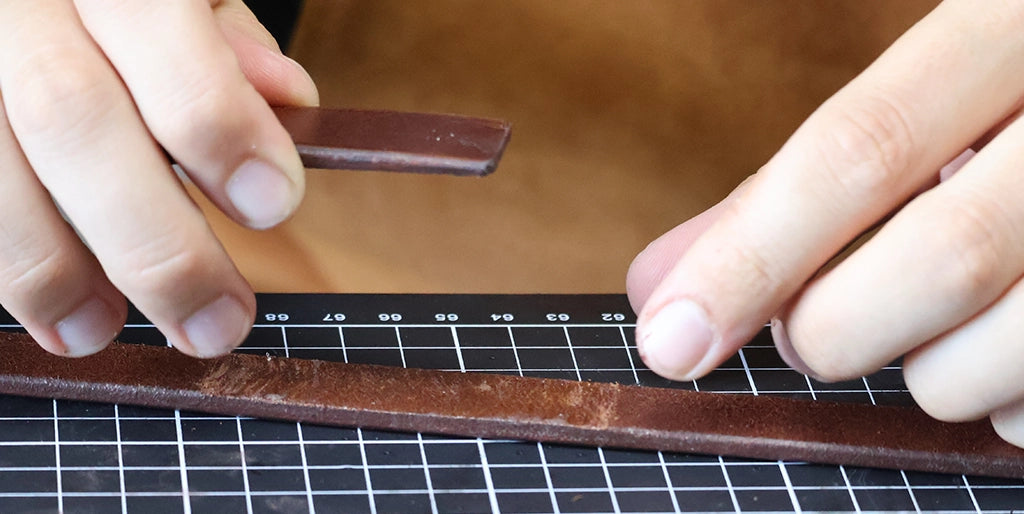
30. SEW WITH SADDLE STITCHING
Sew the decorative stitching with saddle stitching.
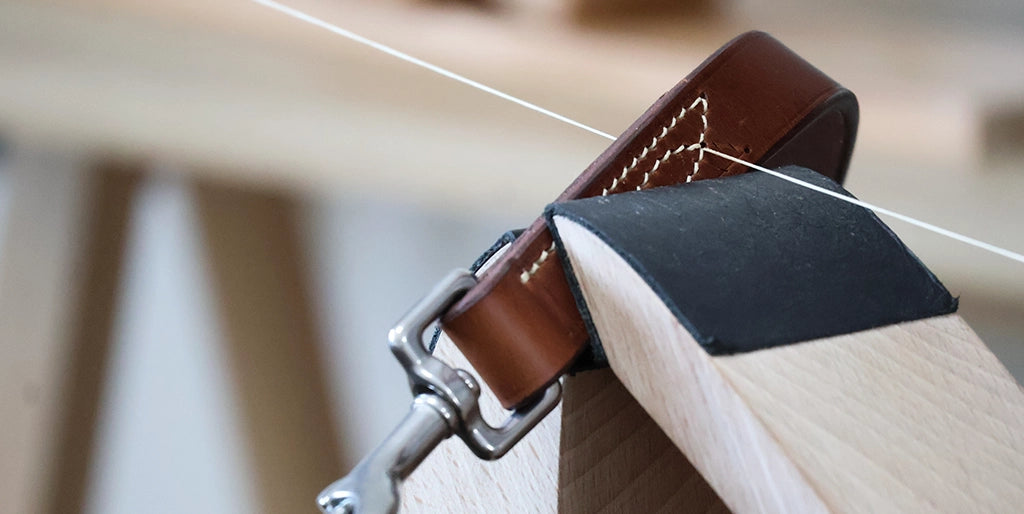
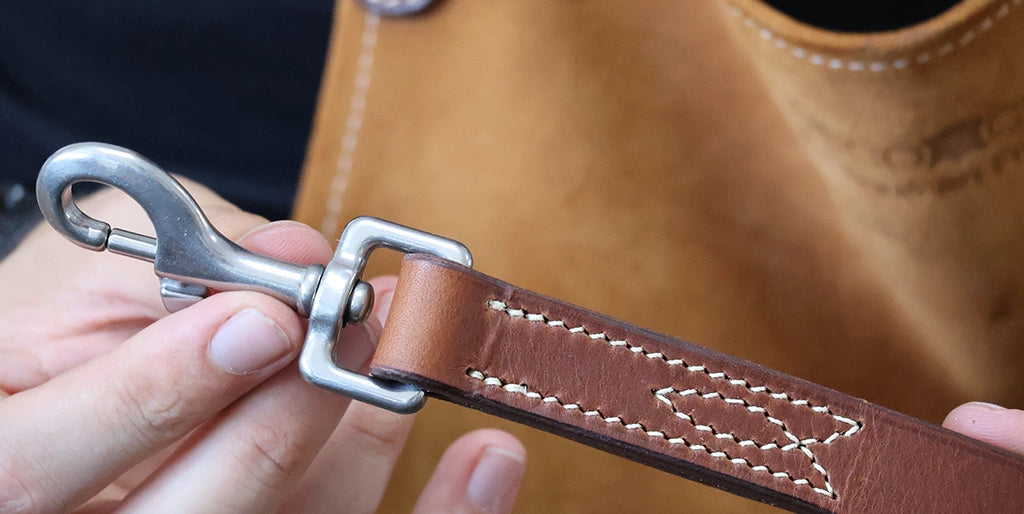
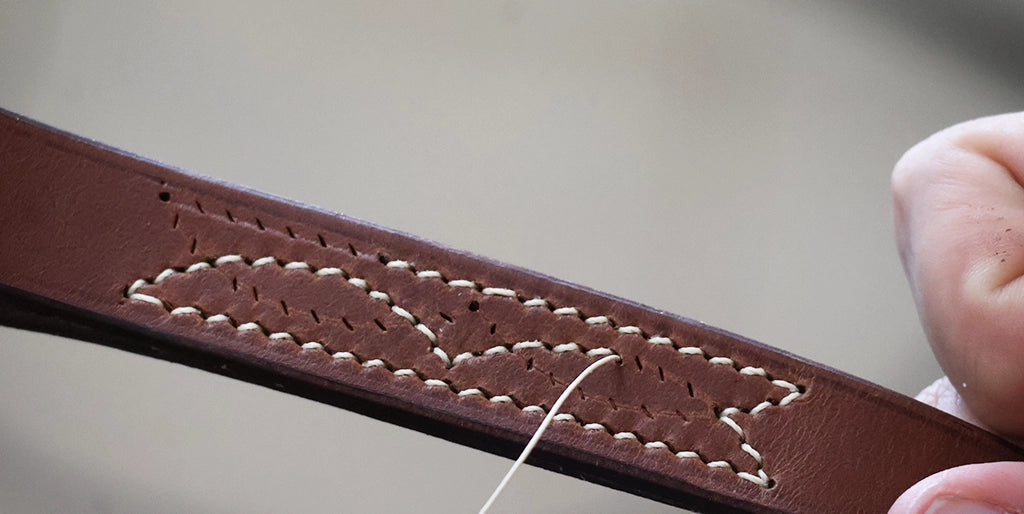
32. BUFF THE LEASH WITH A CLOTH
Buff the leash by rubbing it with a cotton cloth. Optionally: apply a grease to protect the collar (example of the Panda grease).
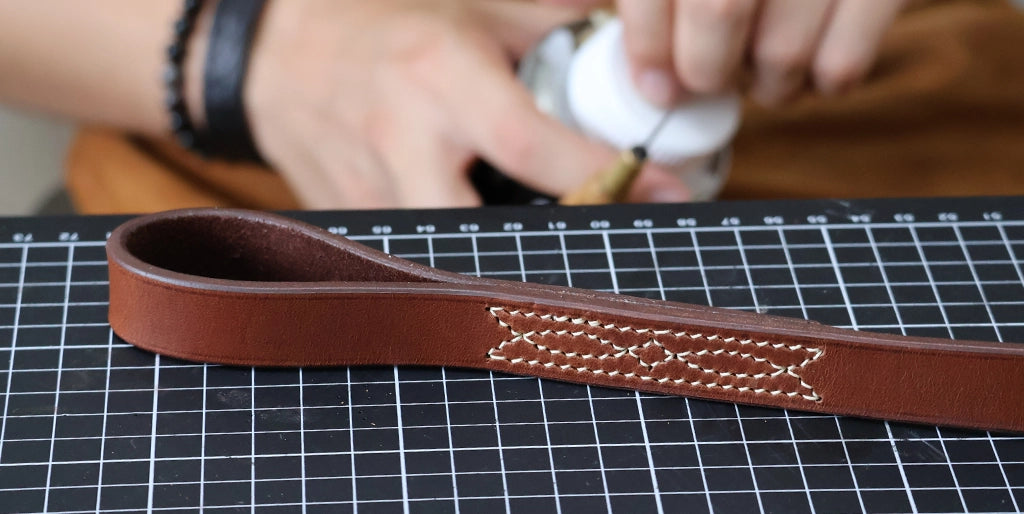
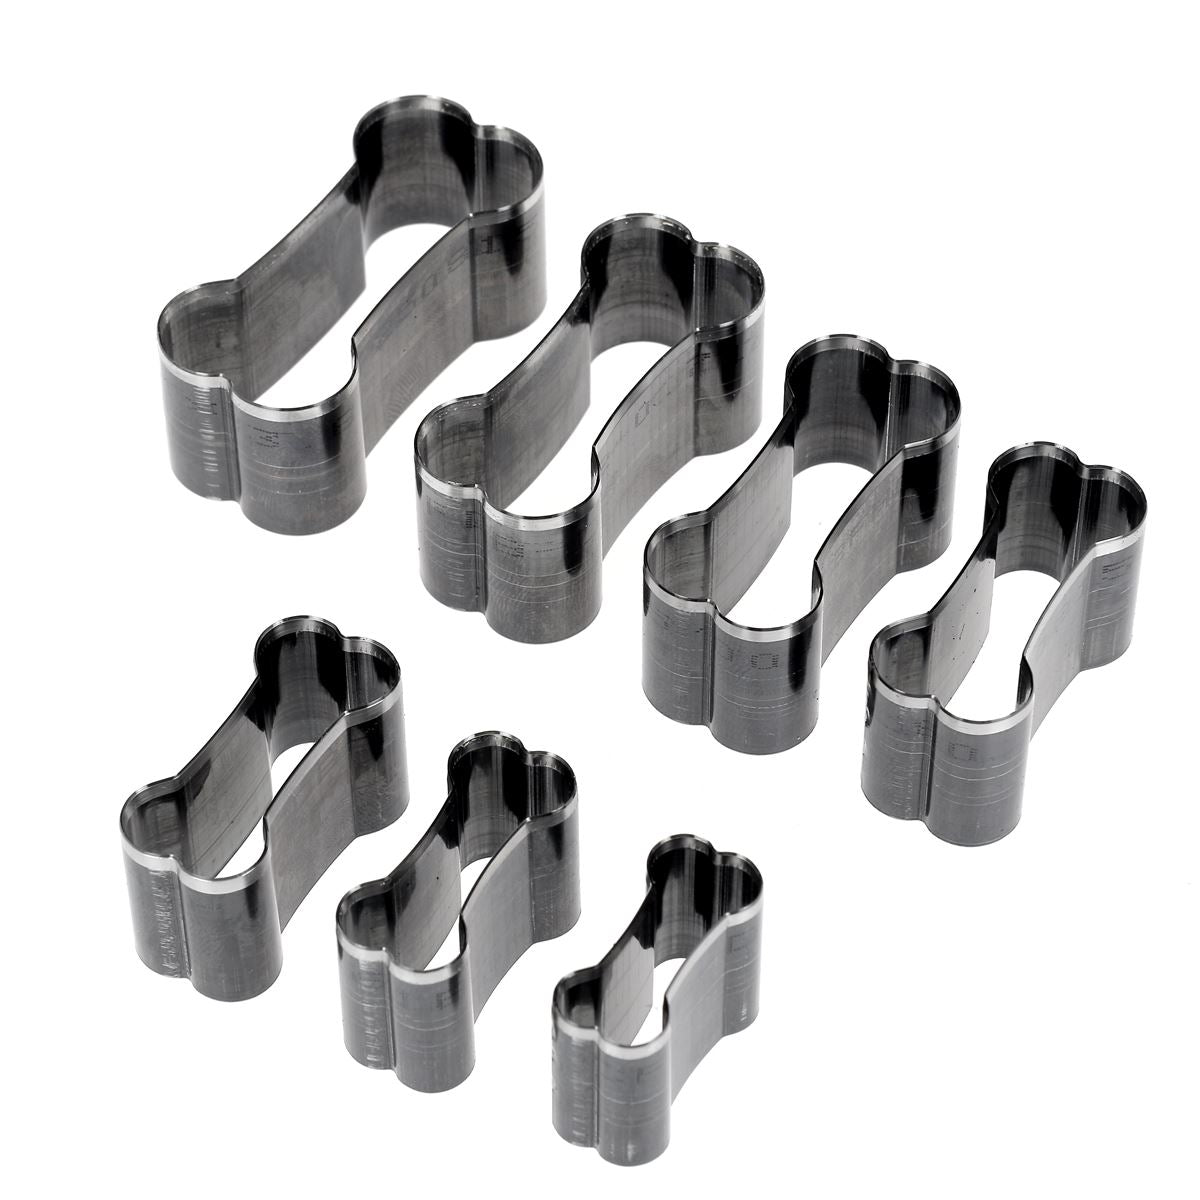
Optionally!
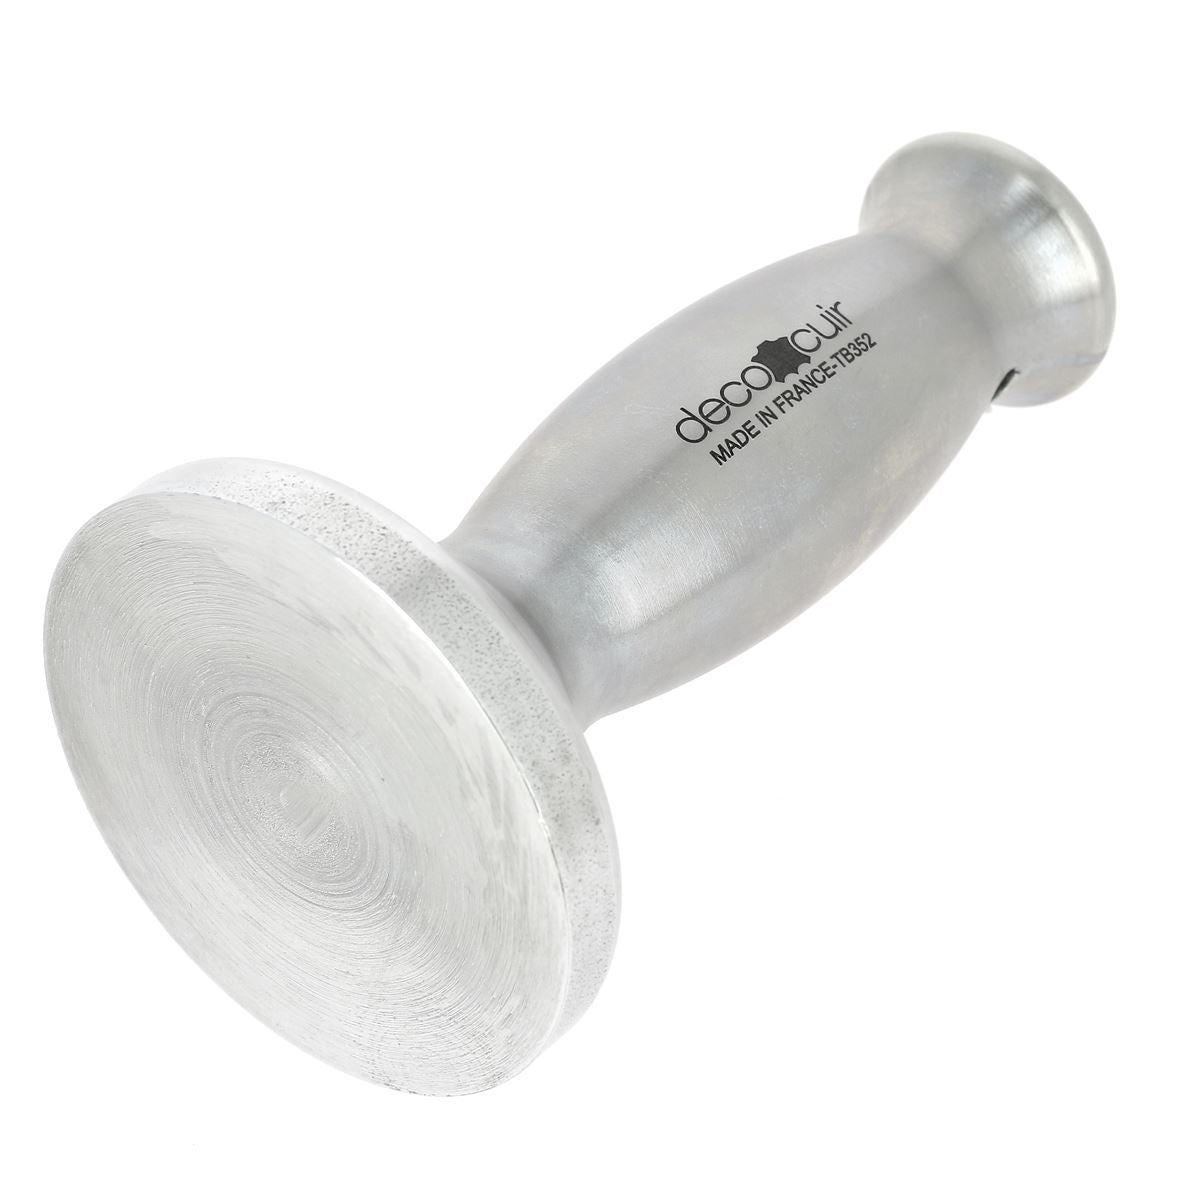
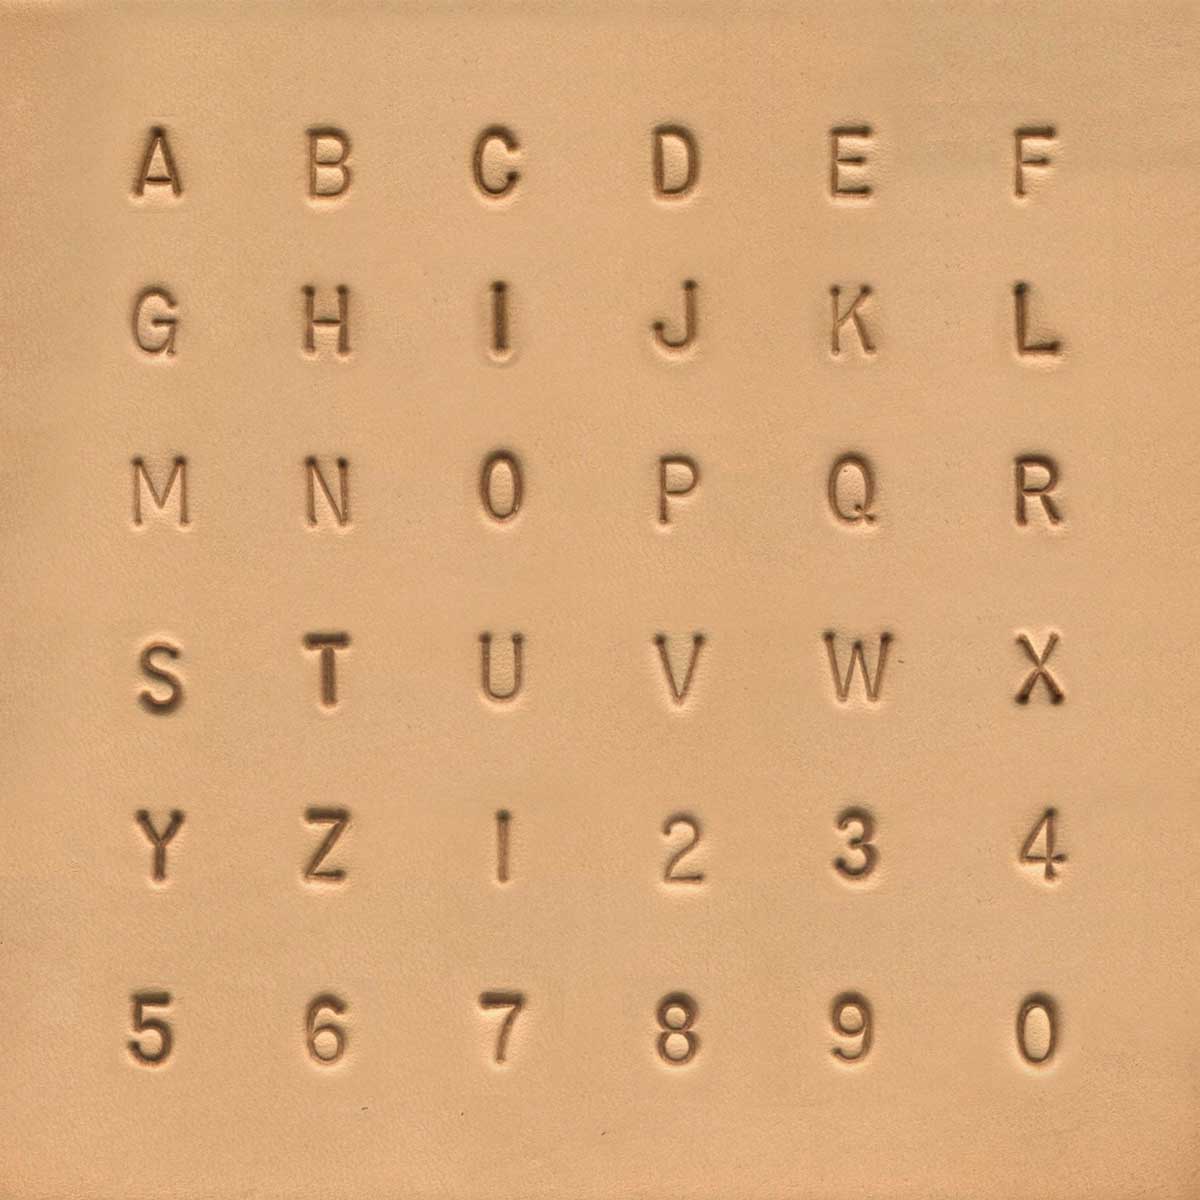
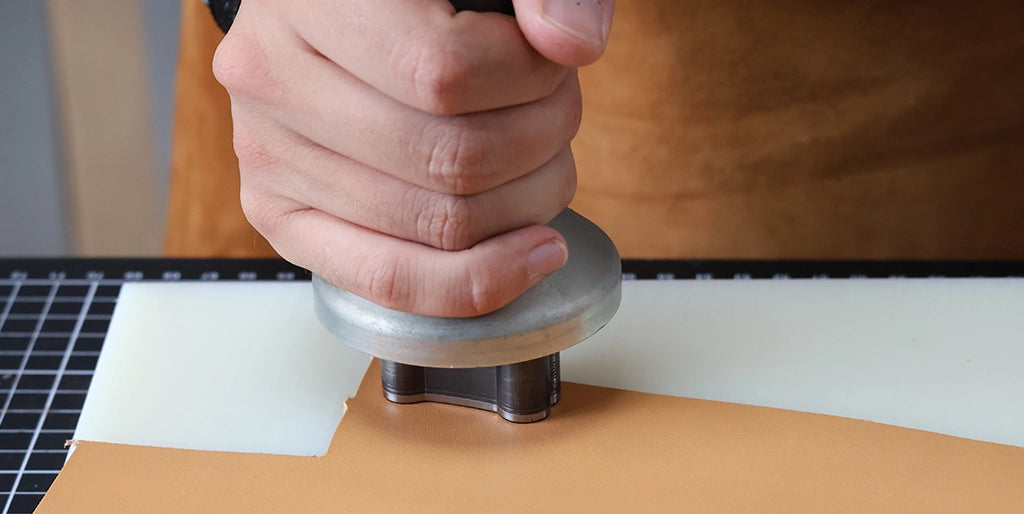
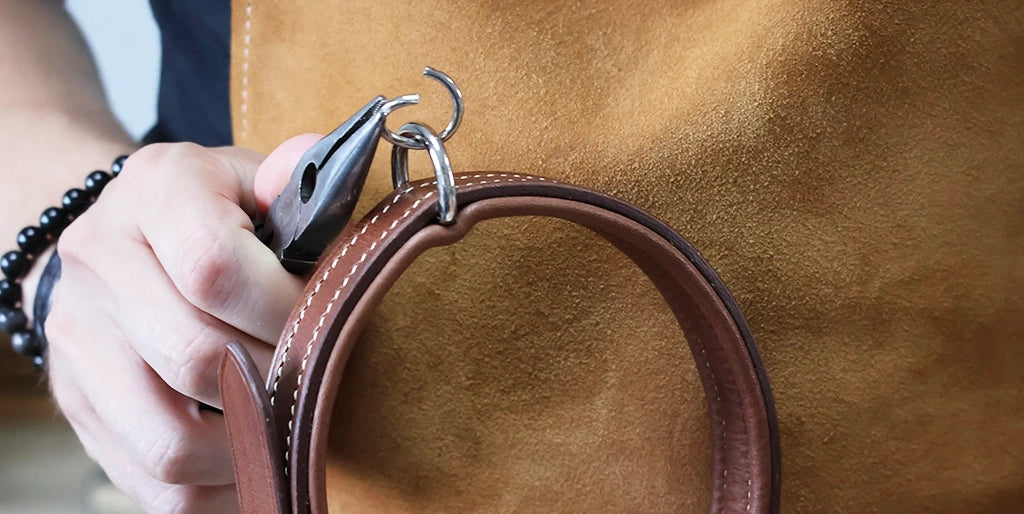
Add the final touch by personalizing the collar with a matching keychain. To make it, use our blanking knife and our punch tool (with punches).



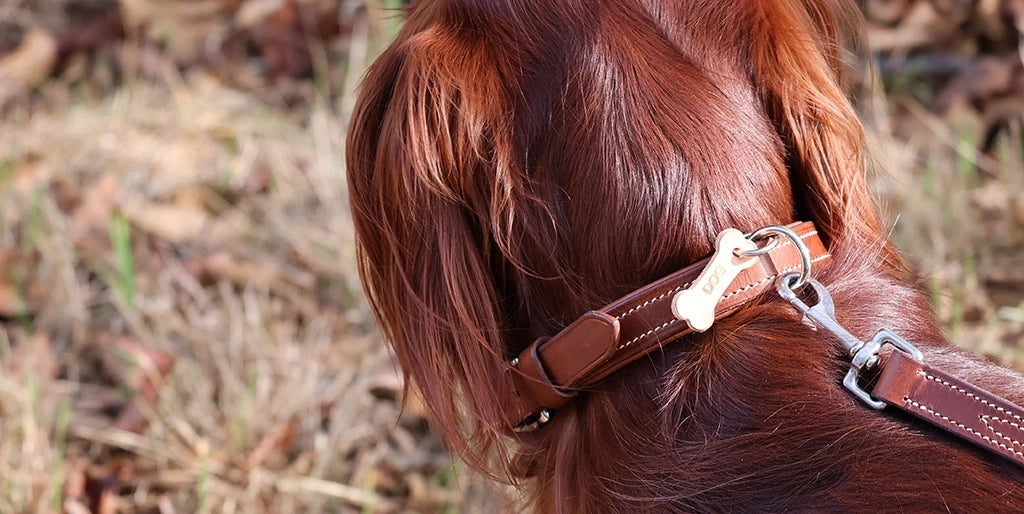
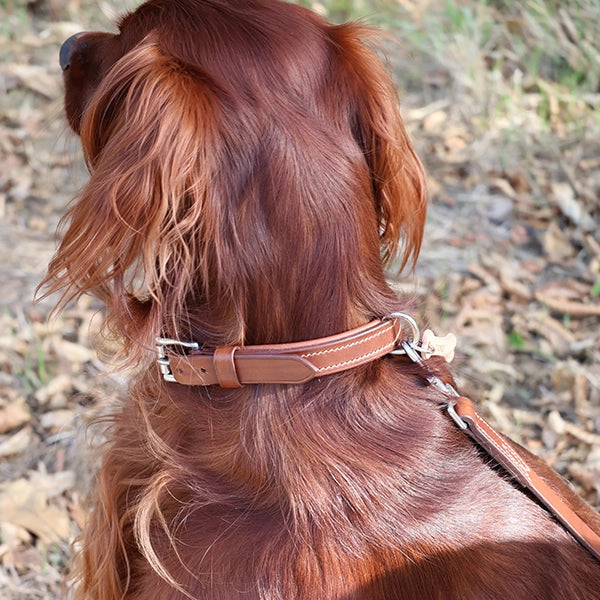
You're done!
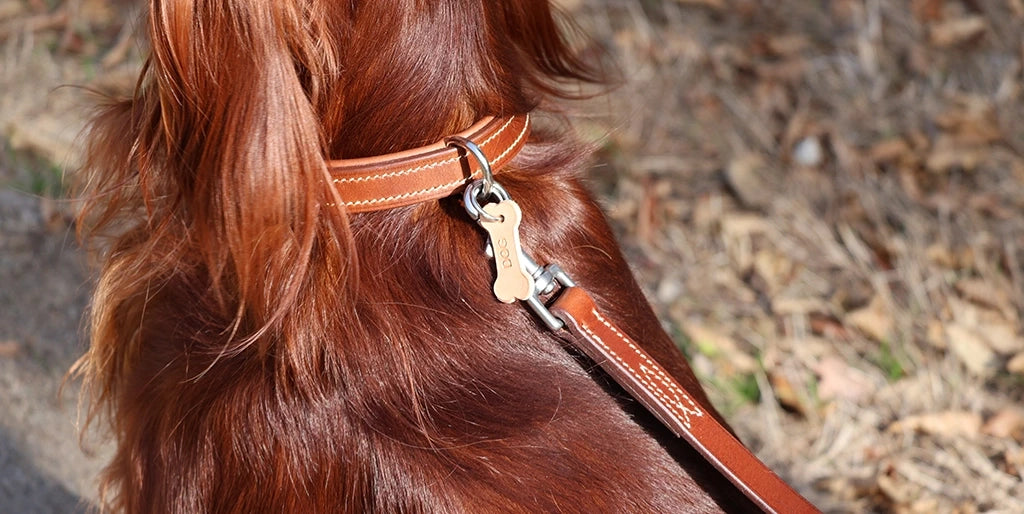
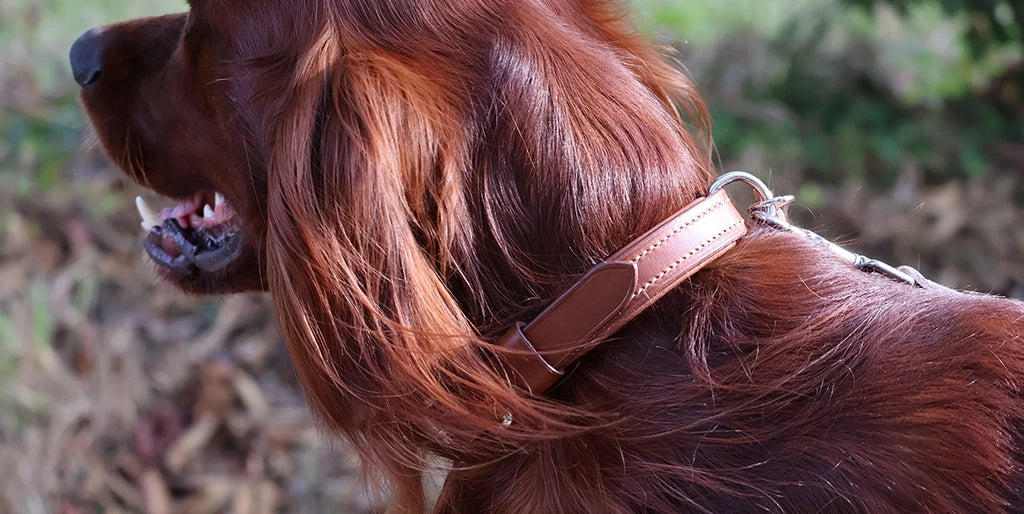
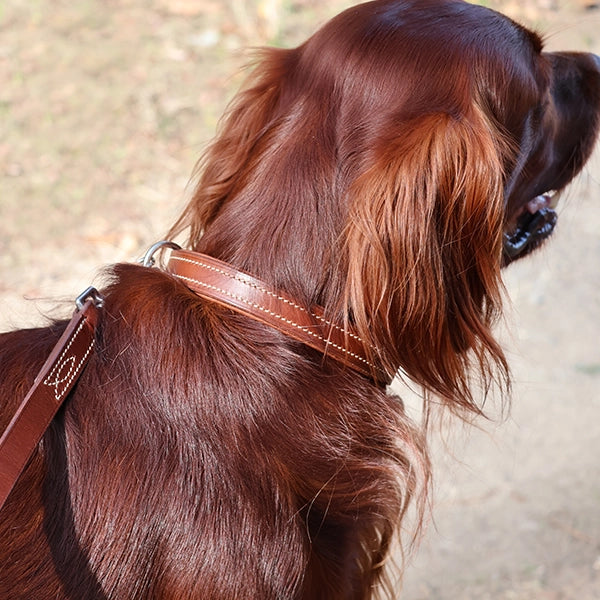
At first the collar is tight, hard to open but that's normal it will loosen over time. Once the collar is closed, you should be able to slide two fingers flat between the neck and the collar.
 |
 |


