










REQUIRED MATERIALS
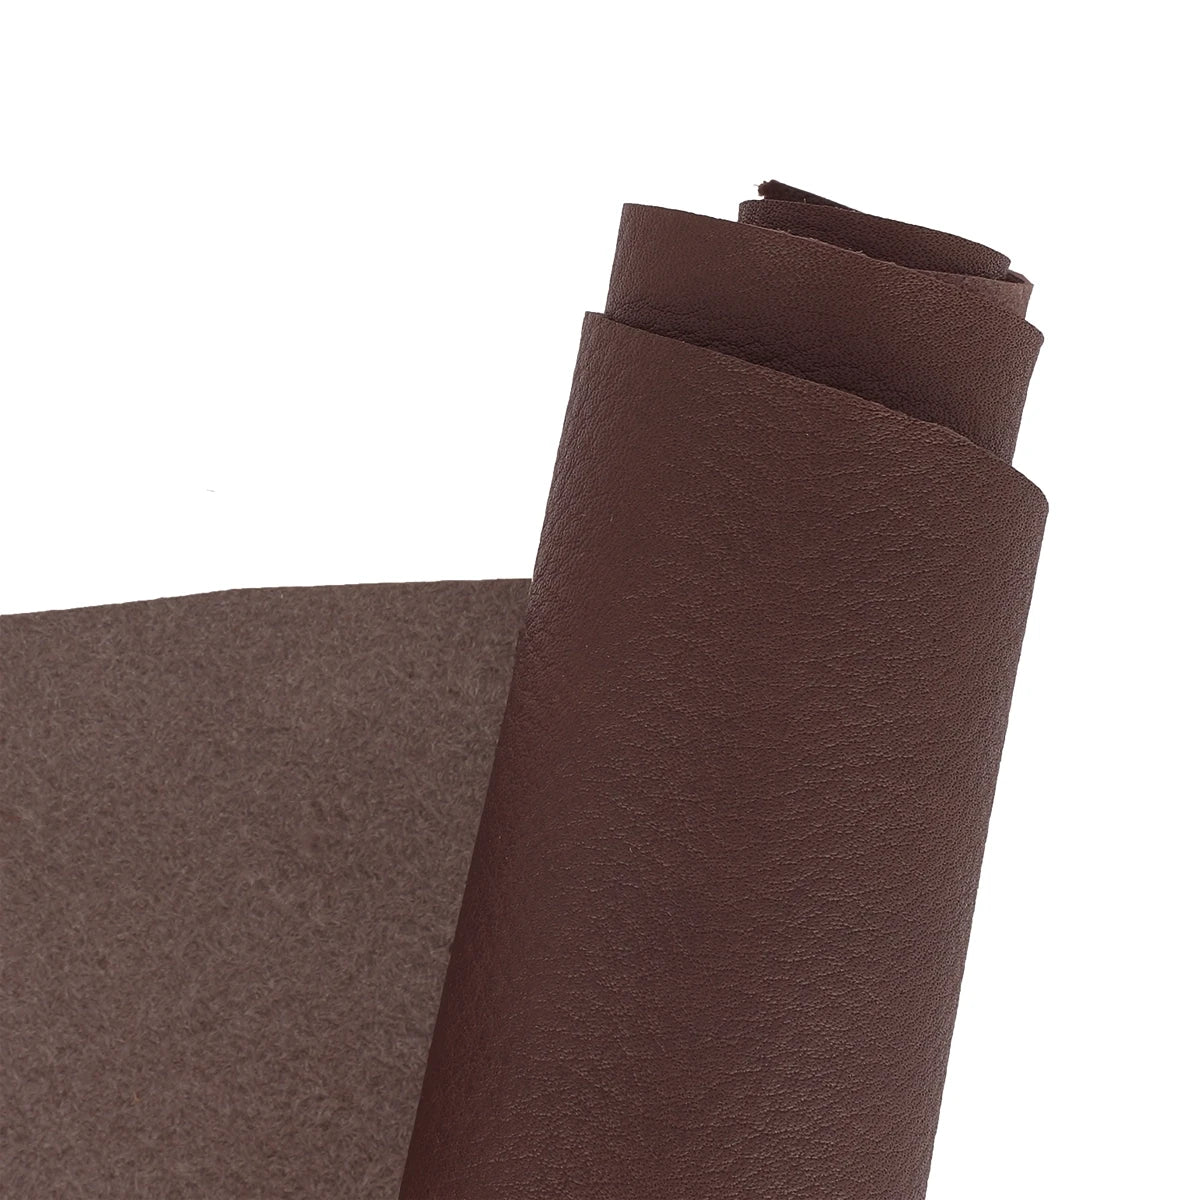
- 65 cm (for a horse size) of back leather strap - 3.8 mm thick - 25 mm wide
For equestrian use, we recommend choosing back or seat leather straps rather than neck leather
GUIDE: PARTS OF COW LEATHER
- At least 35 x 8 cm of leather from the Radermecker Angel range for the noseband
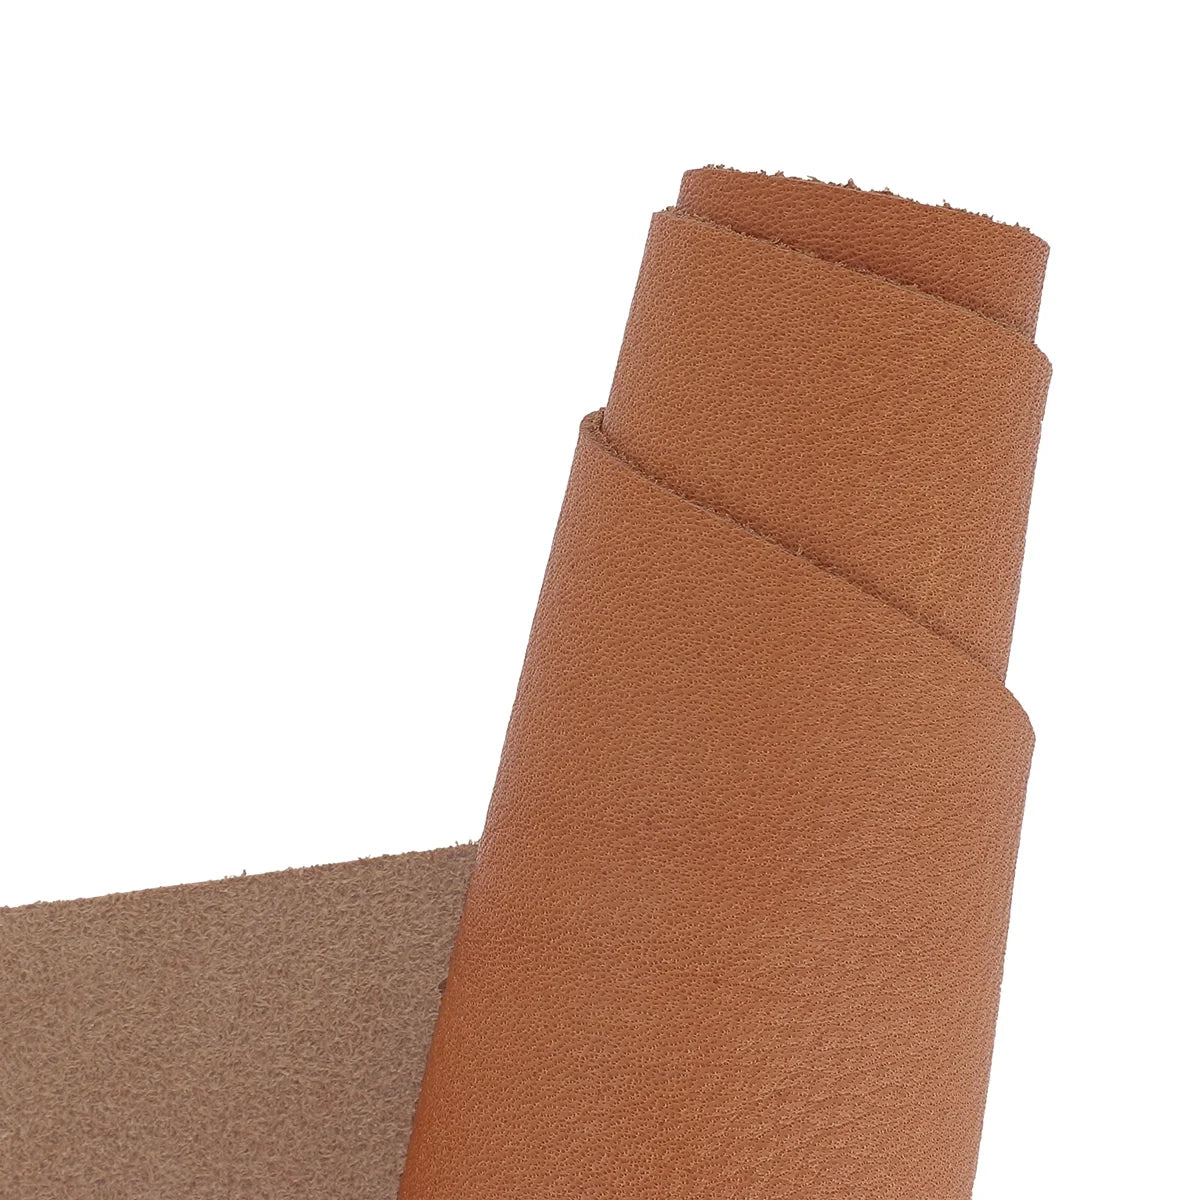
The choice of leather is essential for making a noseband, especially in the equestrian field or for creations subjected to demanding conditions of use, such as dog collars. Choose a soft, resistant leather adapted to the constraints of use, capable of retaining its properties over time. For this guide, we have selected Angel leather, mineral-tanned, from the Radermecker tannery, with a thickness of approximately 1.8 mm. This saddlery leather resists moisture and regains its appearance after drying at room temperature. Pig leather is not recommended for this use, because its porous structure promotes the absorption of water. It is also important to take into account the nature of the leather, especially when it is intended to be in direct contact with the skin.
- 1 piece of salmon leather from the Ictyos tannery (medium size)
- 30 cm of 6 mm diameter strand/strip
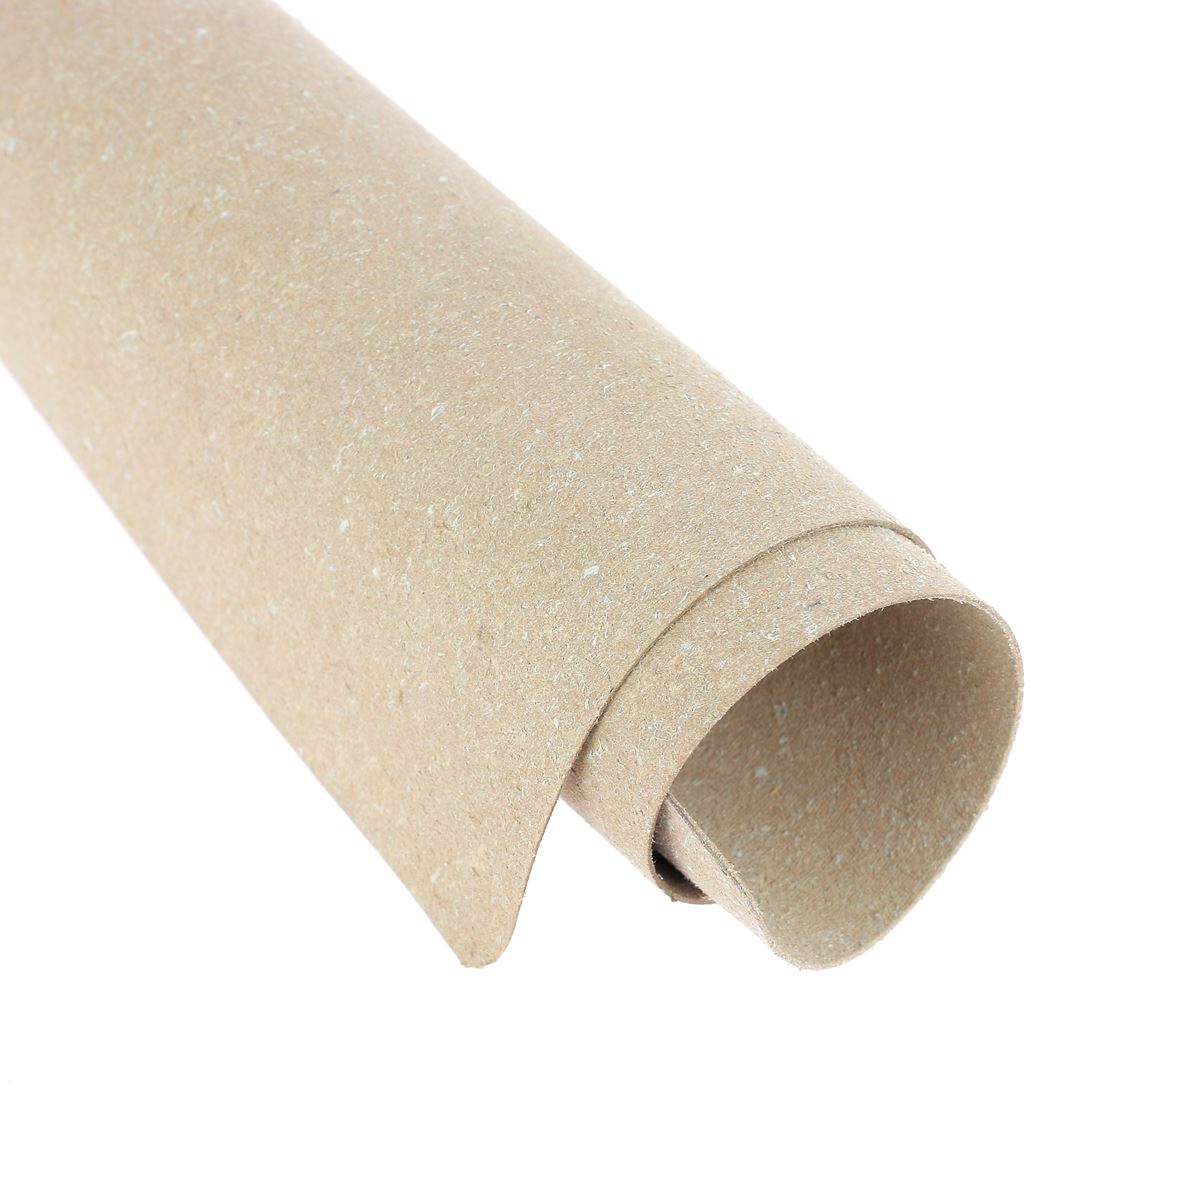
- At least 35 x 8 cm of Salpa reinforcement - 0.4 mm thick
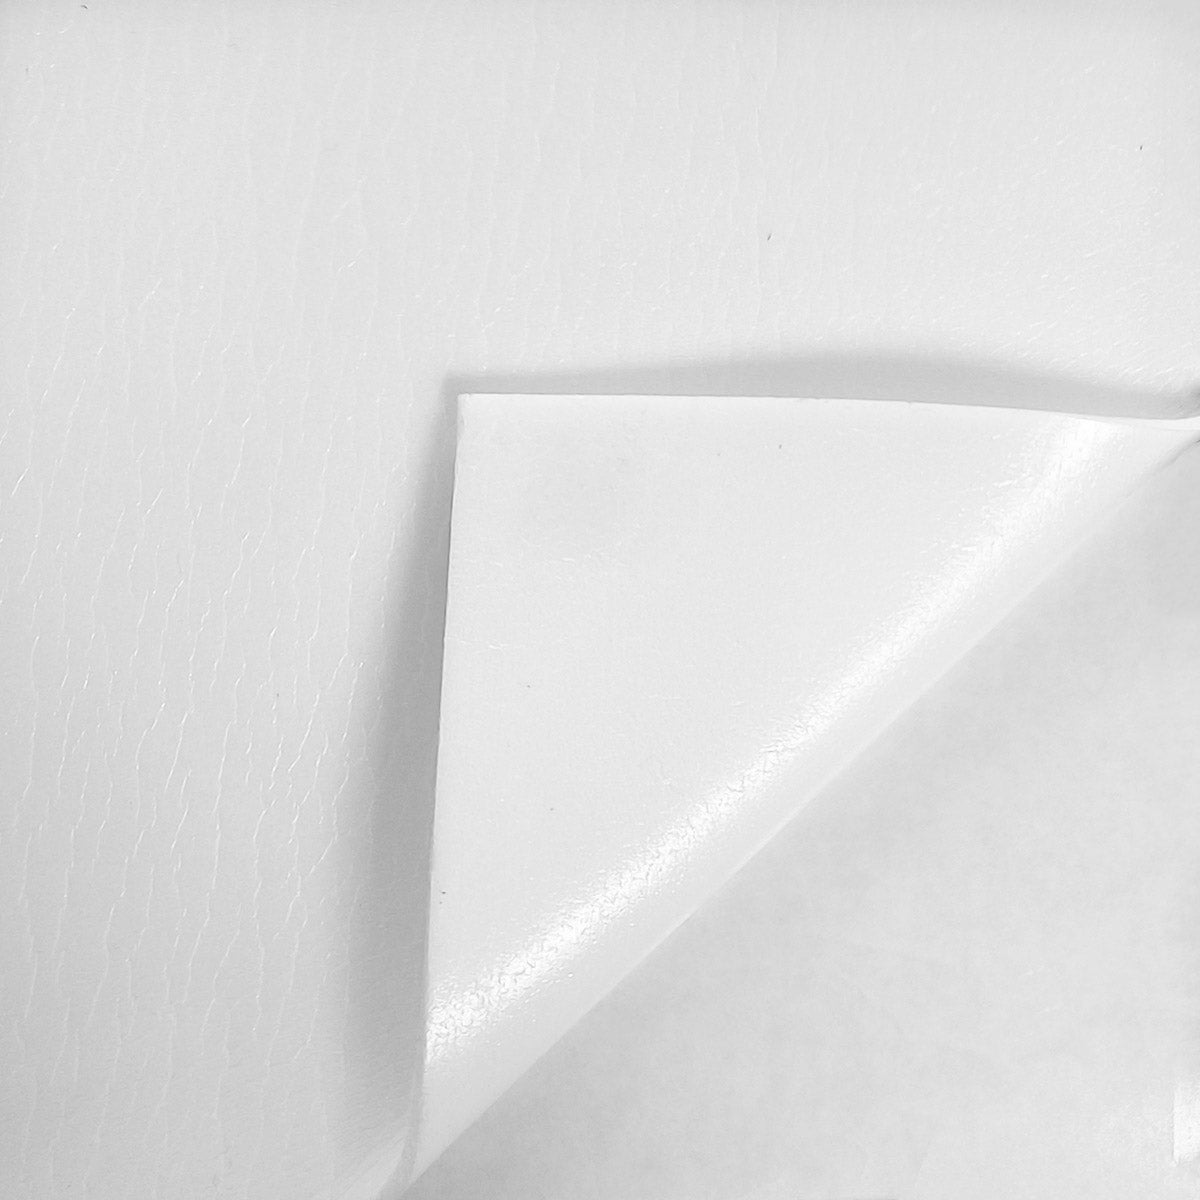
- Self-adhesive foam reinforcement plate - 2 mm thick
- The materials required for saddle stitching ((linen thread or waxed polyester thread Ø 0.6 mm, awls, size 002 needles)
- Skiving blade or knife
- Leather glue (neoprene)
- A forming block and a slicker
- Edge finishing
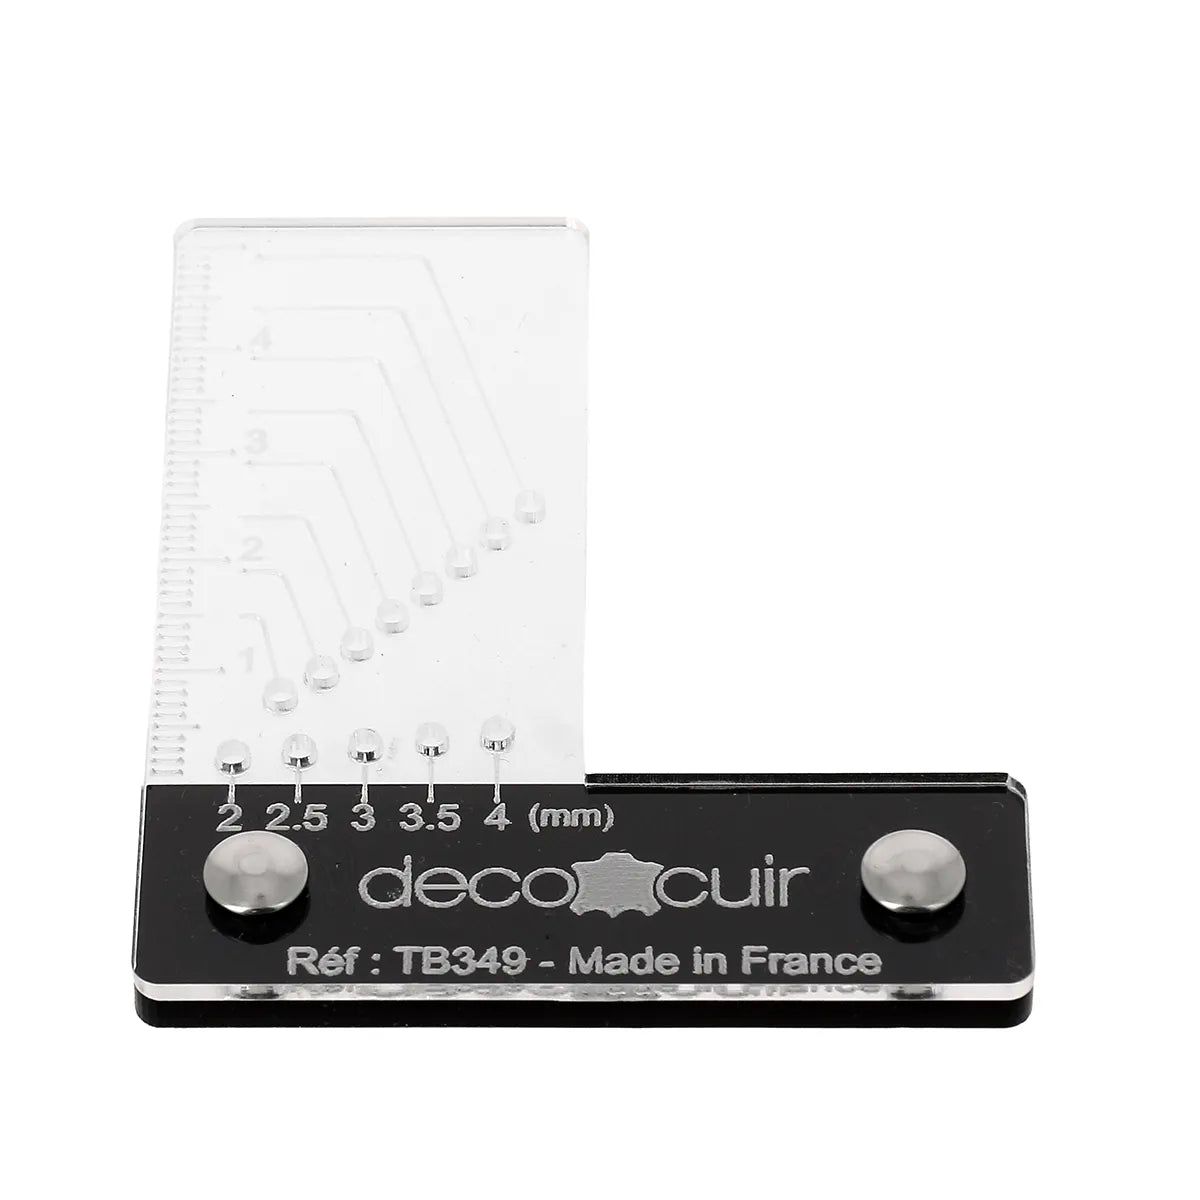
- Small multifunctional ruler - Deco Cuir exclusive
COMPLETE VIDEO OF THE FRONTAL ASSEMBLY
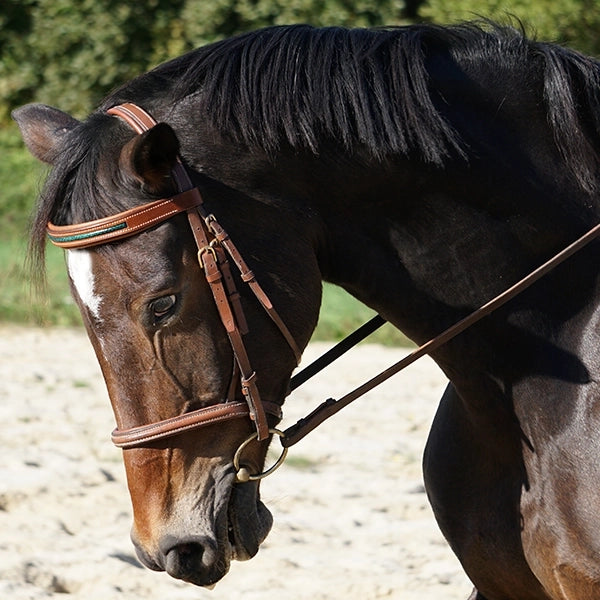
WHAT IS A FRONTAL?
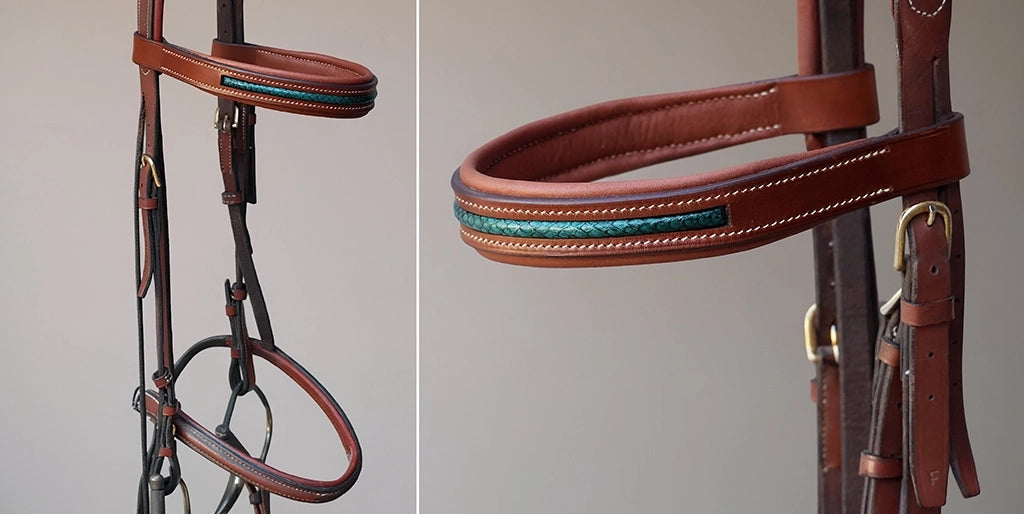
The frontal is the piece of the bit (or bridle) that passes horizontally over the horse's forehead and connects the two uprights of the headpiece.
 |
|
NEED TRAINING?
In the time of one day, learn to repair your equestrian equipment to improve the safety, durability, and comfort of the horse and rider. Don't throw away, repair!

1- PATTERN THE NOSEBAND AND CUT IT
For a horse size, a pattern is available for free download.
How to determine the dimensions of the noseband?
The length of the noseband will depend mainly on the contact area. For the frontal, the noseband stops at the fold intended for the headpiece loop.
To determine the width of the noseband, start with the width of the strap to be covered and allow an additional margin to shape its base.
The shape of the noseband features a slight widening, followed by a narrowing. This profile, called here a step, helps prevent small edges from protruding at the ends of the strap. To determine where this widening begins, apply the following formula: divide the width of the strap by two, then multiply the result by three. For example, for a strap 20 mm wide, the step begins at 30 mm. This method is suitable for most strap widths, provided you adjust the result to the desired shape.
From the step, allow an additional margin of 2 mm on each side to define the widest part of the noseband, referring to the median axis. For equestrian use, especially in bridling, this margin can be increased to 3 or 4 mm on each side, depending on the shape of the piece, its usage constraints, and the possible presence of foam in the noseband.
Also take into account the thickness of the leather, which affects the value of the roll. In our example, the Angel leather used has a thickness of approximately 1.8 mm. To visualize these different measurements, refer to the indications on the pattern.
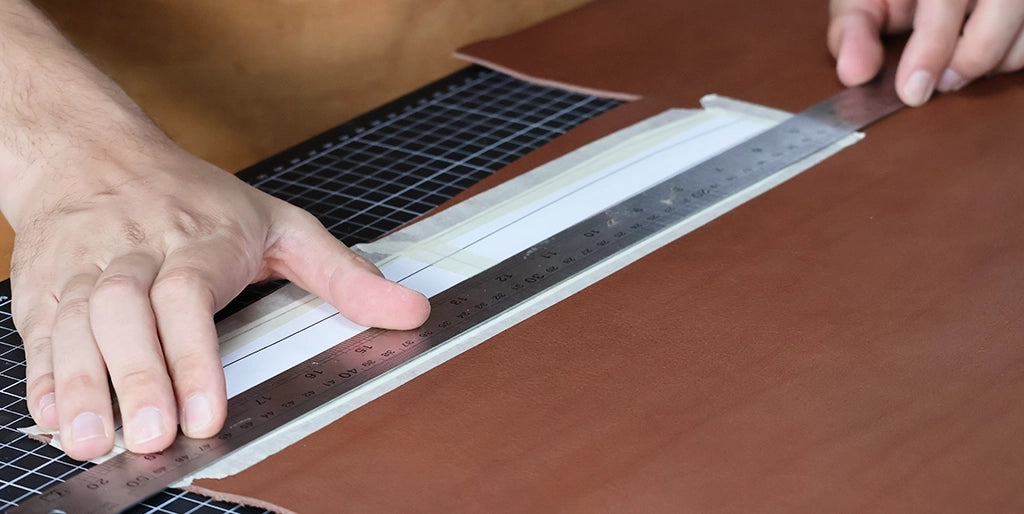
Position the noseband pattern on suitable leather and hold it in place using masking tape. Then cut the piece using a cutter and a ruler.
2. RE-TRIM THE STRAP
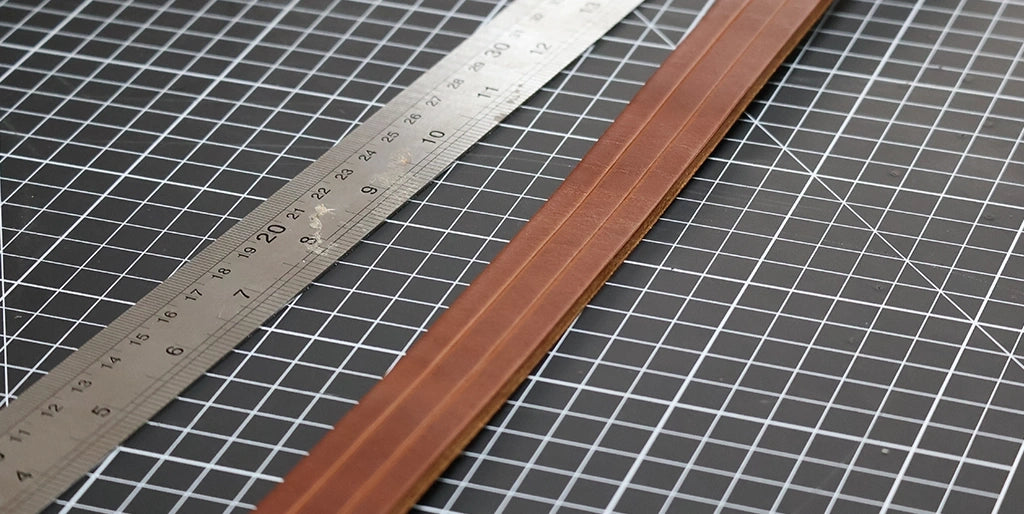
Re-trim the strap to the desired length and width. For this tutorial, we used approximately 65 cm of strap 2.5 cm wide.
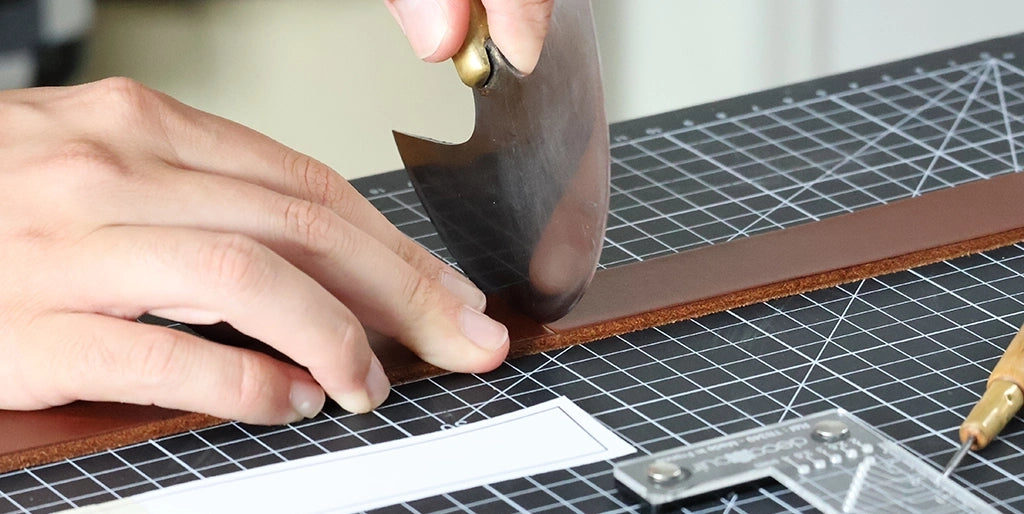
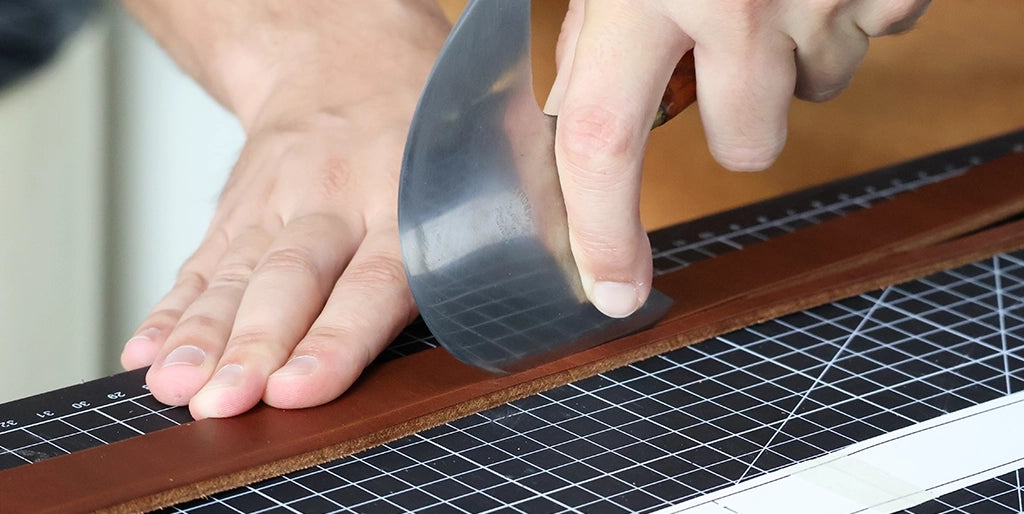
For the more experienced, it is possible to cut the strap in its width using a half-moon knife. For a more even and easier-to-master cut, we recommend using a strap cutter (strap cutter).
3. TRANSFER THE MARKINGS
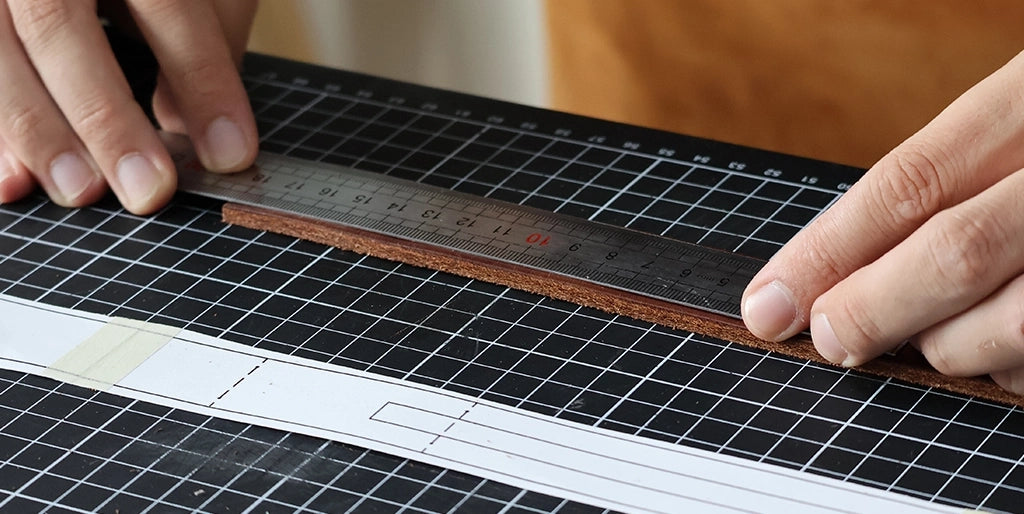
Transfer the different markings to the strap, especially those indicating the start of the stitching and the return of the band.
4. DRAW THE INSERT WINDOW
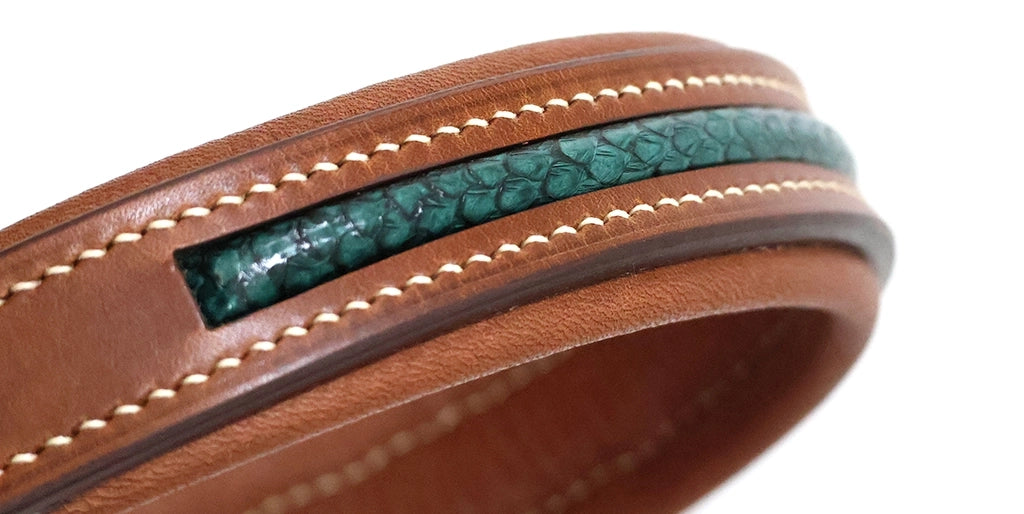
Draw the location of the window intended to house the salmon leather insert. The cutting of this window will be done later. The addition of an insert is optional (refer to the "Dog Collar" leather tutorial for an example).
5. PREPARE THE INSERT ELEMENTS
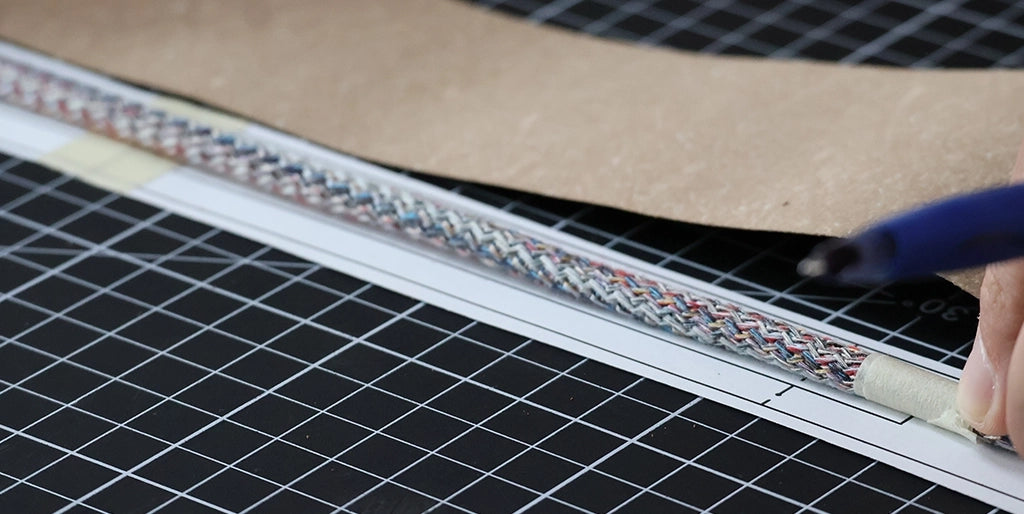
Roughly cut the salmon leather intended for the insert. For this model, we chose salmon leather from the French tannery Ictyos.
Also cut:
- a Salpa reinforcement 0.4 mm thick;
- a strand or strip 6 mm in diameter and 28.6 cm long.
6. PREPARE THE INSERT TEMPLATE AND THE FOAM
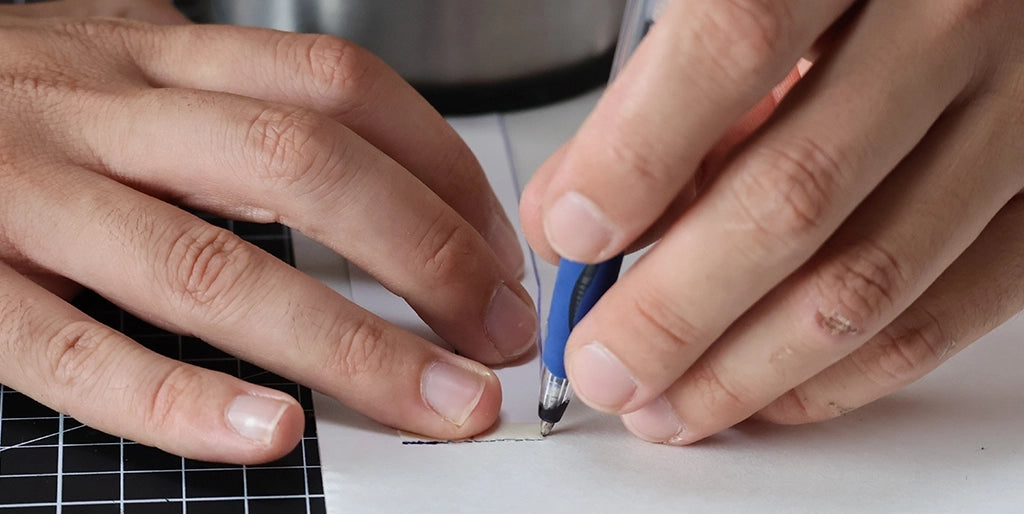
Transfer the "Noseband Foam" template onto the self-adhesive foam. Be careful to properly adjust the size of the template according to that of your frontal.
Foam improves comfort. Its thickness should be chosen according to that of the noseband leather and the intended use. It is generally necessary in equestrian saddlery, but not always essential for a dog collar. It is possible to layer several layers of foam to obtain the desired thickness.
For this tutorial we selected a 2 mm thick foam.
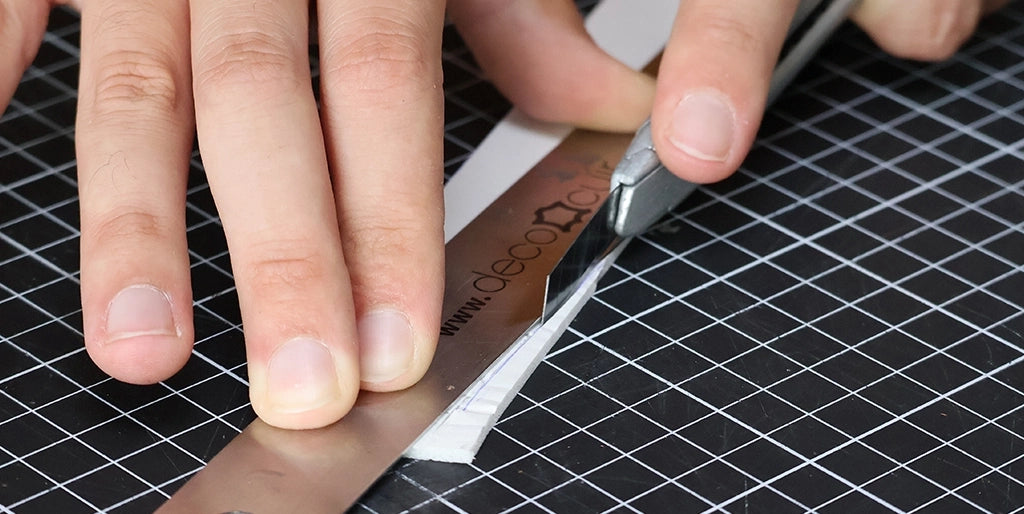
Then cut the foam piece using a cutter.
7. PREPARE THE BASE OF THE NOSEBAND
If the noseband does not include a leather insert or foam insert, start directly with this step. Draw a mark at the step on the leather to delimit the area to be skived, then skive the ends.
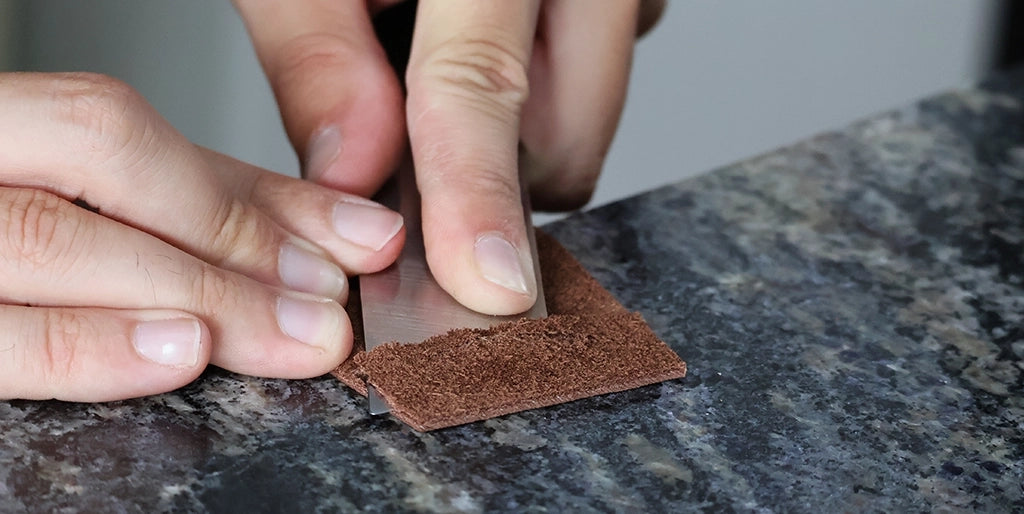
8. SKIVE THE ENDS OF THE STRAP
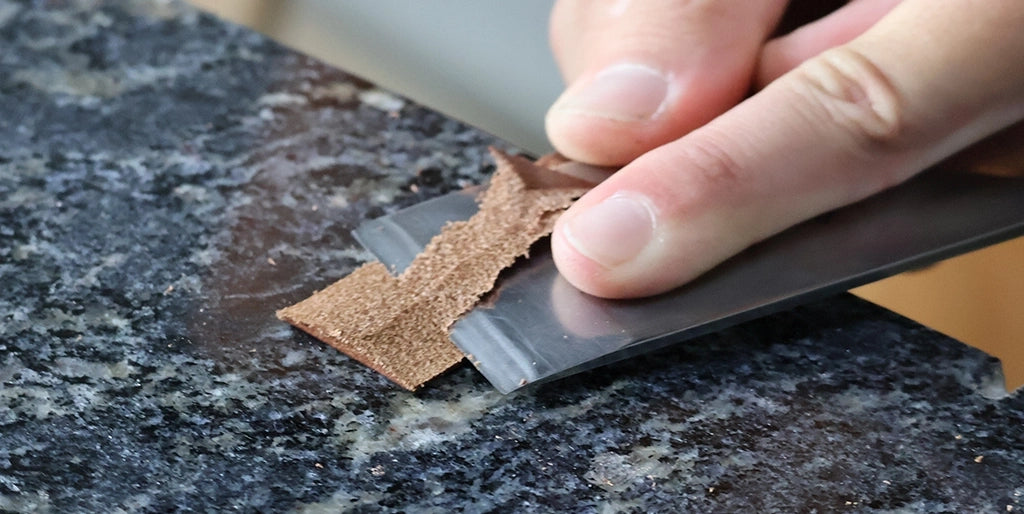
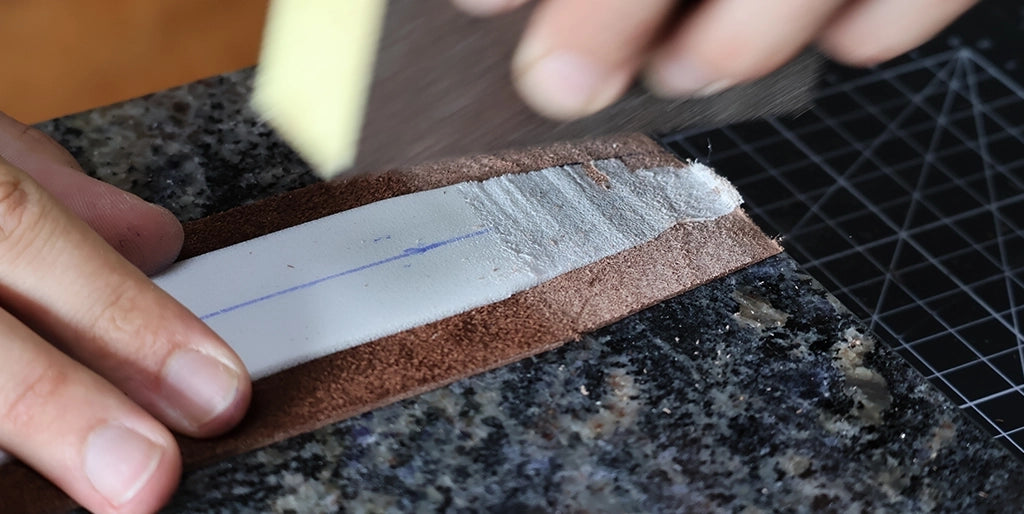
Skive the leather straps for a length of approximately 5.5 cm. Proceed gradually: skive one side, then the other, before evening out the material in the center.
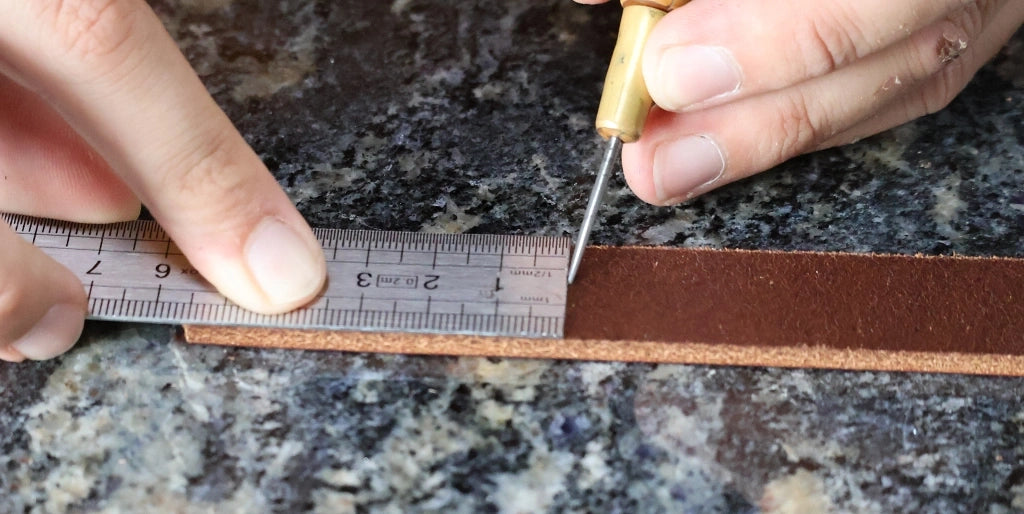
9. POSITION AND PREPARE THE FOAM
Draw the location of the foam on the back of the noseband, then glue it (the foam is self-adhesive).
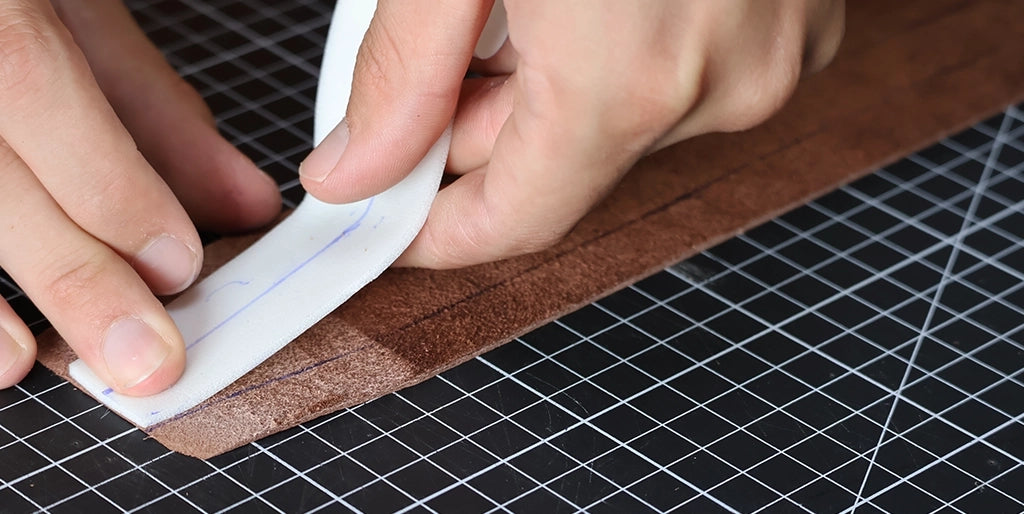
Lightly skive the ends to obtain a gradual transition. Sand if necessary to eliminate roughness.
10. GLUE THE NOSEBAND
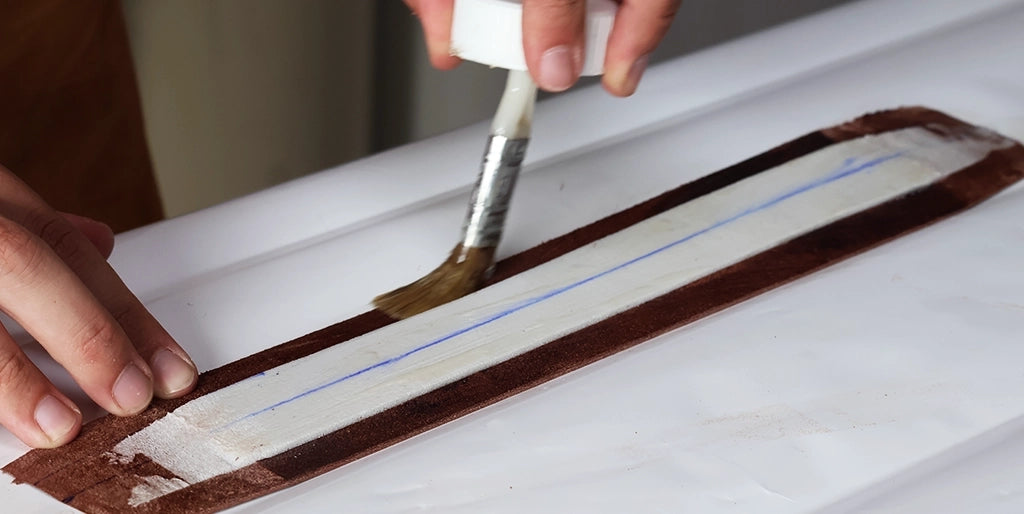
Apply neoprene glue to the back of the noseband.
11. FOLD THE SIDES
Wait a few minutes for the glue to soak in then fold the two lengths at the edge of the center line. Start in the middle of the band then go to the ends.
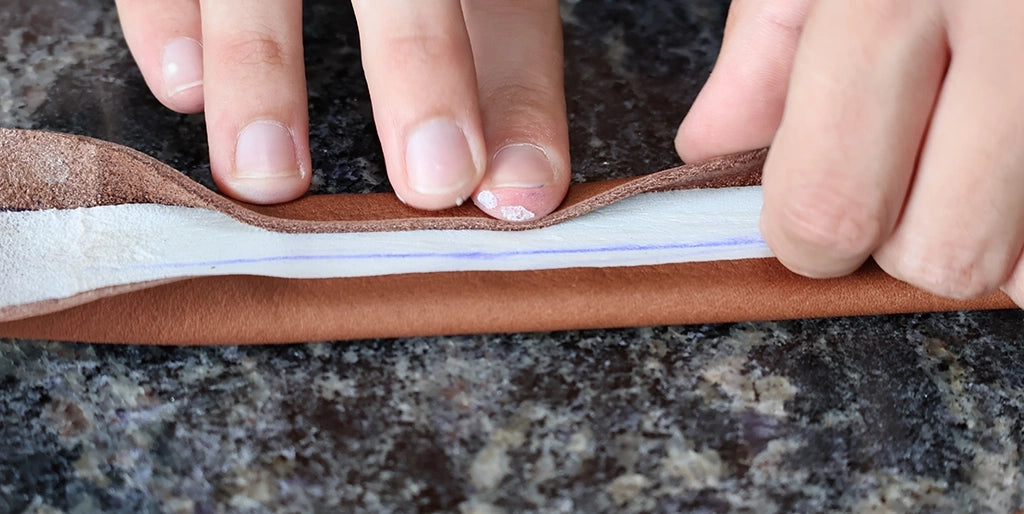
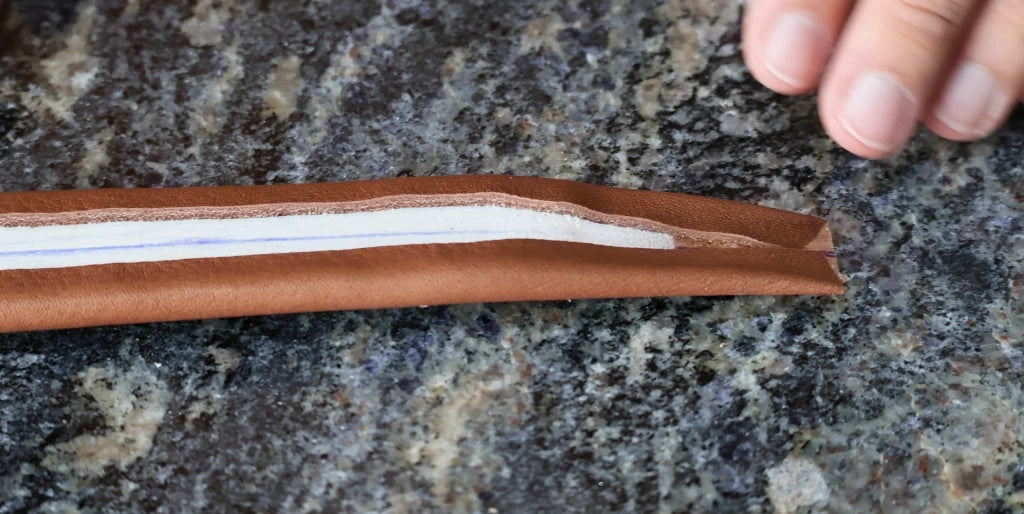
At the ends, fold the leather by making the corner go on the corner of the center line. Lightly tap the gluing with a cobbler's hammer.
12. PREPARE THE SALPA, SALMON AND REINFORCEMENT
Apply glue to one side of the Salpa, the back of the salmon leather as well as on the strand / the strip.
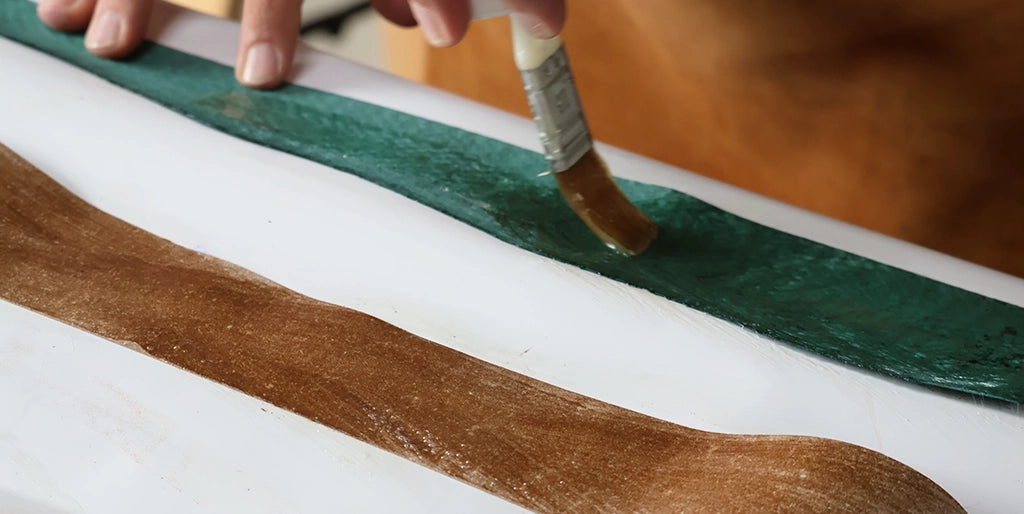
Position the strand in the center of the Salpa by stretching it carefully and using the middle to guarantee an even placement. Then apply a new layer of glue if necessary.
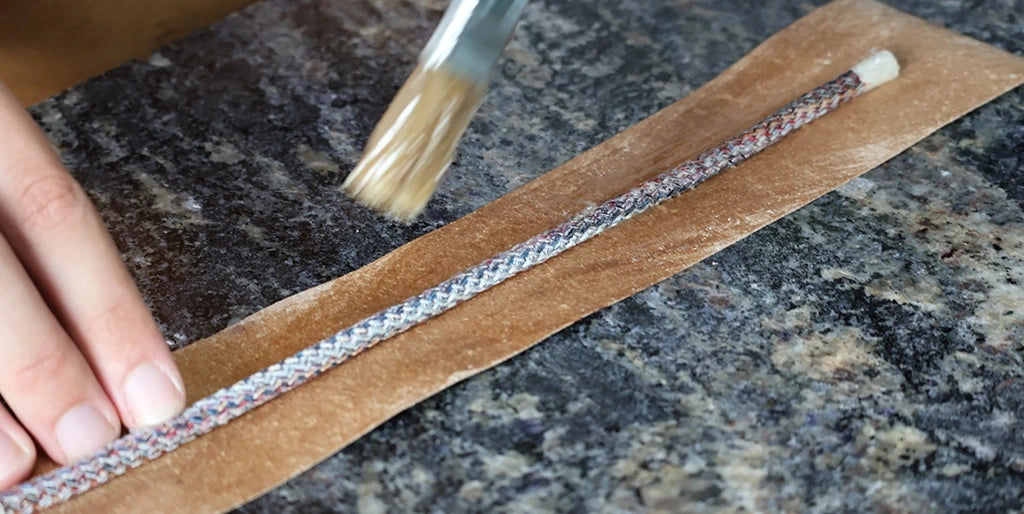
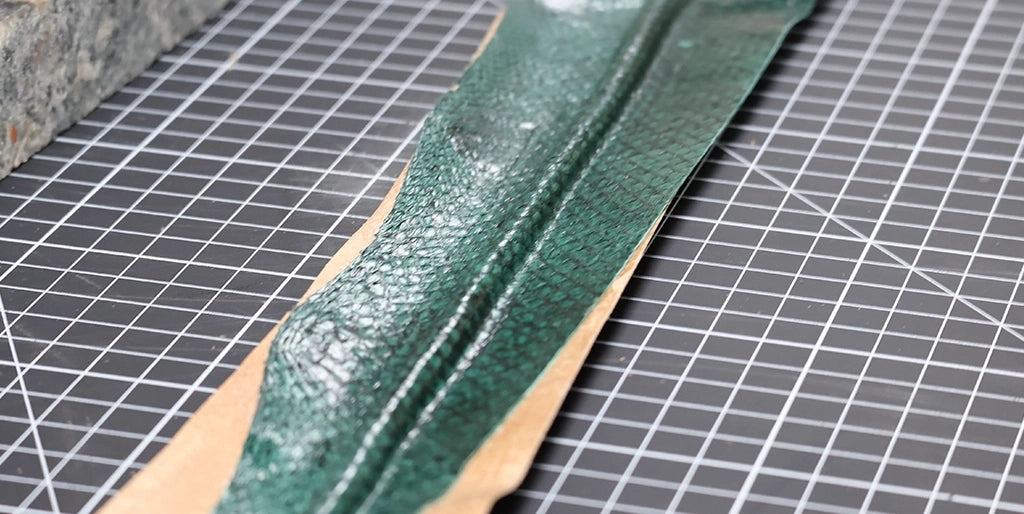
13. COVER THE STRAND WITH SALMON LEATHER
Glue the salmon leather on the strand or the strip. Using a slicker, carefully cover the strand starting with the small angles. Carefully form the folds to fit the strand and obtain a clean finish.
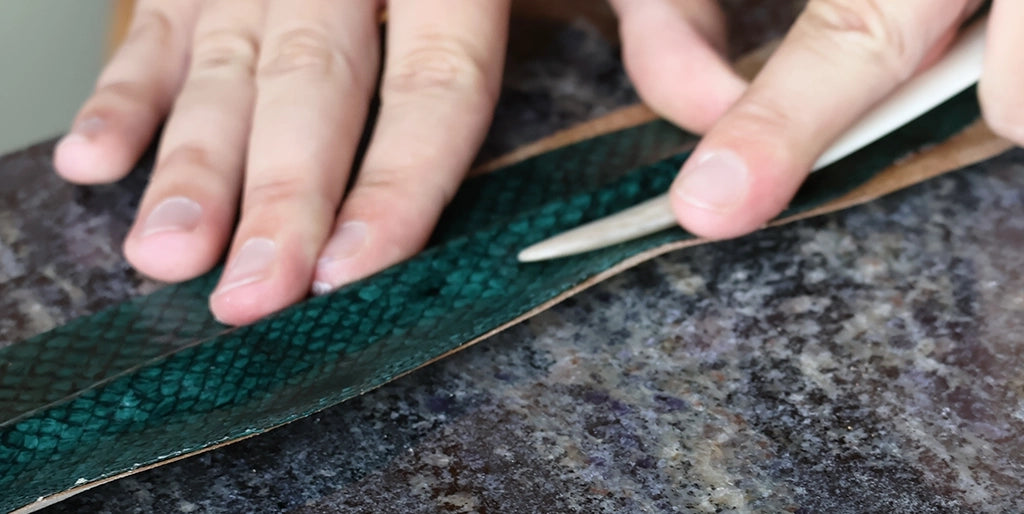
14. SKIVE THE SIDES OF THE INSERT
Cut the sides of the leather leaving about 2 to 3 cm protruding on each side of the strand, then skive them to reduce their thickness.
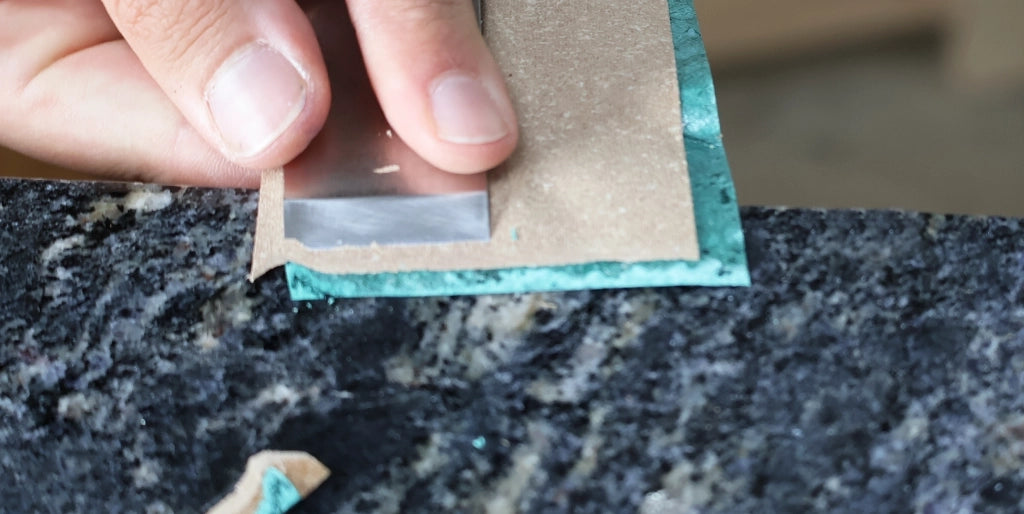
15. MAKE A DECORATIVE STITCH
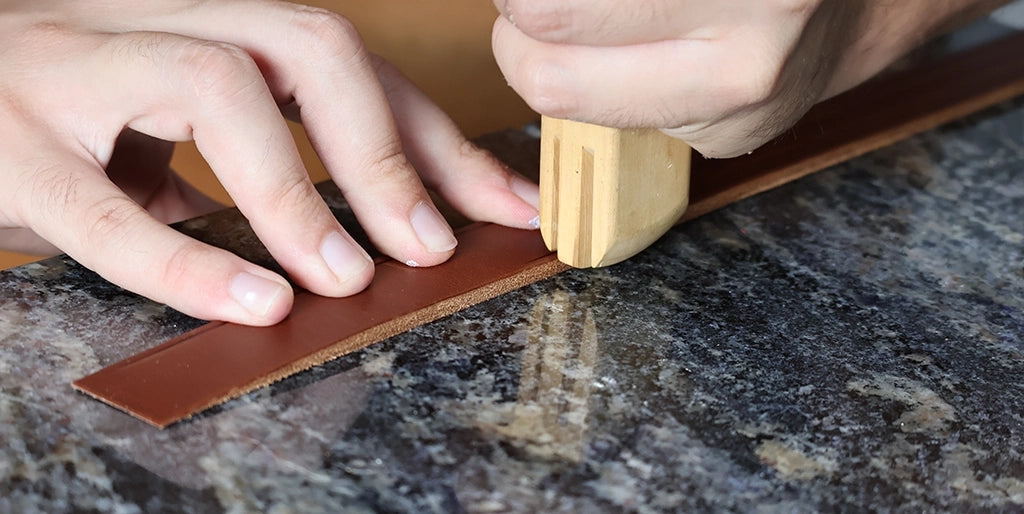
Using a forming block, draw a decorative stitch 3 mm from the long edge of the strap edge, in the length direction.
16. DRAW THE STITCH LINES
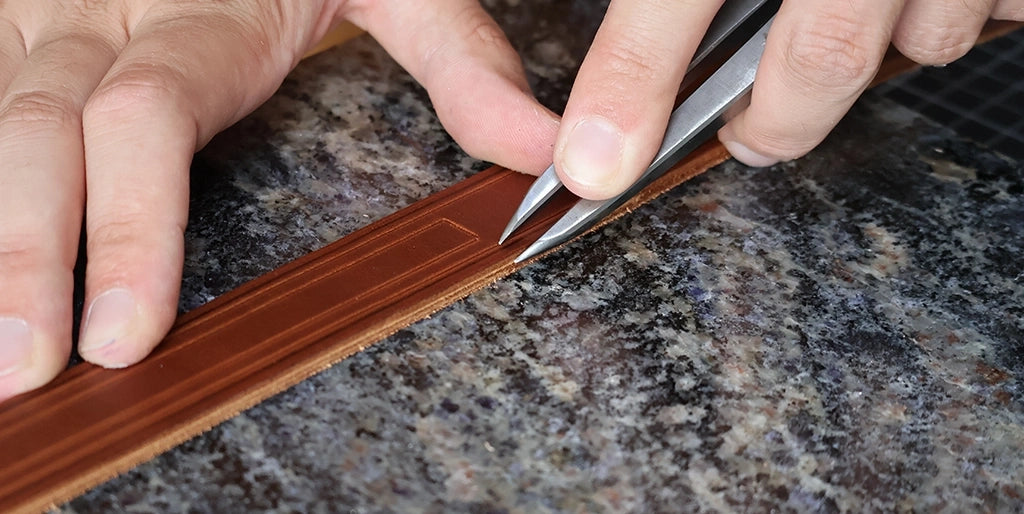
Using a dry point compass, draw the two stitch lines by relying on the markings made in step 3.
16. BEVEL THE EDGES
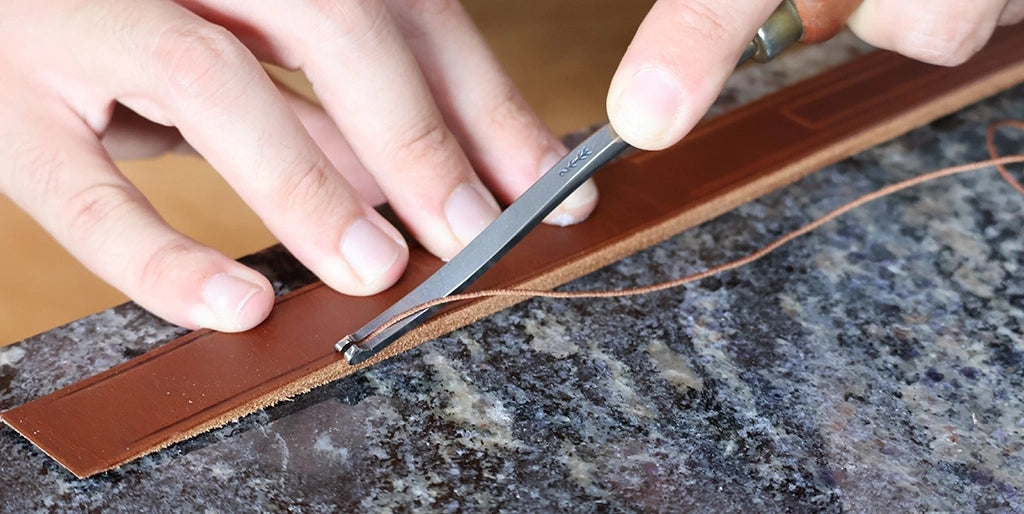
Bevel the leather by referring to the different markings on the grain side and the flesh side.
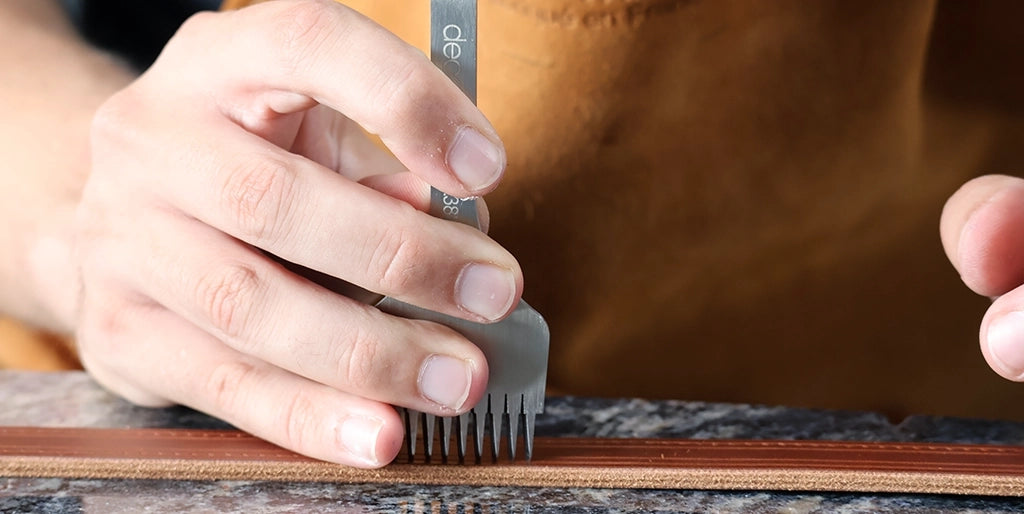
18. MARK THE STITCH POINTS
Mark the stitch points using a pricking iron with a 3.38 mm center distance.
19. CUT THE INSERT WINDOW
Cut the previously drawn window in the strap, using a cutter or a knife (here a half-moon knife).
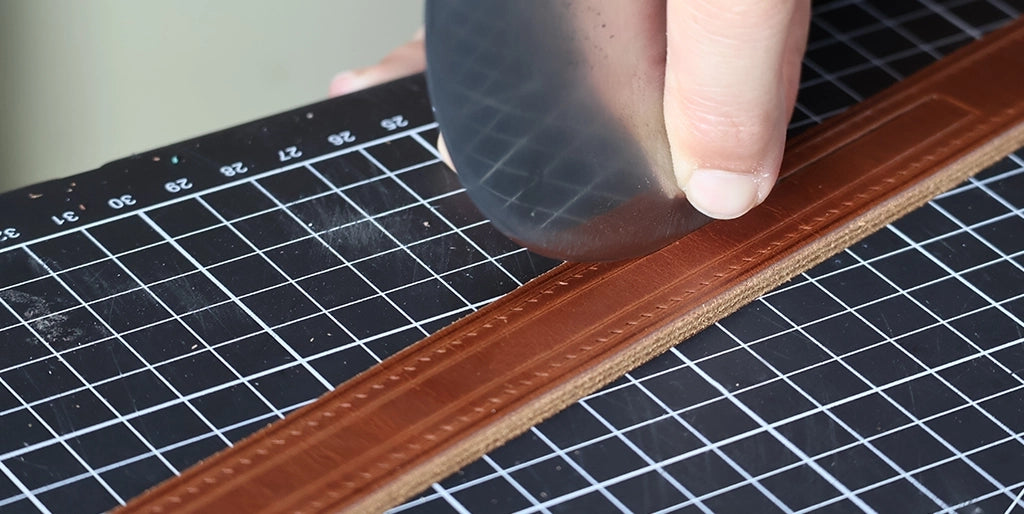
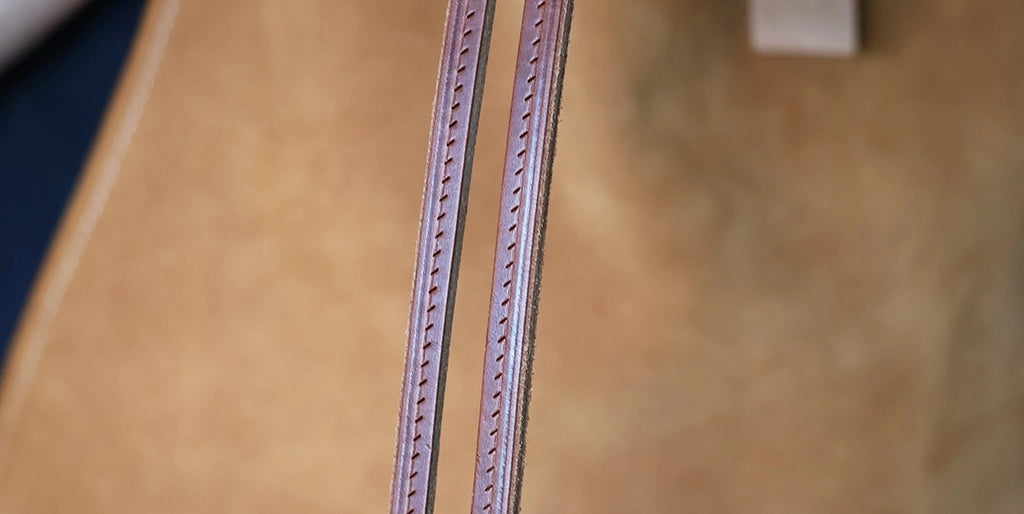
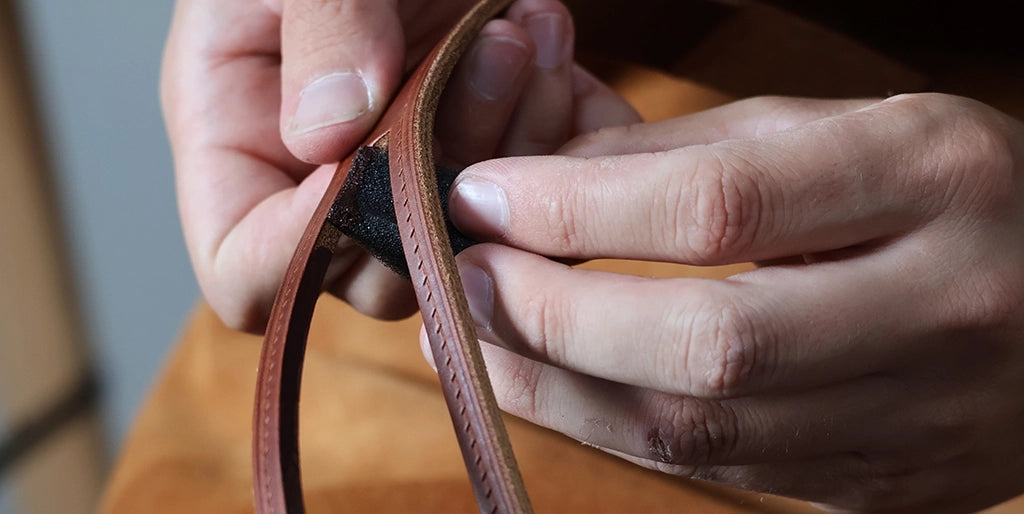
20. WORK THE EDGES
Apply a first layer of finishing product or gum on all edges. After application, smooth the edge using a cotton cloth to lay down the fibers.
21. PREPARE THE INSERT GLUEING AREA
Sand the flesh side of the strap at the location where the insert will be glued, to improve the adhesion of the glue.
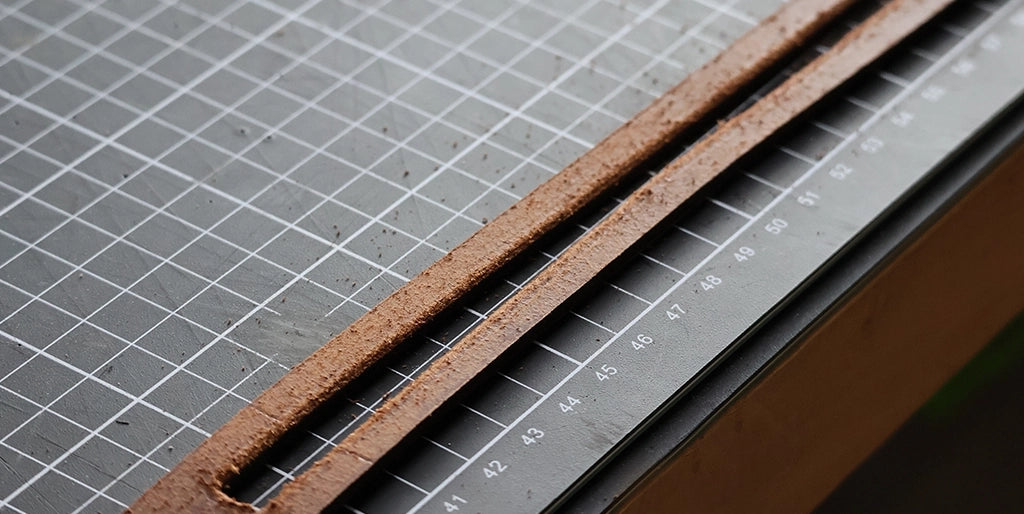
22. GLUE THE INSERT AND THE STRAP
Apply glue to the edges of the strand (salmon leather) as well as on the back of the strap, at the level of the positioning marks.
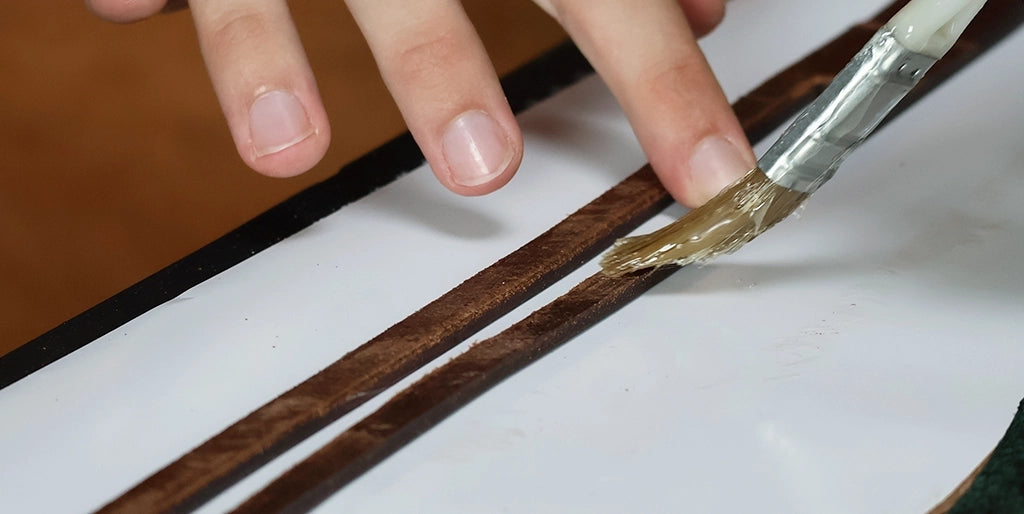
23. GLUE THE INSERT
Glue the strap on the salmon leather insert respecting the marks.
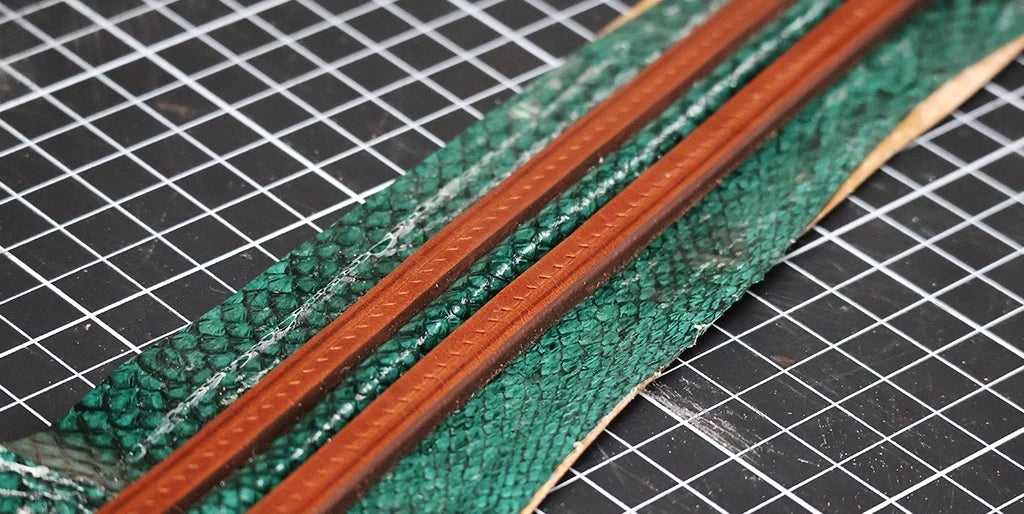
Then over-stitch if necessary to even out the edges.
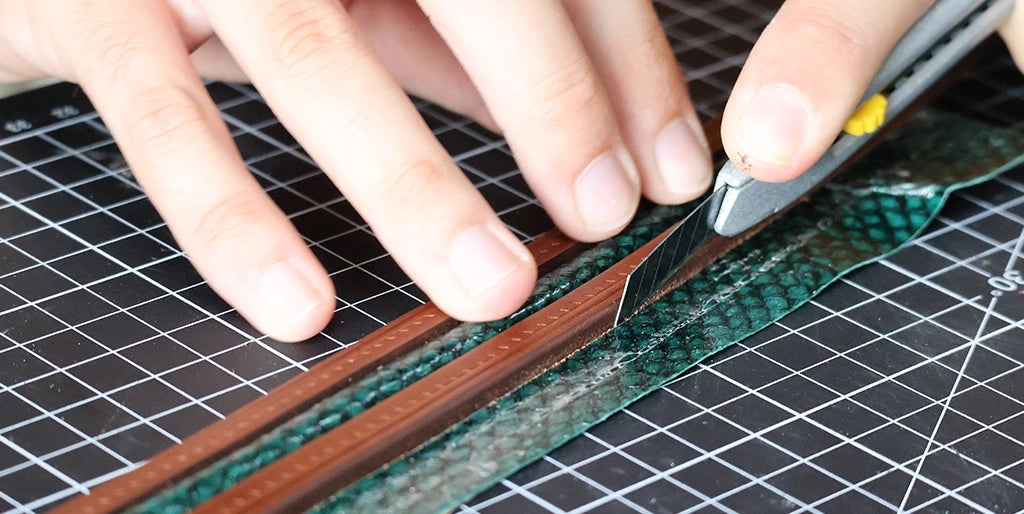
24. FINISH THE EDGE WORK
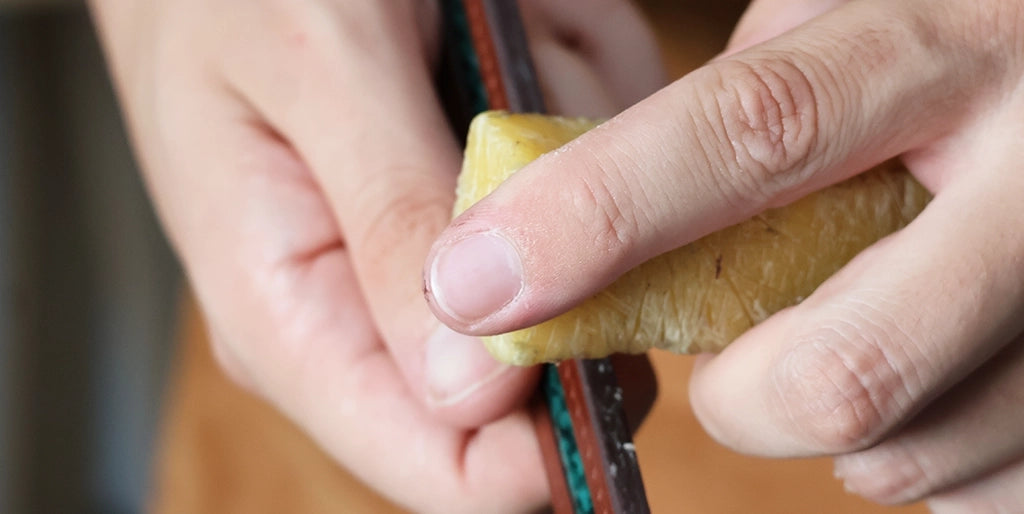
Apply a second layer of finish on the edges, slightly overflowing on the Salpa to ensure a regular junction. Then apply beeswax, then polish using a slicker.
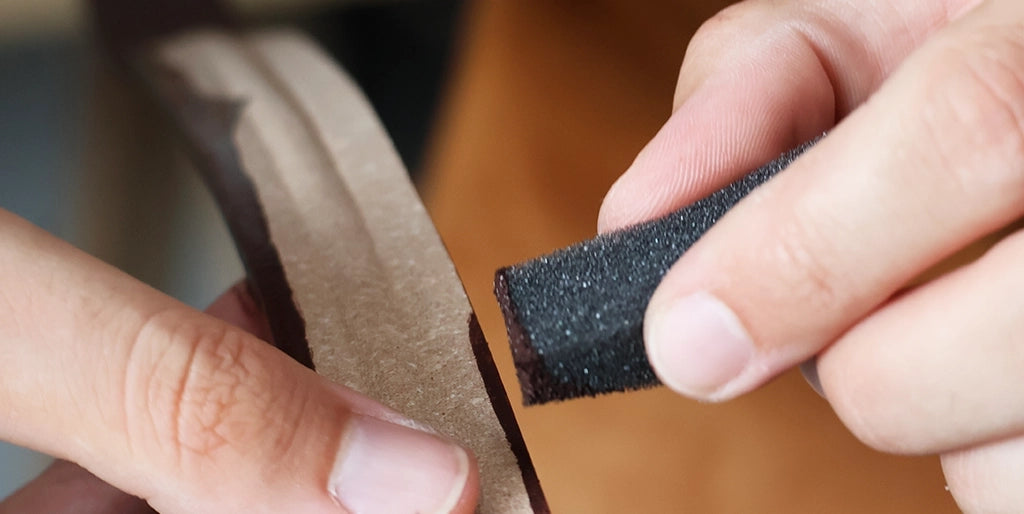
25. SAND THE ENDS
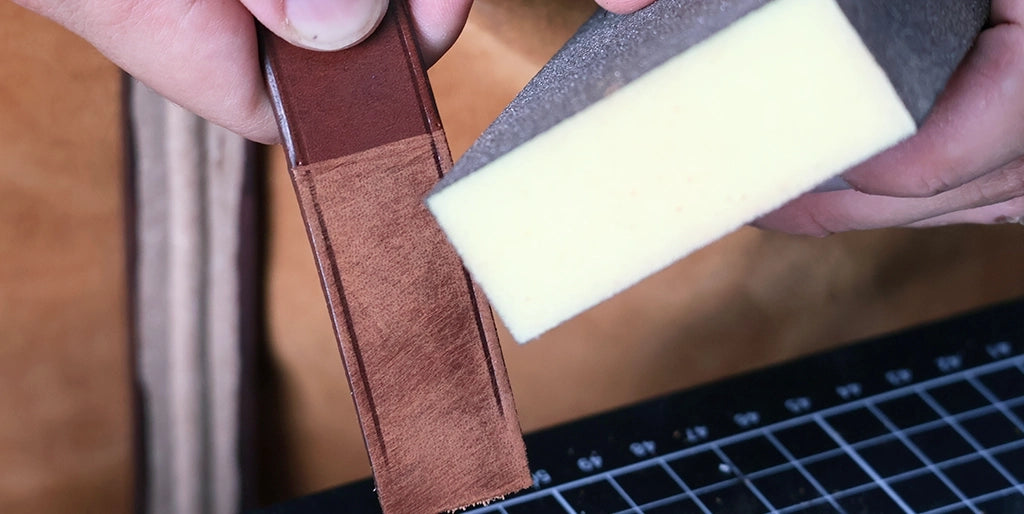
Sand the ends of the straps up to the markings made on the grain of the leather. This operation is particularly important with oiled leathers (to promote the adhesion of the glue in the next step).
Position and glue the headpiece loops at the planned locations.
26. GLUE THE STRAP AND THE NOSEBAND
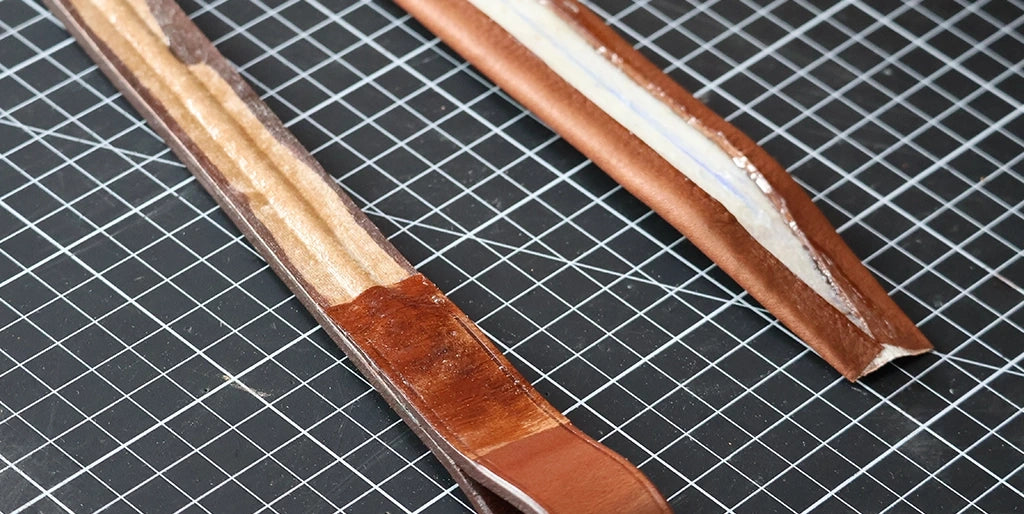
Apply glue to the back of the strap, except for the area intended for the headpiece loop.
Also apply glue to the padding of the noseband (in the center), without gluing its ends. Start by positioning and gluing the two ends of the noseband to the strap, then gradually glue the rest, making sure to align the pieces properly.
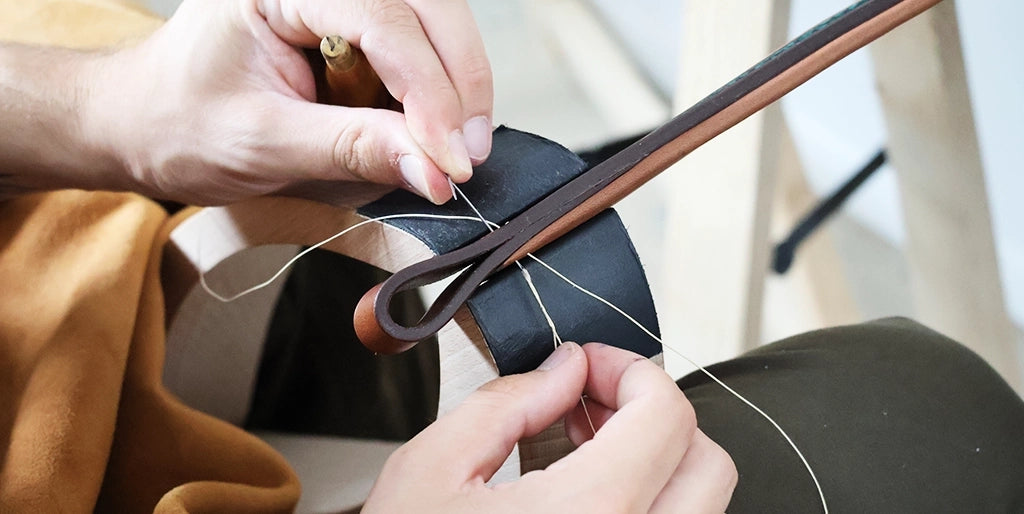
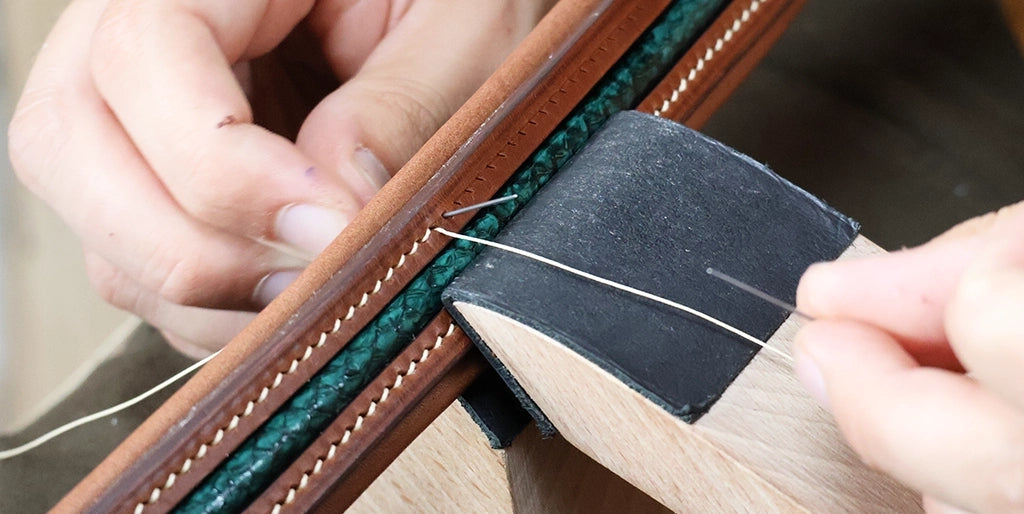
27. SEW THE ENTIRE PIECE
Perform the final saddle stitching to securely assemble the noseband and the strap.
Saddle stitching is one of the strongest sewing techniques for working with leather. It is particularly recommended in the equestrian field, where the strength and reliability of the seams are essential.
GUIDE: HOW TO SEW WITH SADDLE STITCHING?
You're finished!
YOU MAY ALSO BE INTERESTED IN THIS TUTORIAL!
Cylène explains how to make a leather halter!


