

REQUIRED MATERIALS
To complete this tutorial, you will need:
- 1 piece of semi-soft, semi-firm leather measuring 15 x 20 cm, 1.1 to 1.4 mm thick
- 50 cm of round leather lace with a diameter of 2 mm
- 1 round keyring with a diameter of 18 mm
- 1 Chicago screw with a diameter of 8 mm or a T3 rivet
-
1 hole punch with a diameter of 3 mm and another with a diameter of 4 mm
- Contact cement
- Sewing materials (thread and needle)
VIDEO VERSION 1
VIDEO VERSION 2
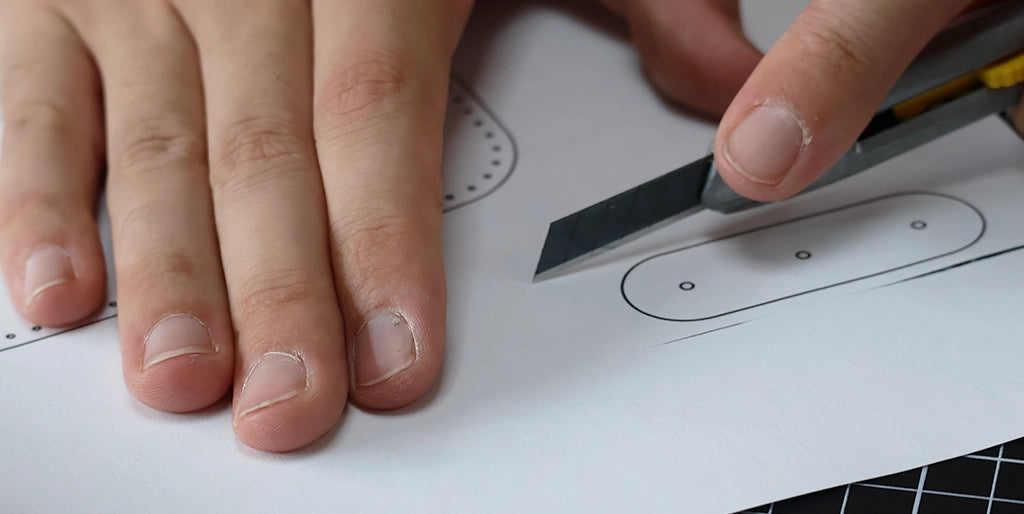
1. PRINT AND CUT OUT THE PATTERN
Download and print the pattern at full size.
2. POSITION OR TRACE THE PIECES ONTO THE LEATHER
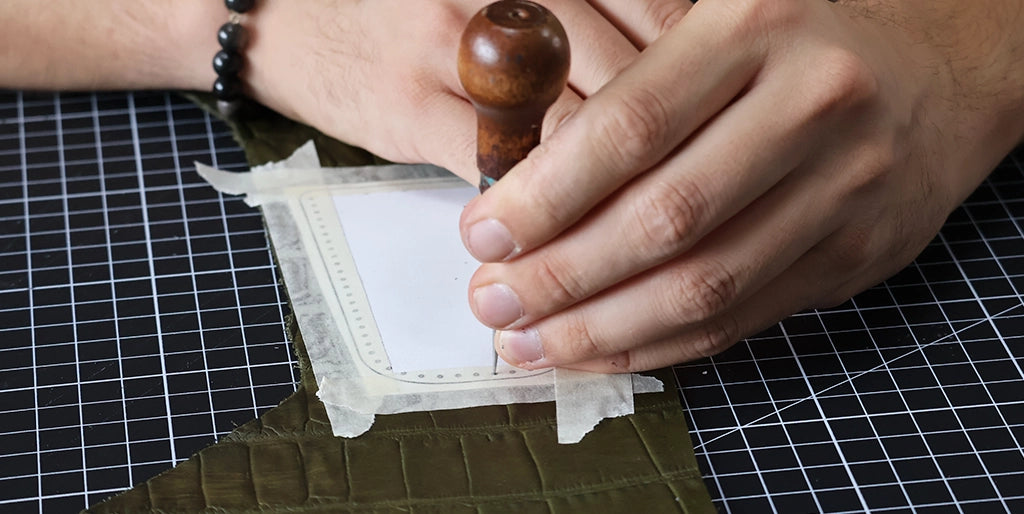
For version 1: trace the pattern onto the grain side of the leather using a silver pencil.

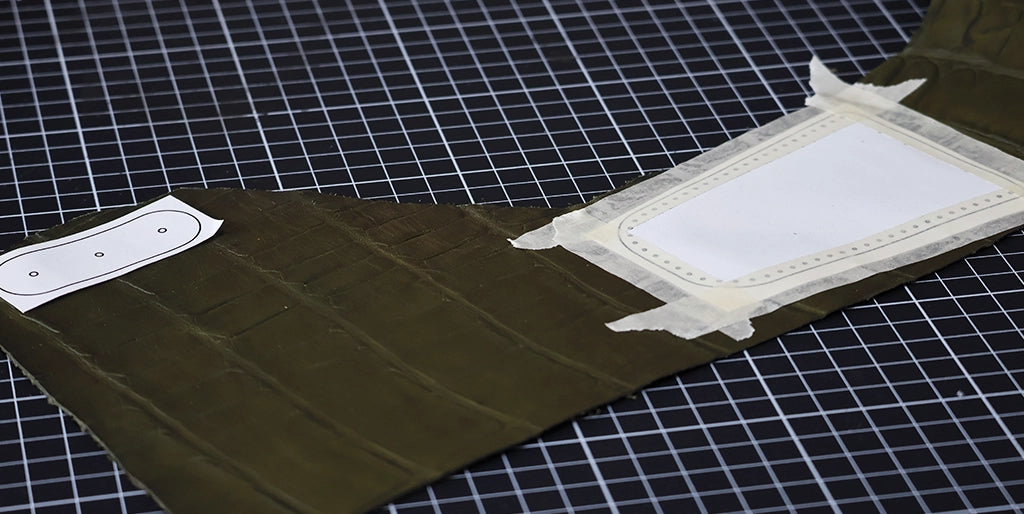
3. PUNCH THE HOLES
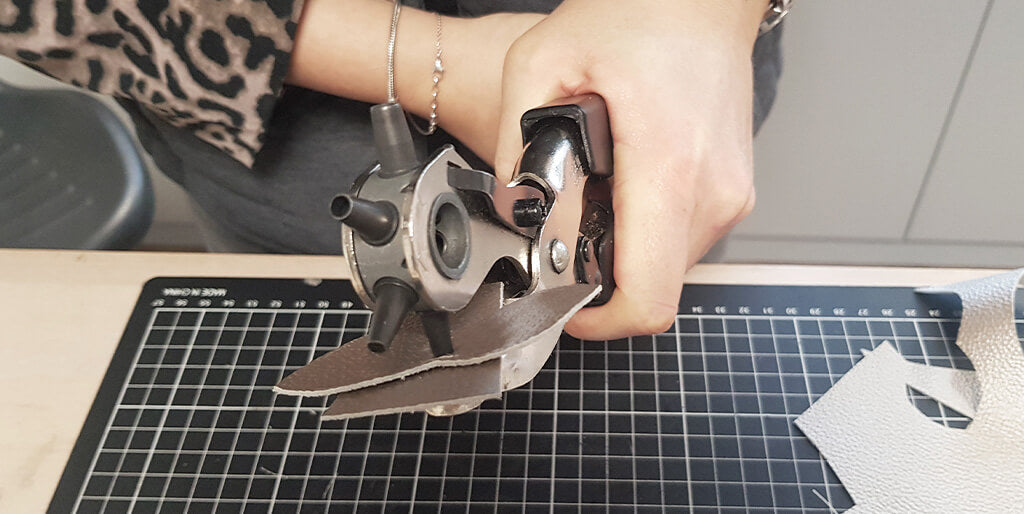
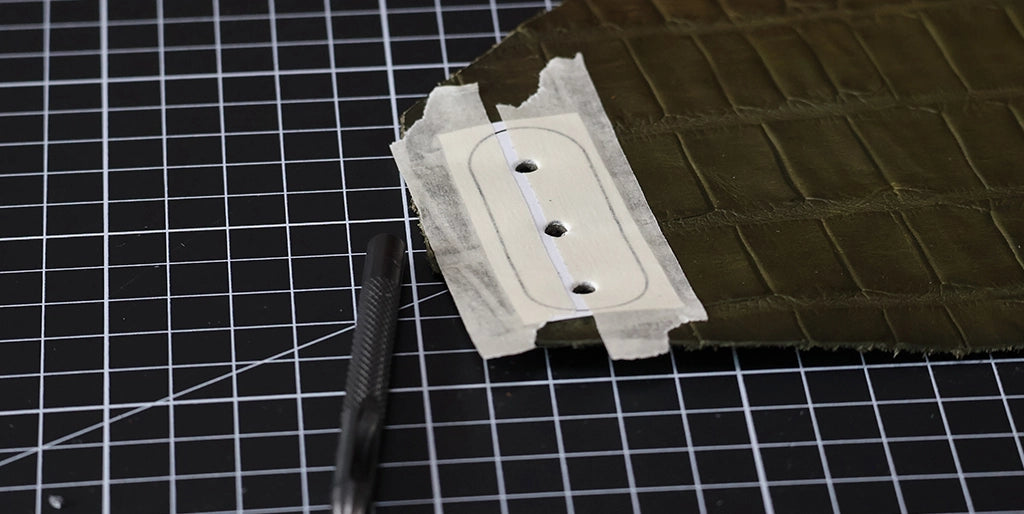
Punch the 3 mm and 4 mm diameter holes in piece P2 for the Chicago screw and the lace passage.

4. CUT OUT THE PIECES
For version 1: cut out pieces P1 and P2 using a utility knife or scissors, then move on to the next step (step 5).

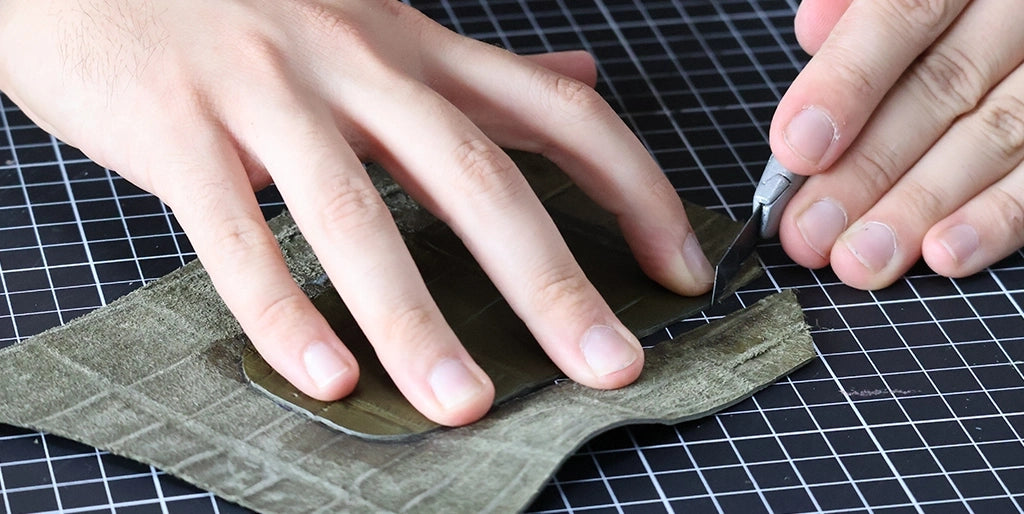
For version 2: cut out piece P2 and the first P1 piece using a utility knife, following the cut lines of the pattern.
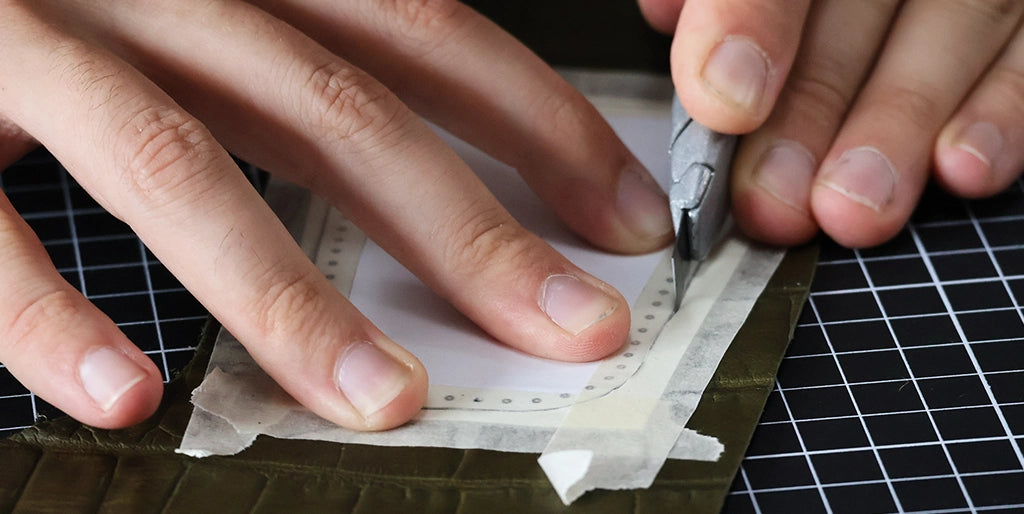
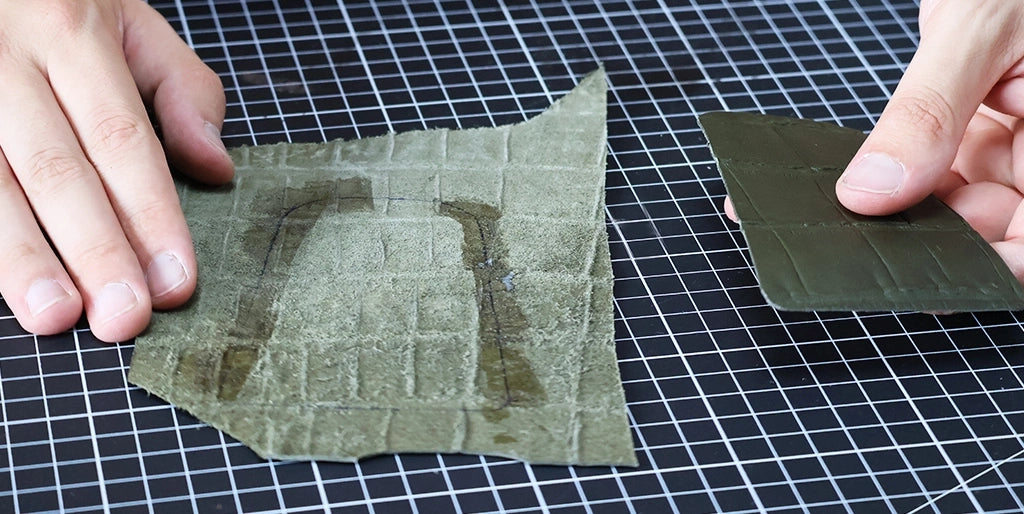
Position the P1 cutout, wrong side up, on the remaining leather, then trace the outline.
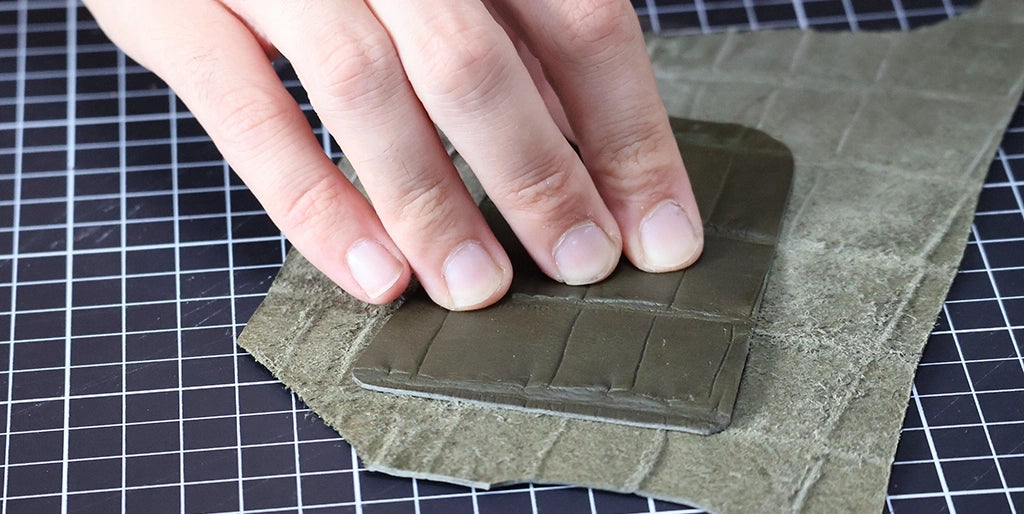
Apply contact cement to the sewing edges of both pieces, except for the top marking area. Then glue the cut-out P1 piece back on, aligning it carefully with the tracing.
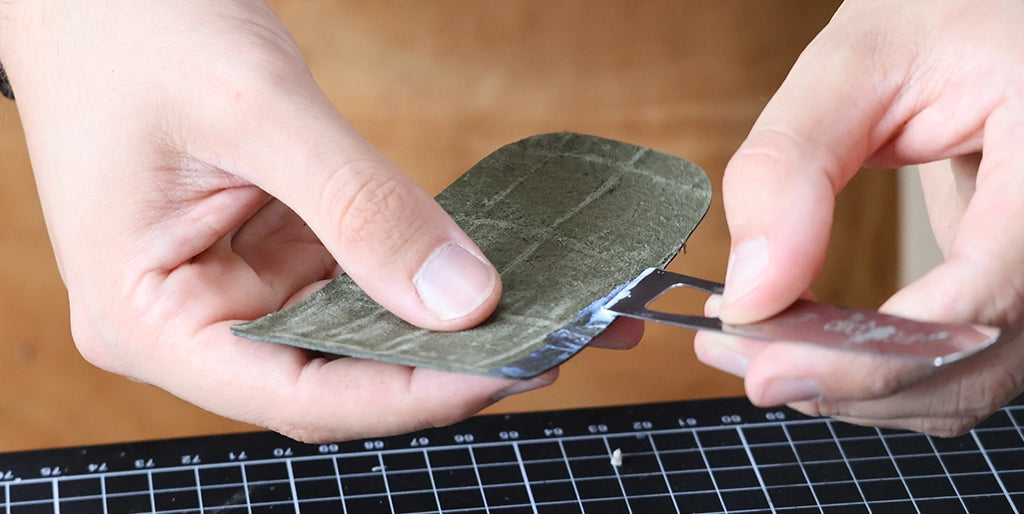
Stitch over the edges of piece P1.
5- SEW PIECE P1
For version 1: fold piece P1 in half, then sew the sides. Do not sew the top of P1 to leave an opening for the lace. If necessary, glue the edges before assembling.

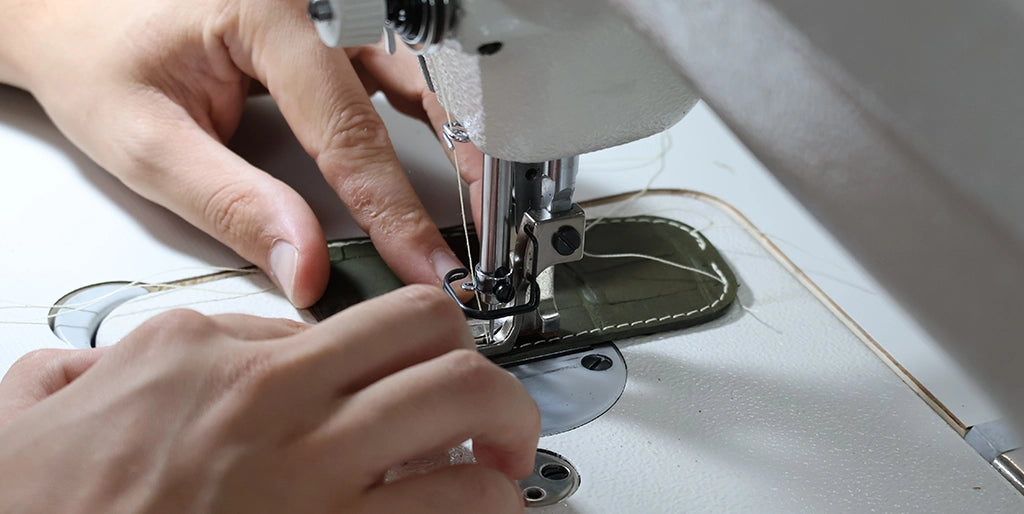
MACHINE SEWING
SEE THE MACHINE SEWING GUIDE

SIMPLIFIED HAND SEWING
Cut a thread five times the length of the sewing line. Then, thread a needle at each end of the thread. Sew by passing each needle through each hole and making 3 backstitches.
SEE THE HAND SEWING WITH HOLES GUIDE
 |
 |
For version 2: sew the two pieces together.
For machine sewing, leave a centered 8 mm opening at the top of the key bell to allow the lace to pass through (use the markings as a guide).
For hand sewing, make the stitches by passing between the two laces (complete the next step before sewing).
6. THREAD THE ROUND LACE
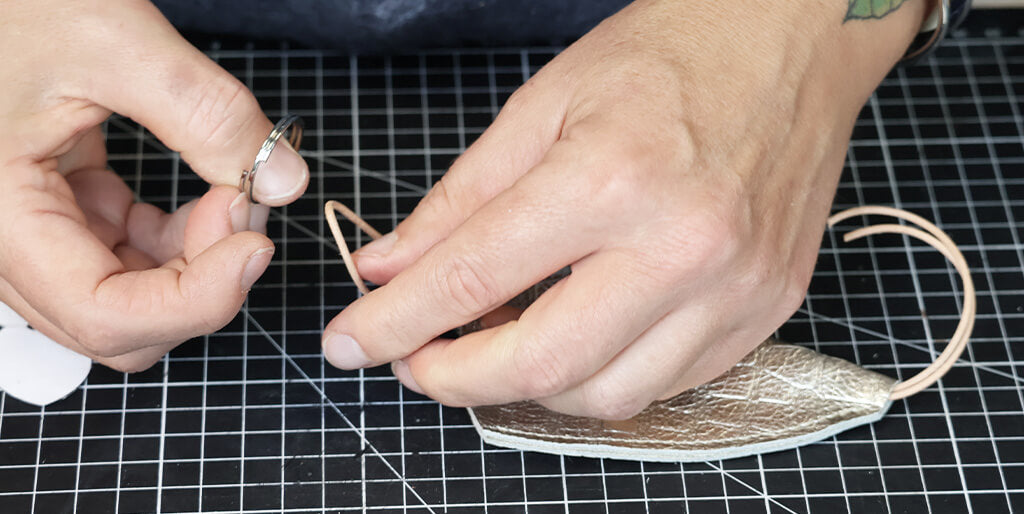
Take 50 cm of 2 mm diameter lace and fold it in half.

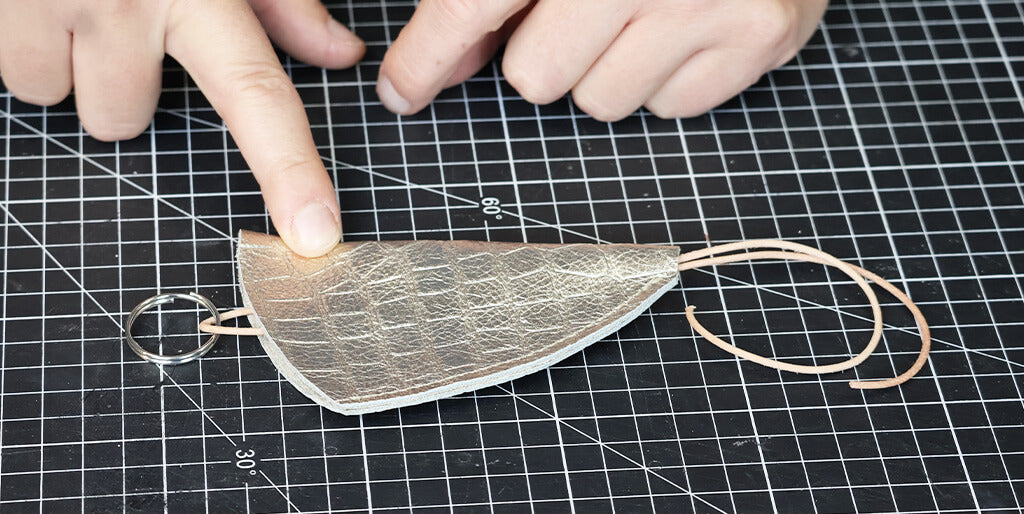
Pass the folded part of the lace through the opening at the top of P1.

7- ATTACH THE KEYRING
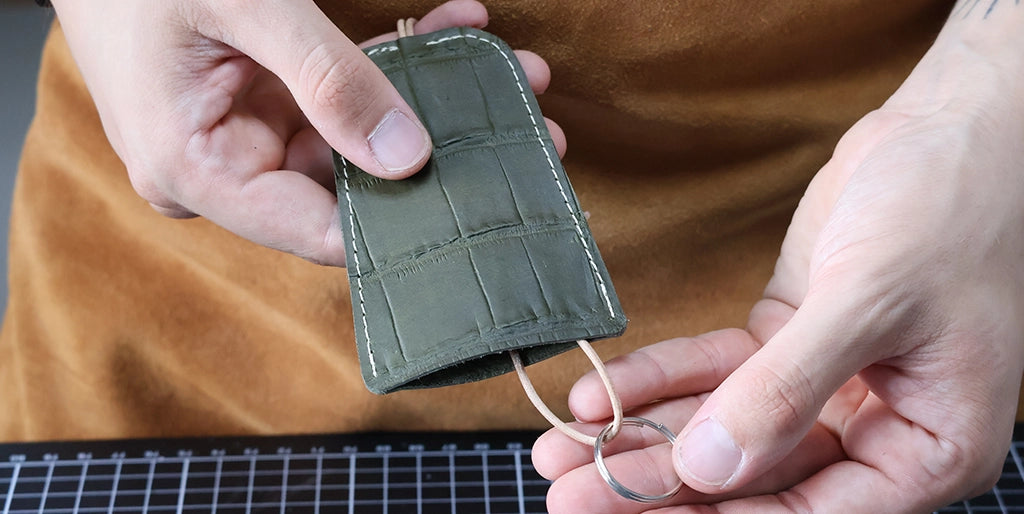
Attach the keyring to the middle of the lace, at the bottom of P1.
8. THREAD THE LACE THROUGH P2
Pass both ends of the lace through the central hole of P2. Tie a tight knot, then cut off the excess lace. Tip: tap the knot lightly with a hammer to flatten it.

Then cut off the excess lace.

9. CLOSE PIECE P2
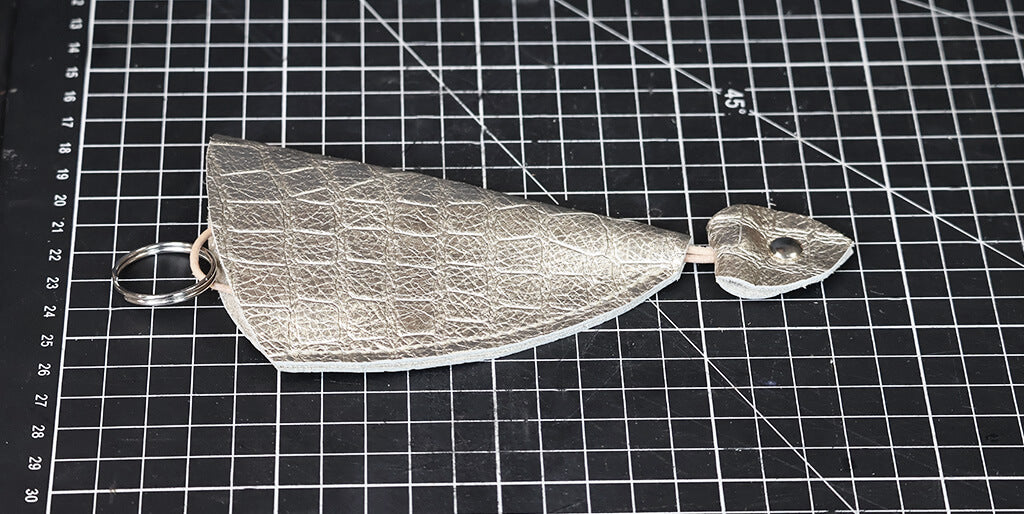
Then glue the two sides of P2 together, then hold them in place with a Chicago screw or a T3 rivet.
10. FINISHING TOUCHES
Stitch over the main piece if necessary to even out the edges. Optional: sand and apply a finish (paint) to the edge of the leather.
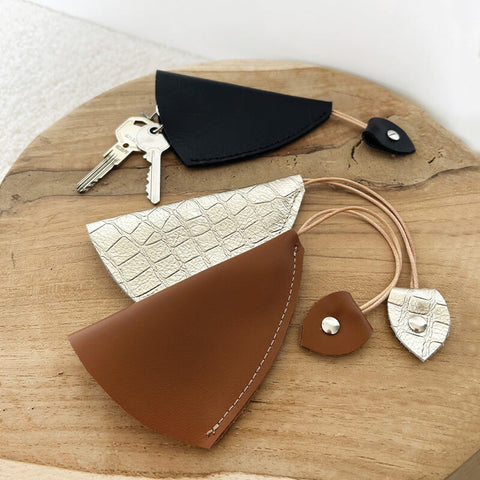
You're finished!
 |
 |
ANOTHER VERSION
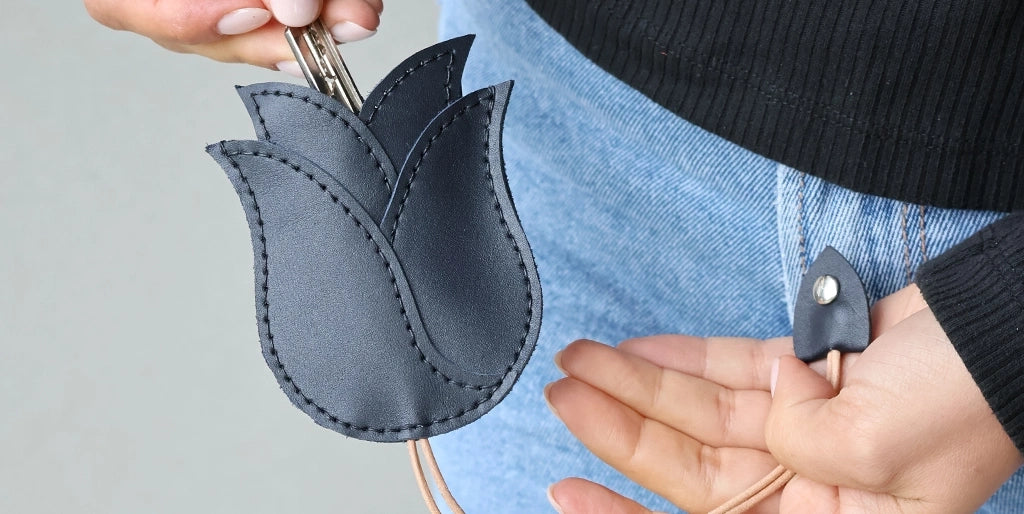
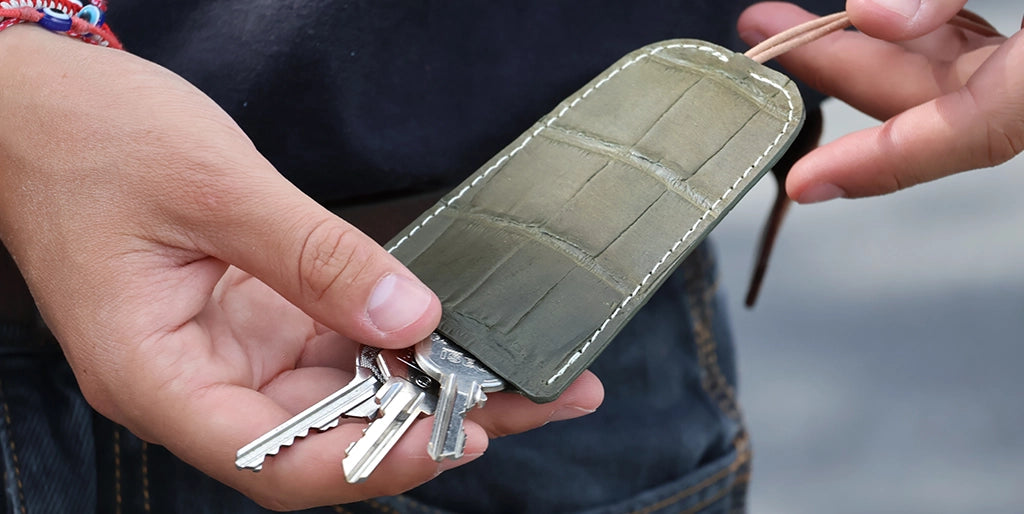
Discover a tulip-shaped version of leather key bells in another blog post.