











REQUIRED MATERIALS
To complete this tutorial, you will need:
- 1 firm leather hide - 1.4 mm thick - Surface area of approximately 0.55 m²
- 1 suede pig split leather hide - Thickness 0.8 mm, surface area of approximately 0.55 m²
- 1 metal zipper – 4 mm gauge, 20 cm length
- 1 metal zipper – 6 mm gauge, 25 cm length
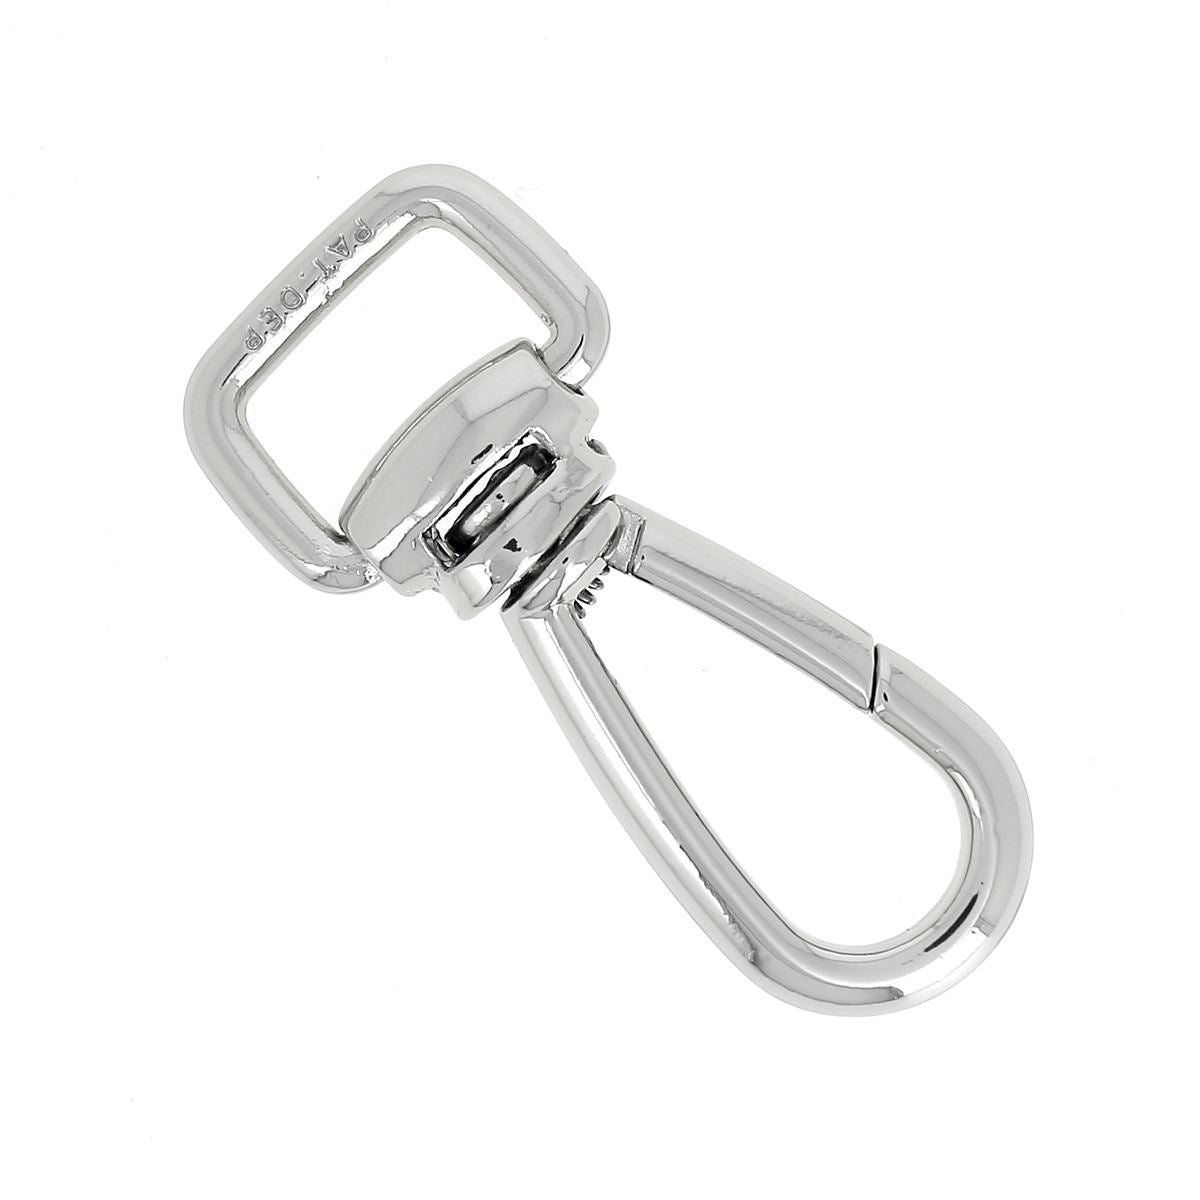
- 2 swivel snap hooks - 15 mm width
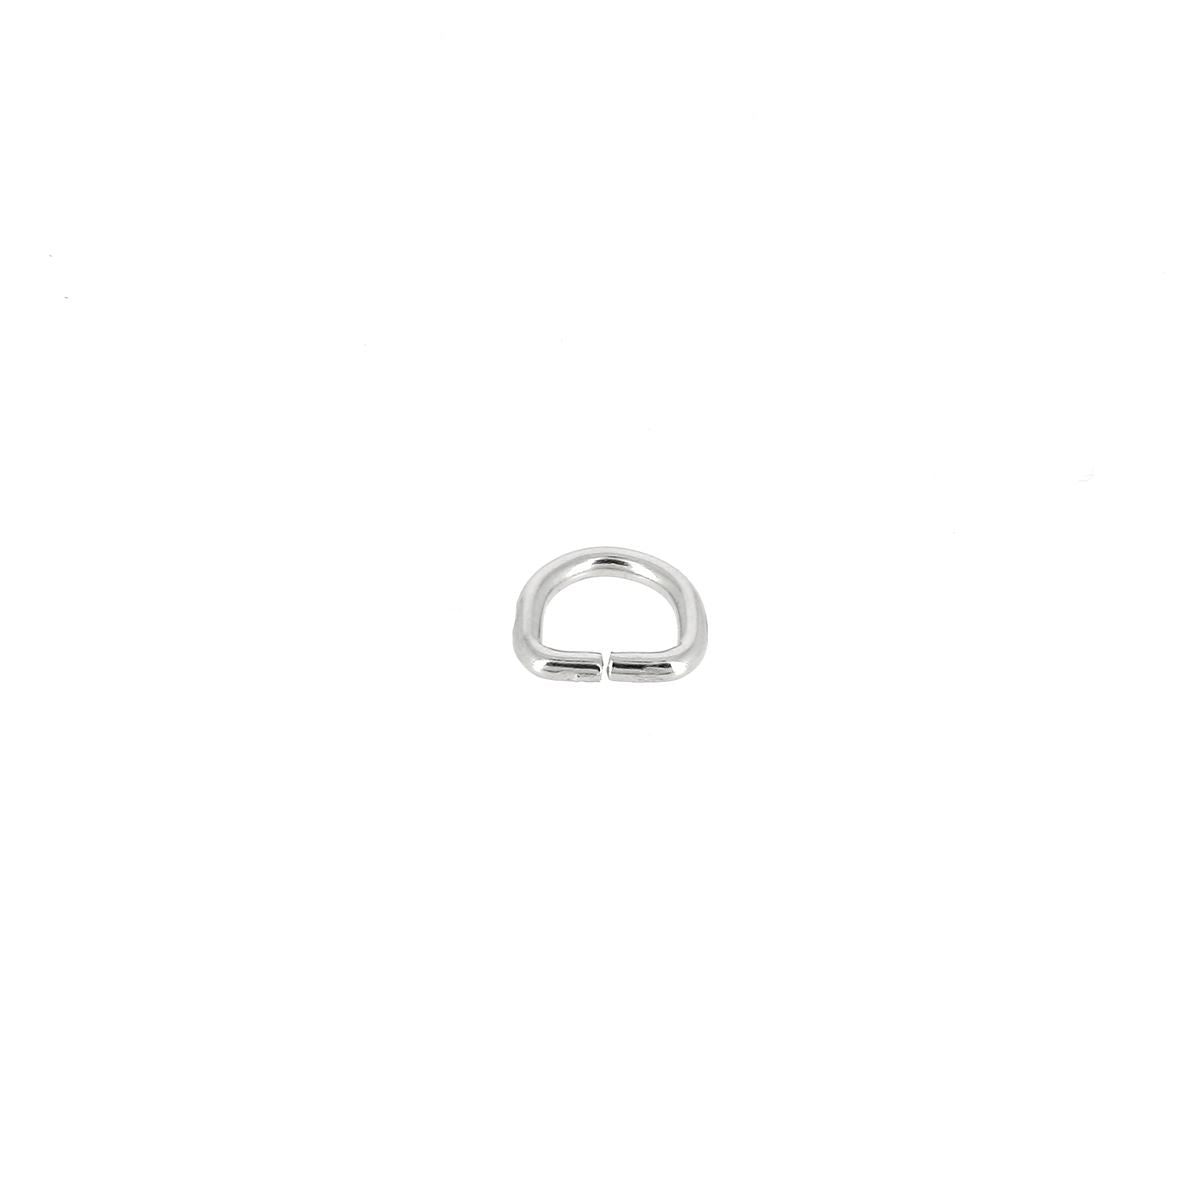
- 2 D-rings - 20 mm width
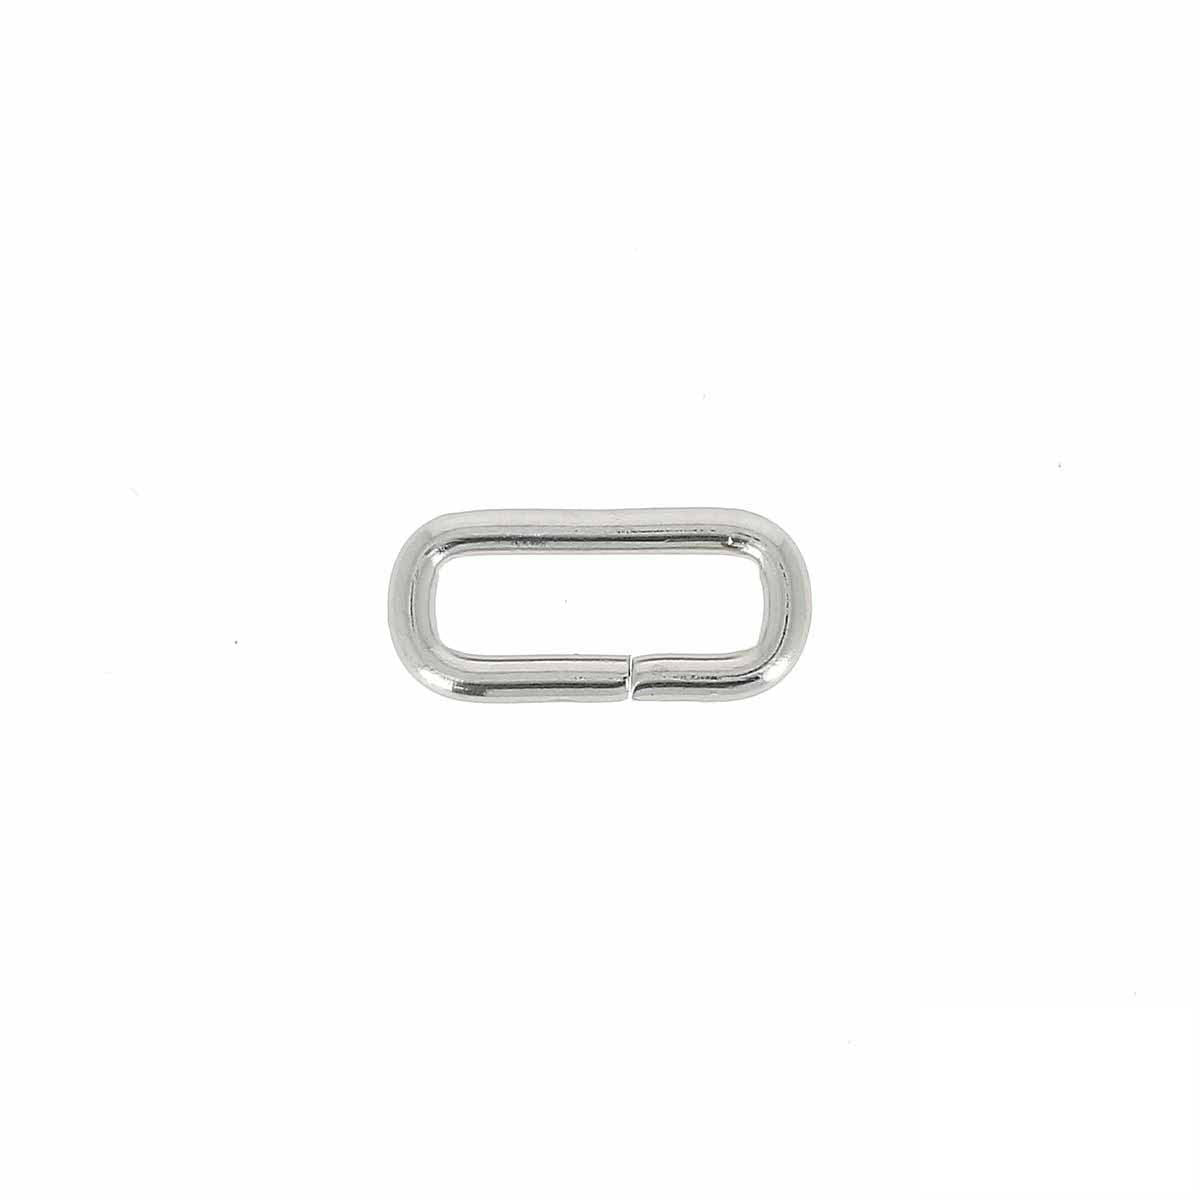
- 1 rectangular loop - 25 mm width
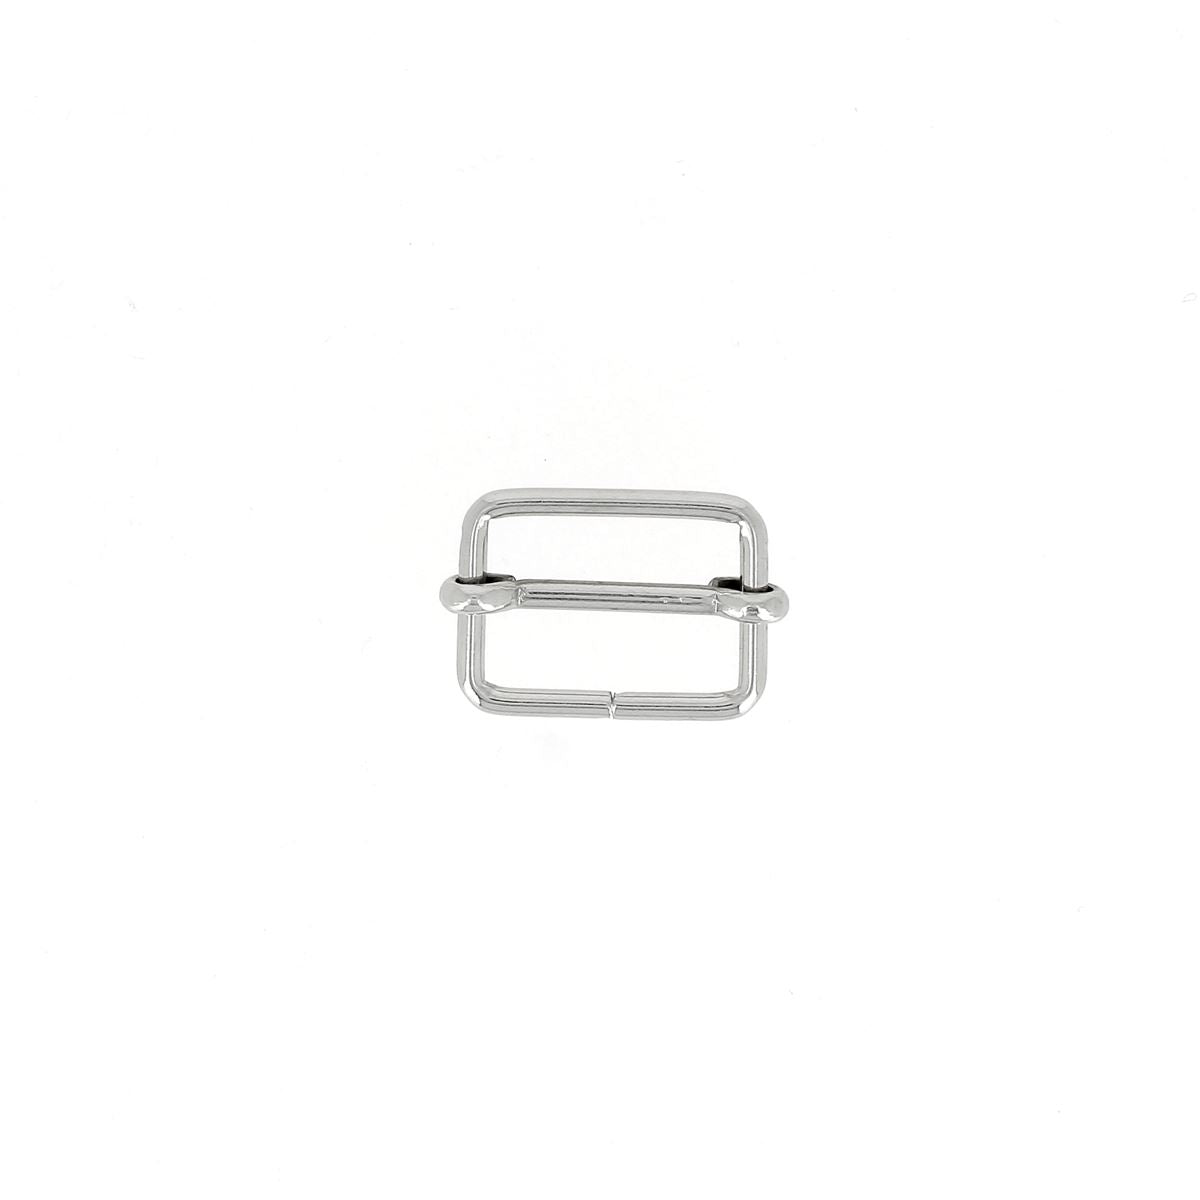
- 1 sliding buckle - 25 mm width
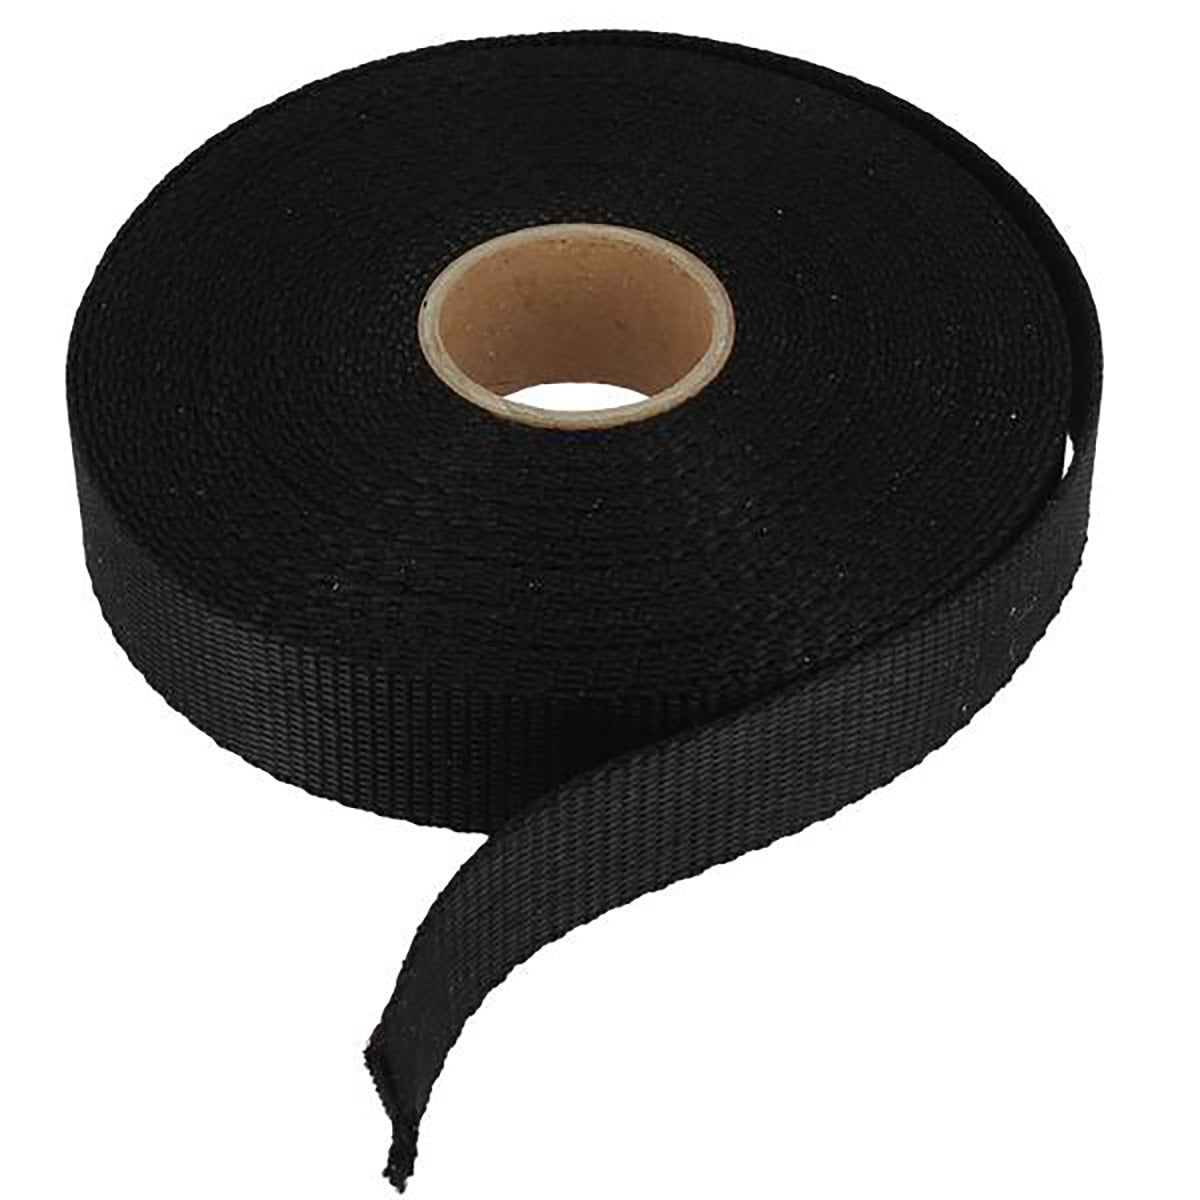
- 2 meters of nylon webbing - 25 mm width
- Double-sided adhesive tape - 3 mm width
- Leather contact cement
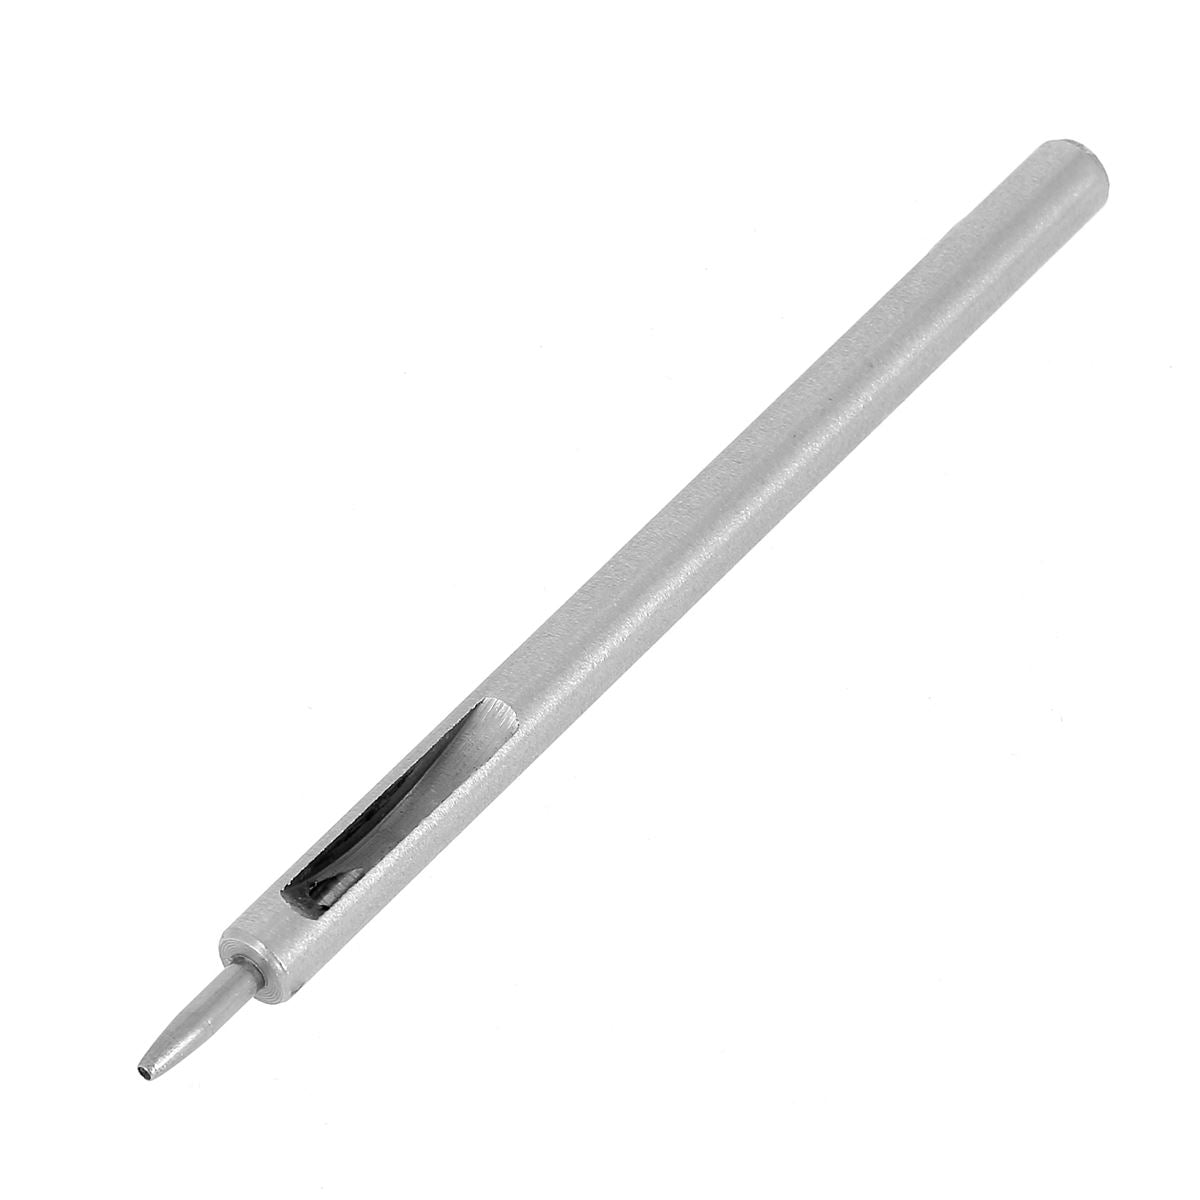
- A round hole punch (Ø 5 mm and Ø 1 mm)
- Thread Ø 0.55 mm (at least 24 meters) and blunt-tip needles
- Tokonole or edge finishing product


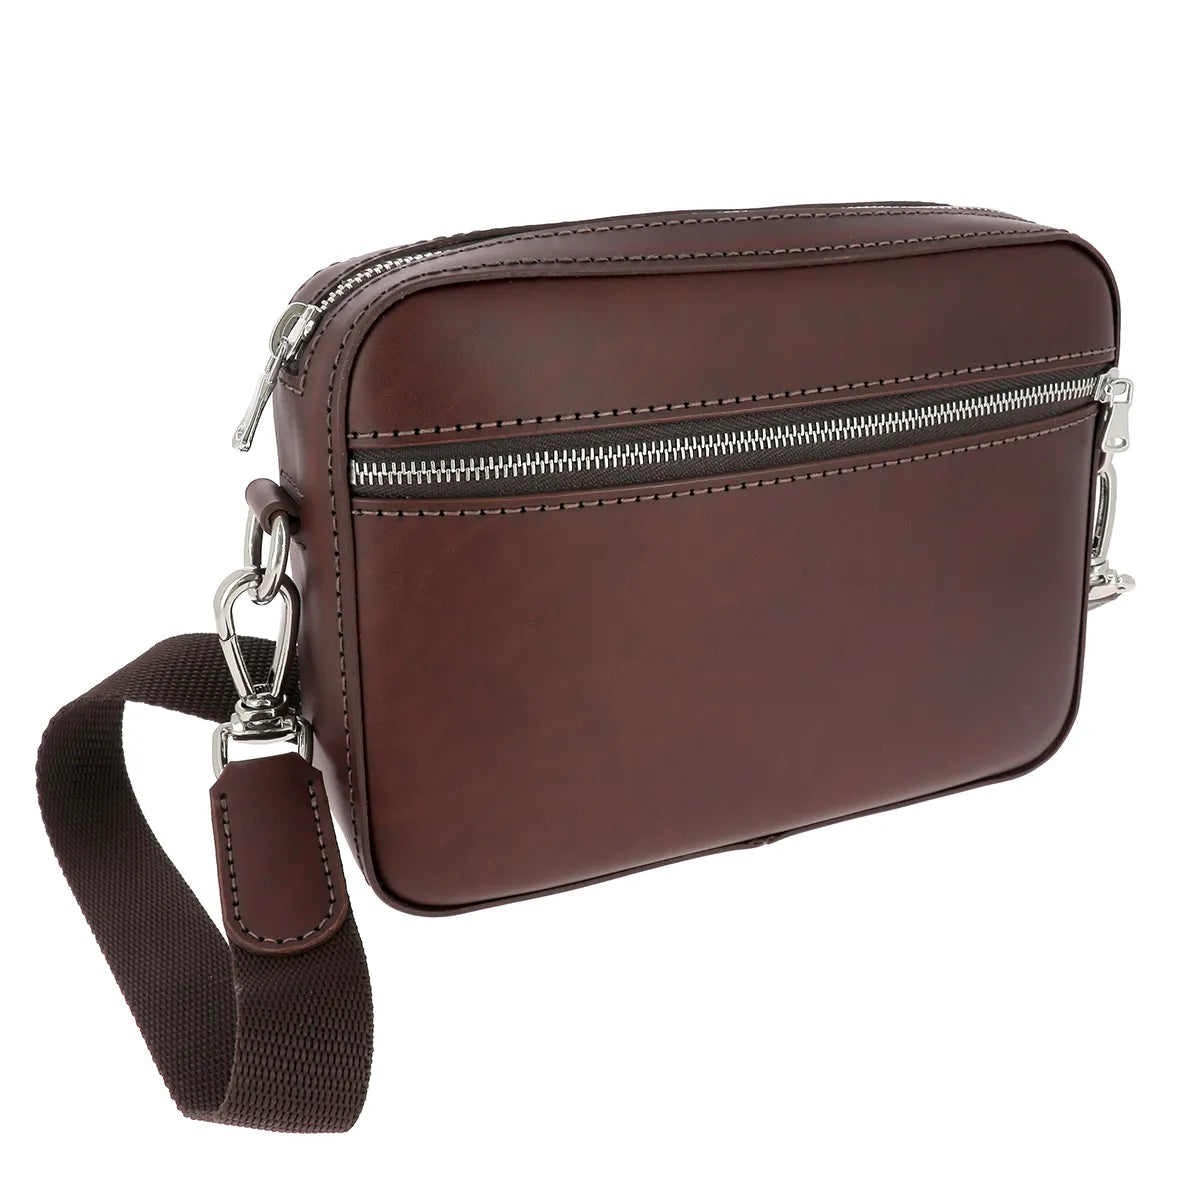
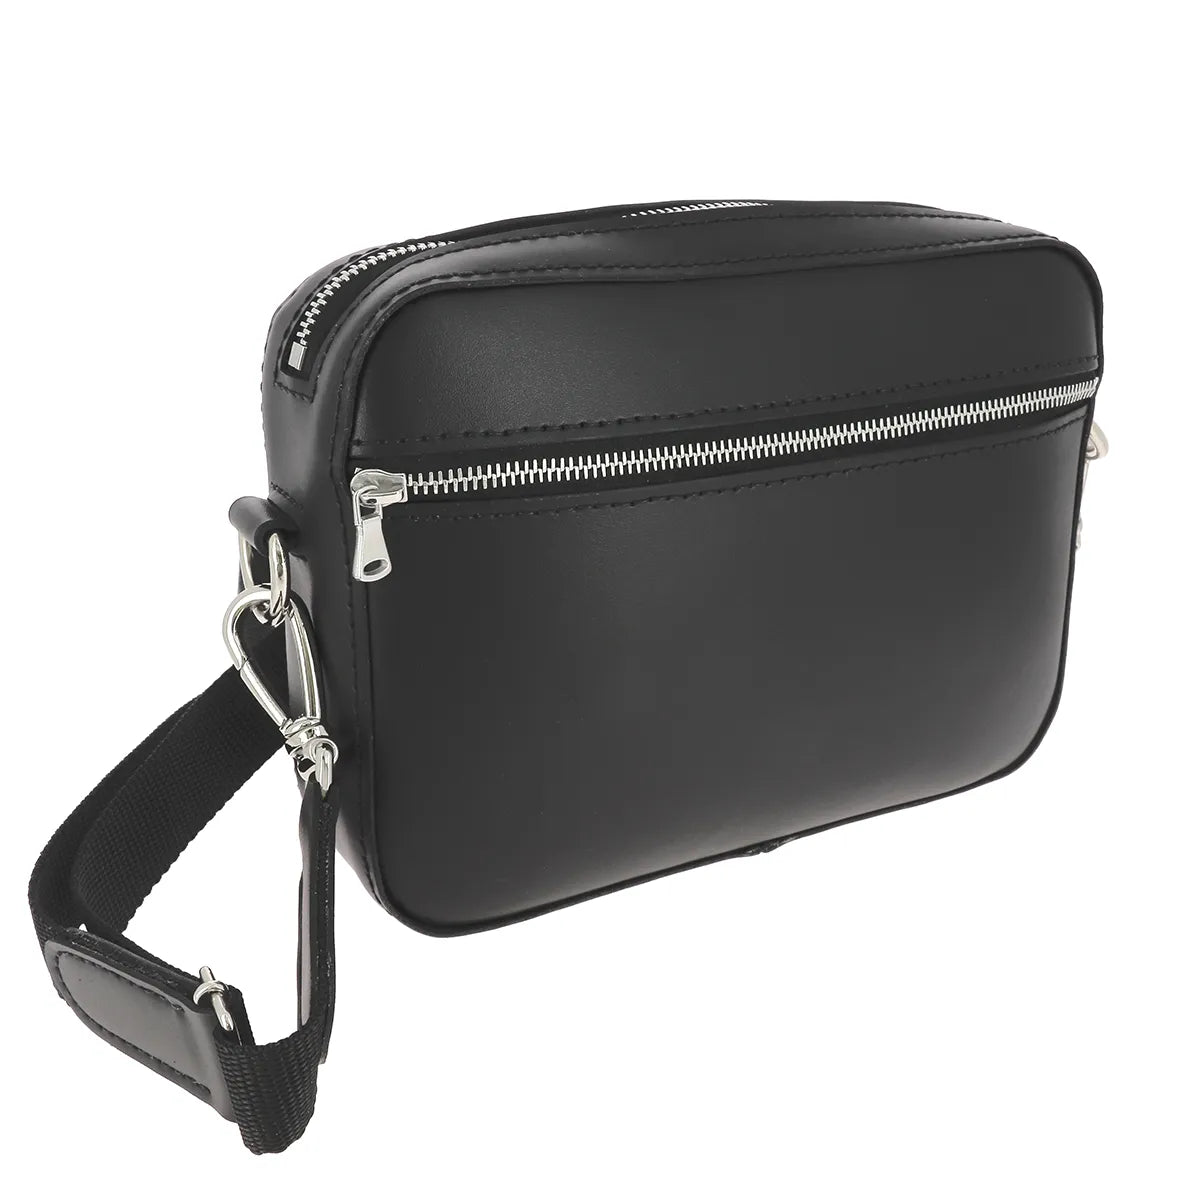

For soft leather, we recommend reinforcing the bag with 0.4 mm Salpa. This will give the bag better structure. For example, with the CLUB leather range.
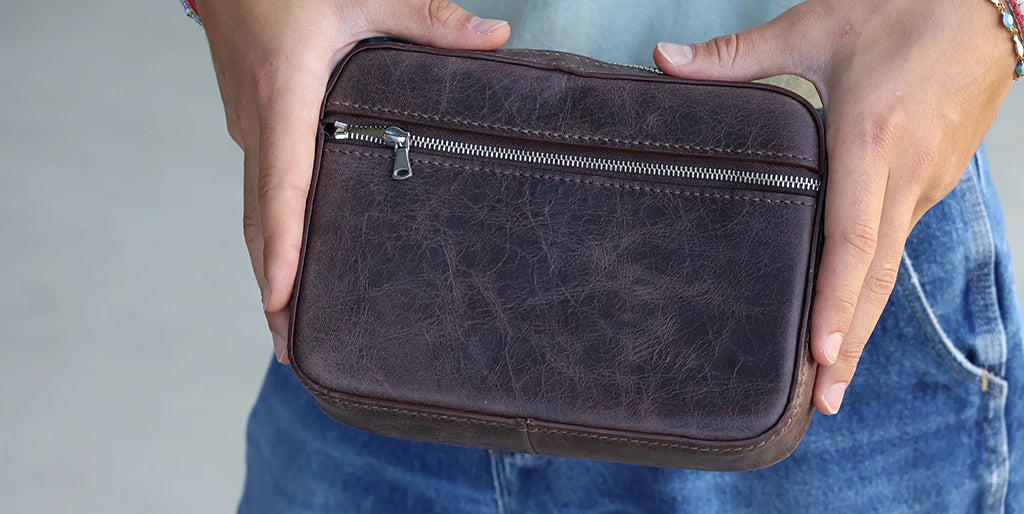
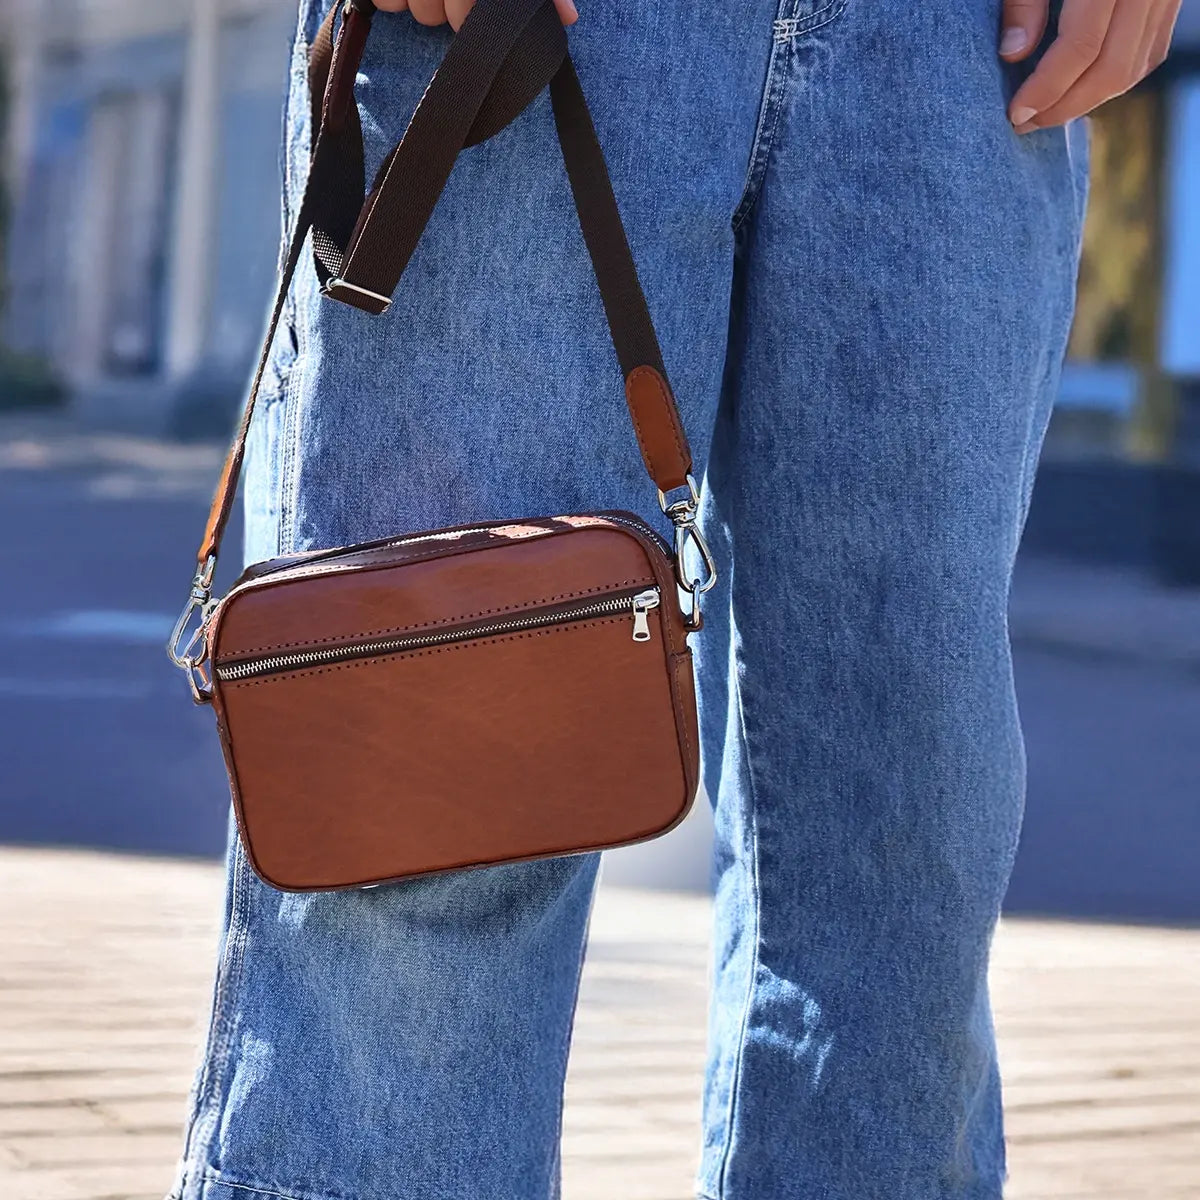
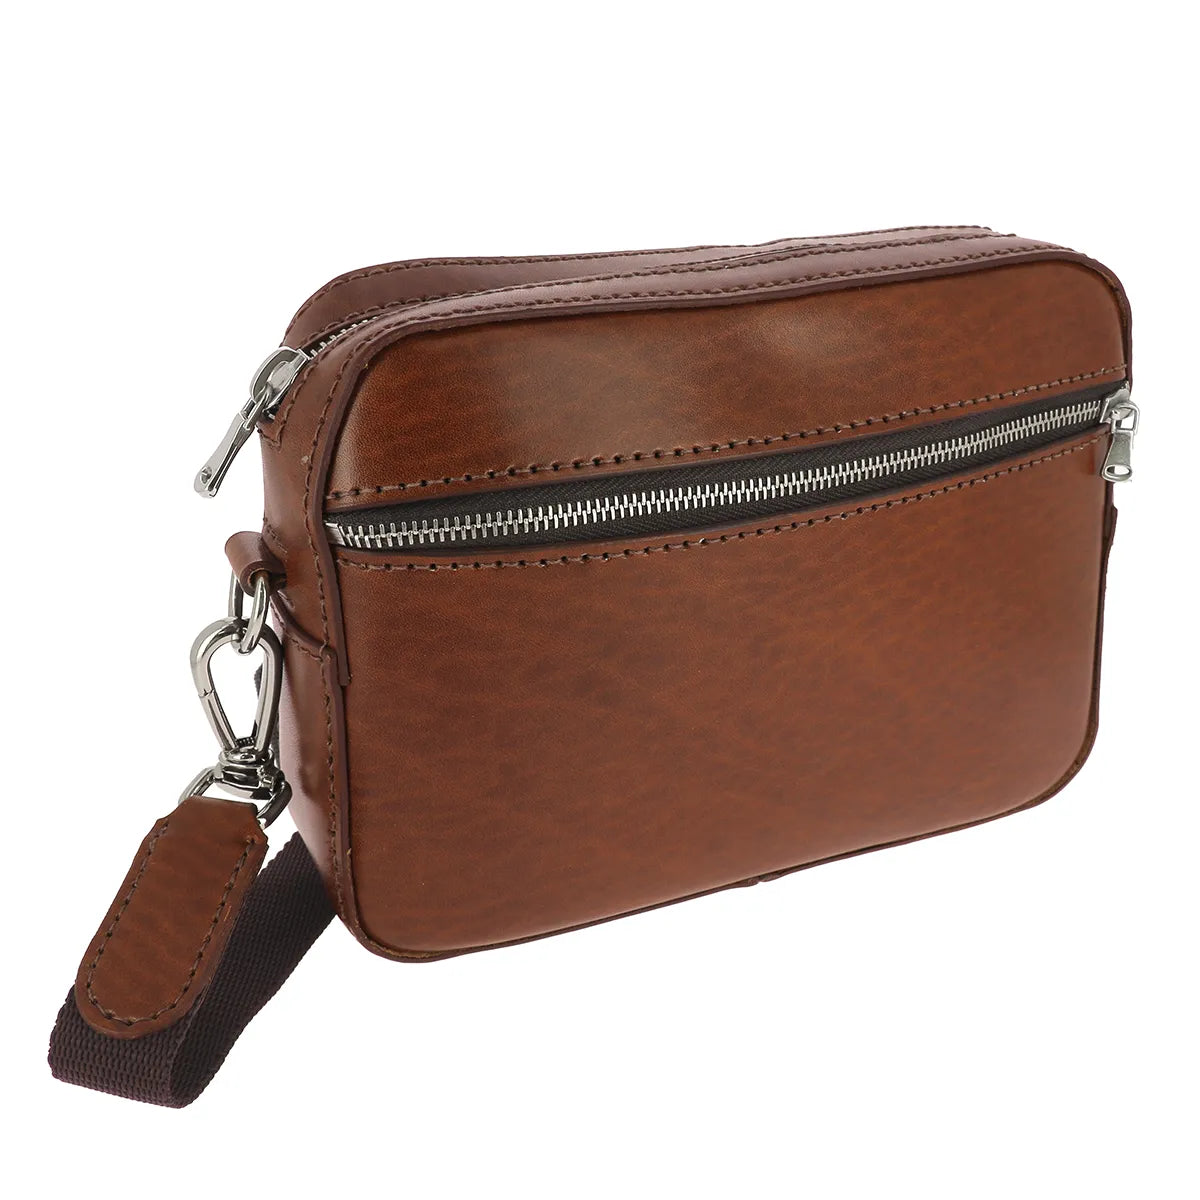
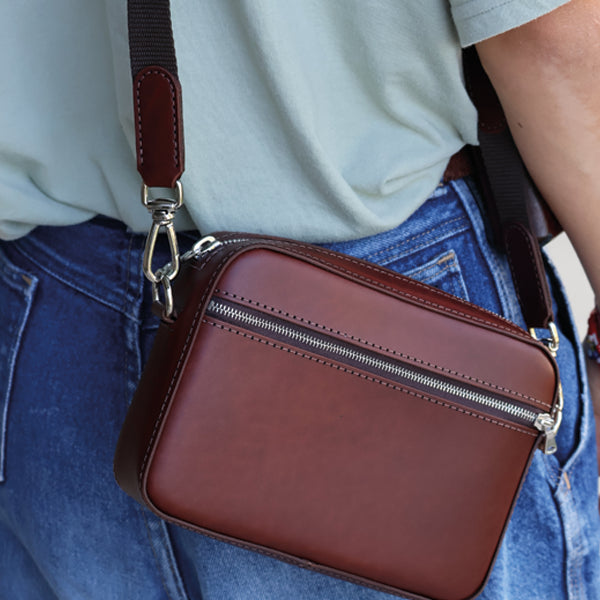
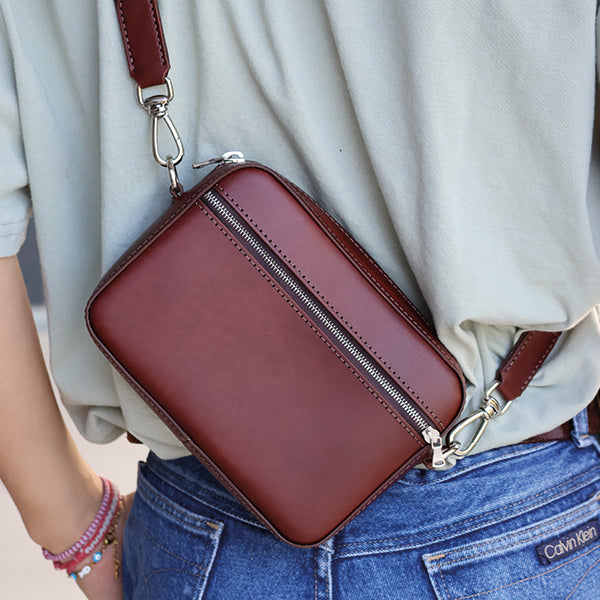
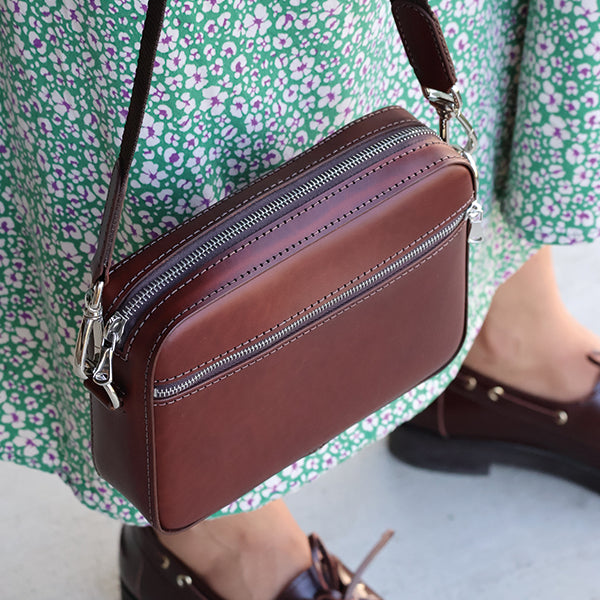
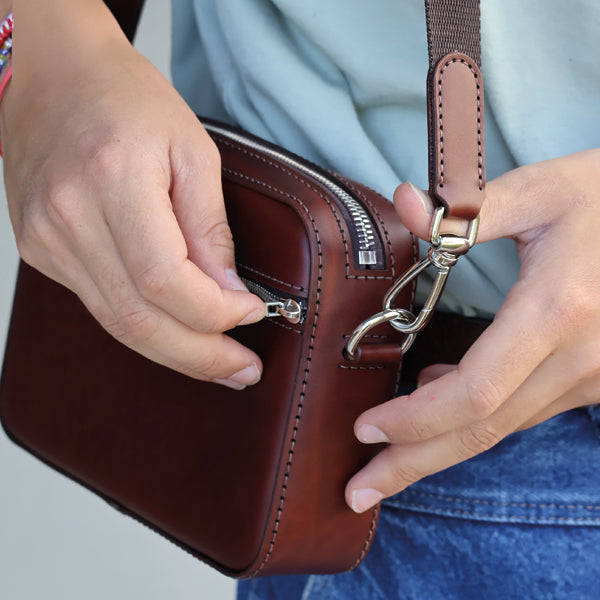
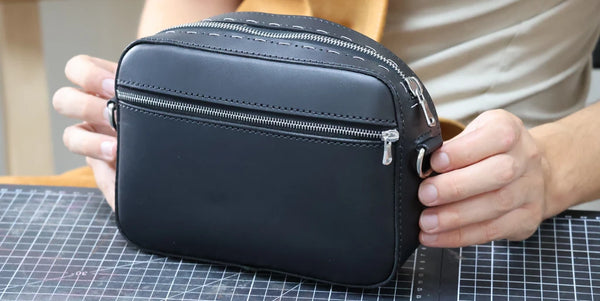
A CLOSER LOOK AT THE "LE NOMADE" UNISEX BAG
 |
 |
 |
 |
FULL VIDEO TUTORIAL
1. PRINT AND CUT THE PATTERN
Purchase the paper or PDF pattern (print at full size).
Cut out the pattern pieces, position them on the leather and lining. Secure them with masking tape, then punch the sewing holes using a Ø 1 mm hole punch.
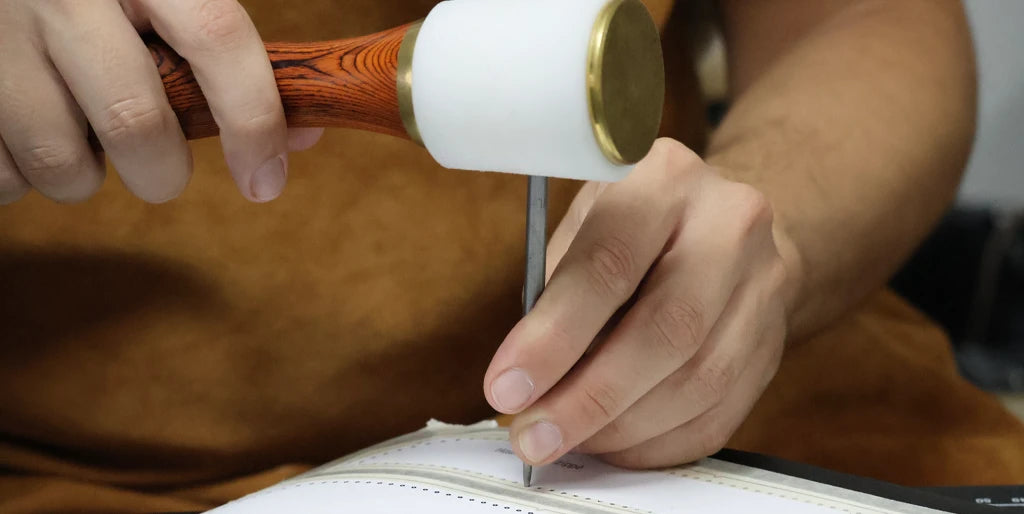
Use a Ø 5 mm round hole punch and a craft knife to create the oblong holes on pieces P4. Then cut out the opening for the zipper (also on pieces P4), then cut out all the leather and lining pieces using a craft knife or scissors.
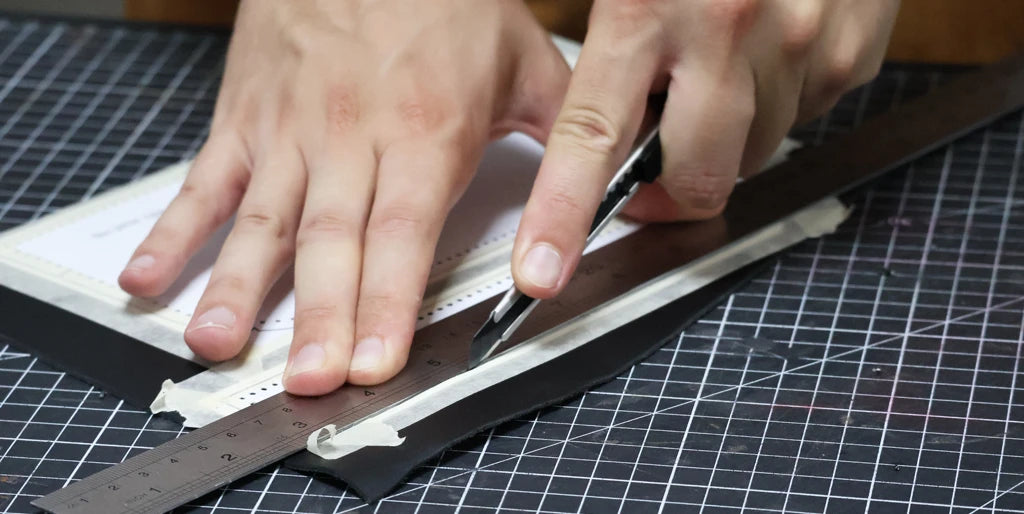
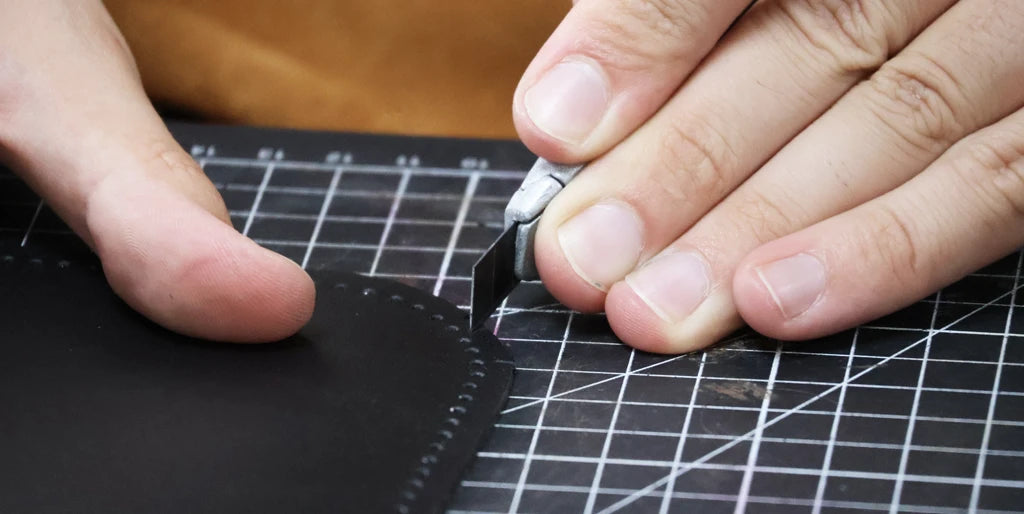
Mark the centers of the pieces, then notch the rounded edges of the leather pieces P1, P2, and P3.
2. Finish the edges
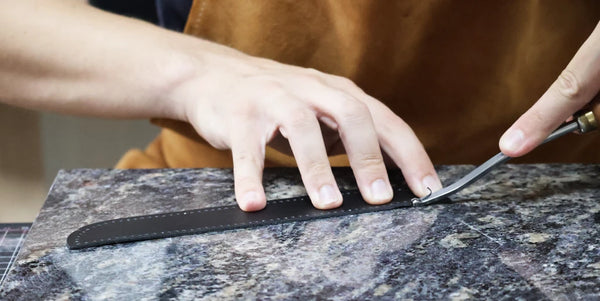
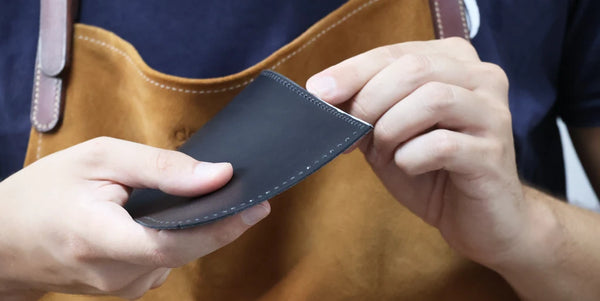
Bevel the edges of the leather pieces and finish them with the product of your choice (gum or edge finish).
Finish only the edges that will remain visible once the bag is assembled:
- The top edge of the lower front piece (P1);
- The bottom edge of the upper front piece (P2);
- All edges of the contour piece (P4), including the zipper opening;
- All edges of the tabs (P5, P6, and P7).
 |
 |
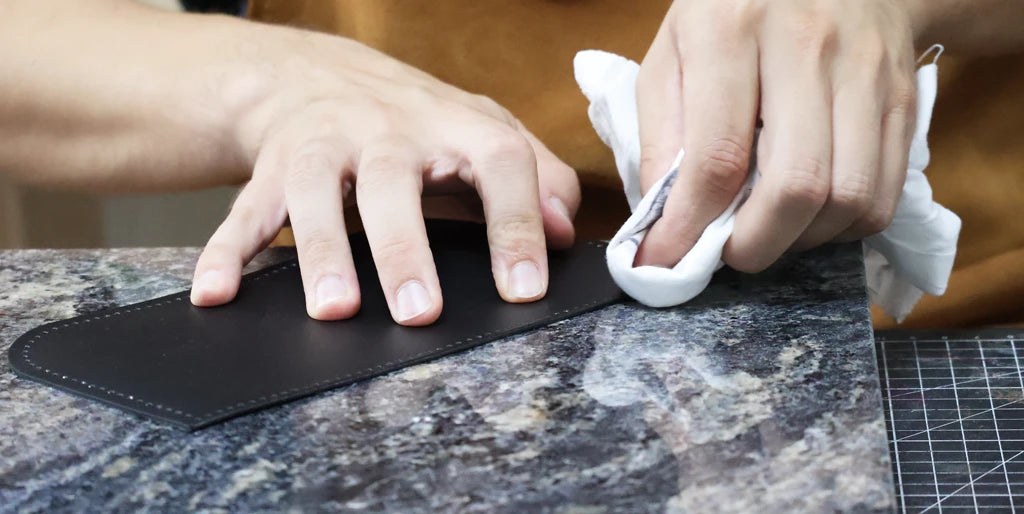
3. Sew the small zipper
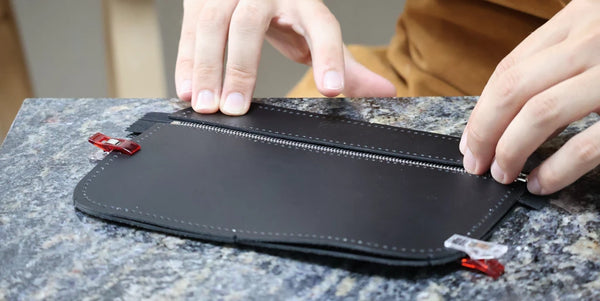
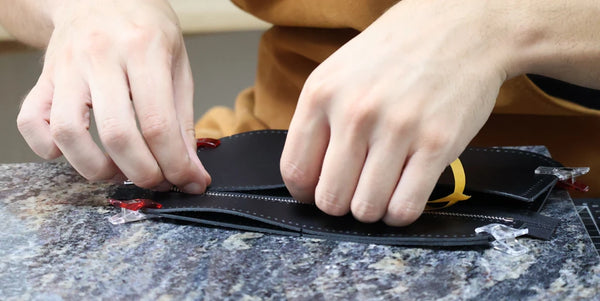
Using double-sided tape, glue the upper front piece (P2) to one side of the 20 cm zipper, then the lower front piece (P1) to the other side. Check the orientation of the slider. Position the pieces 3 mm from the zipper teeth.
Align the front pieces with the back piece (P3) to ensure the leather is positioned correctly relative to the zipper.
 |
 |
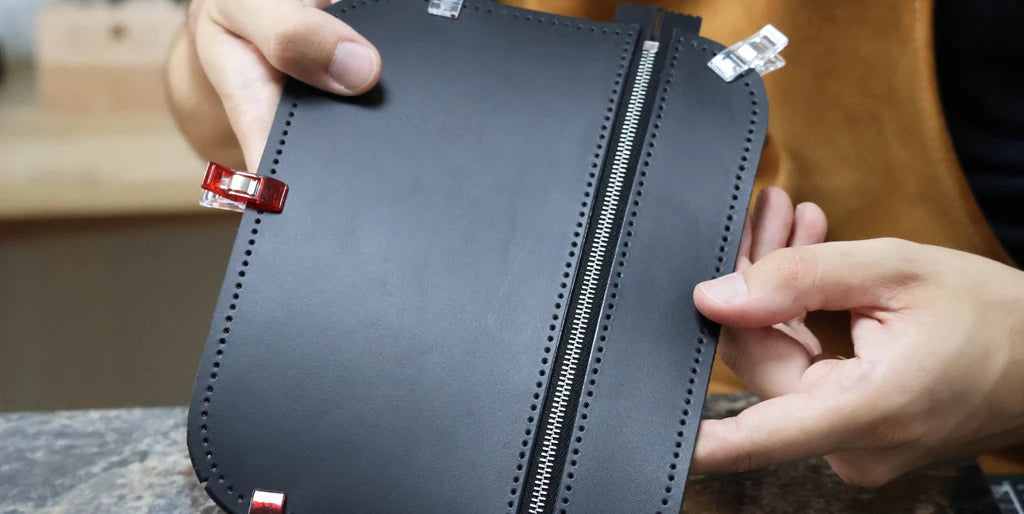
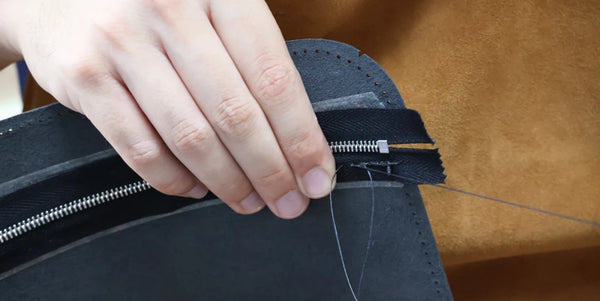
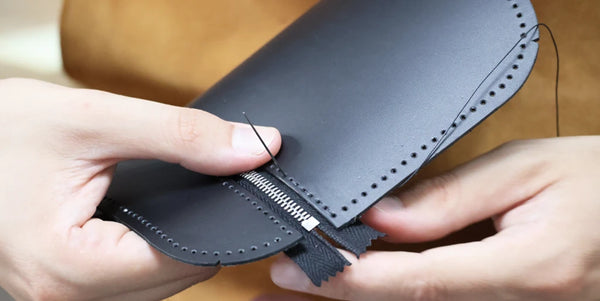
Sew both sides of the zipper using an English stitch.
 |
 |
4. Prepare the large zipper
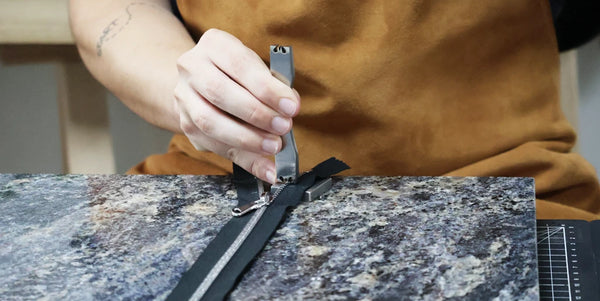
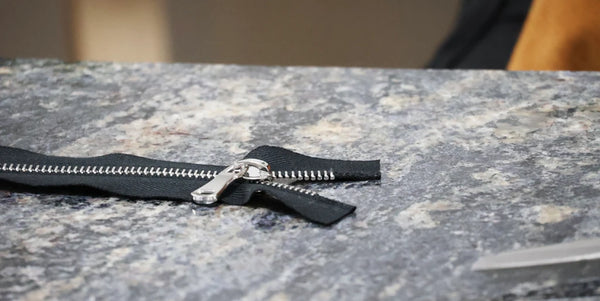
Take the 25 cm zipper and shorten it to 23.5 cm, then remove 0.75 cm of metal teeth from the newly cut side. Add bottom stops if necessary.
 |
 |
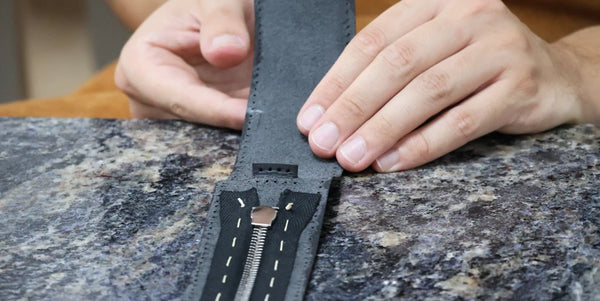
Apply double-sided tape to the flesh side of leather piece P4, around the zipper opening. Then, position the piece on the zipper, centering it carefully.
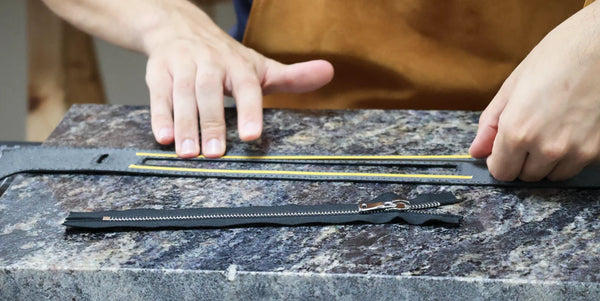 |
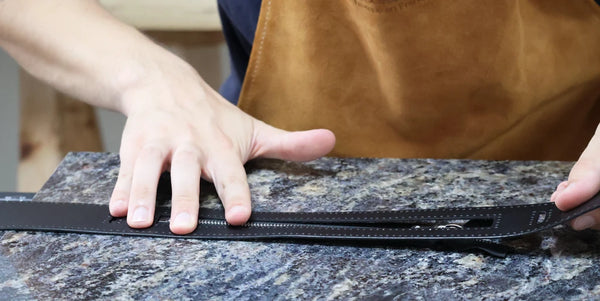 |
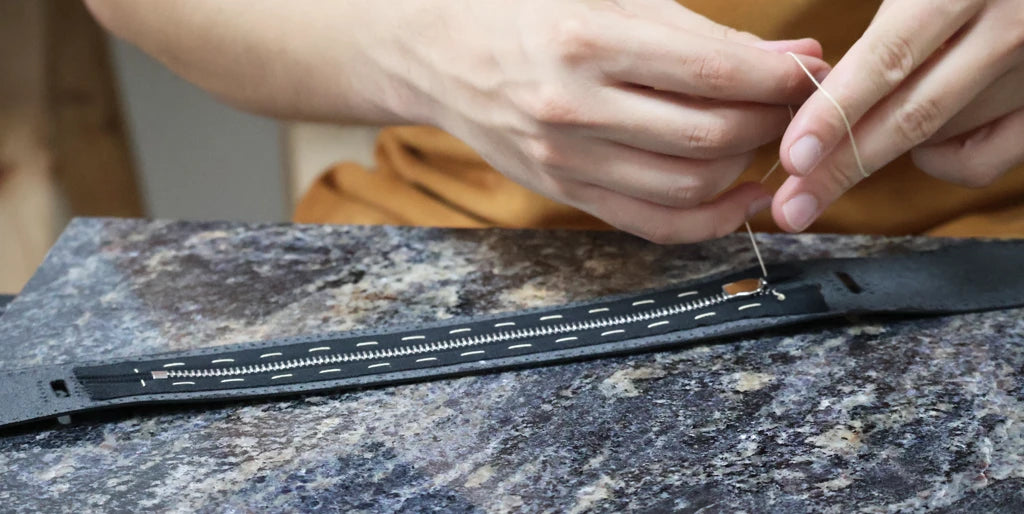
This zipper will be sewn at the end of assembly along with the lining. In the meantime, use a holding stitch to facilitate the next steps. You could also fix it with double-sided tape, but subsequent handling might cause it to shift. Remove this stitch at step 10.
Using needle and thread, perform a holding stitch by passing through the first hole, then skipping one hole and passing through the second, and so on. Tie a knot, then leave this stitching in place.
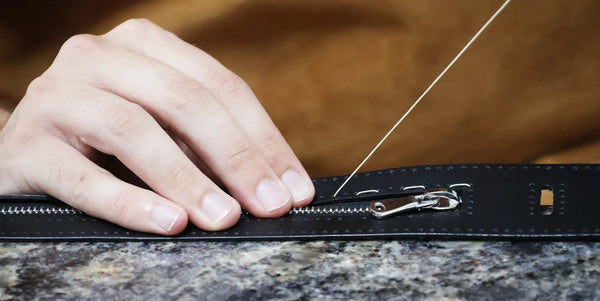 |
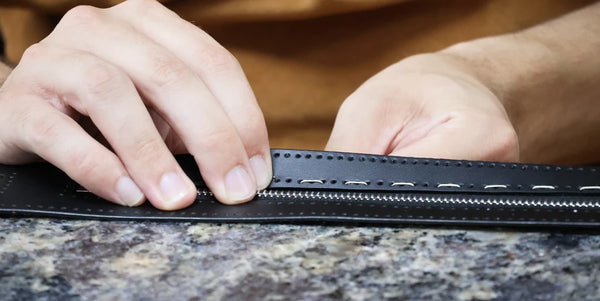 |
5. Sew the tabs
Prepare the P5 tabs by folding them in half.
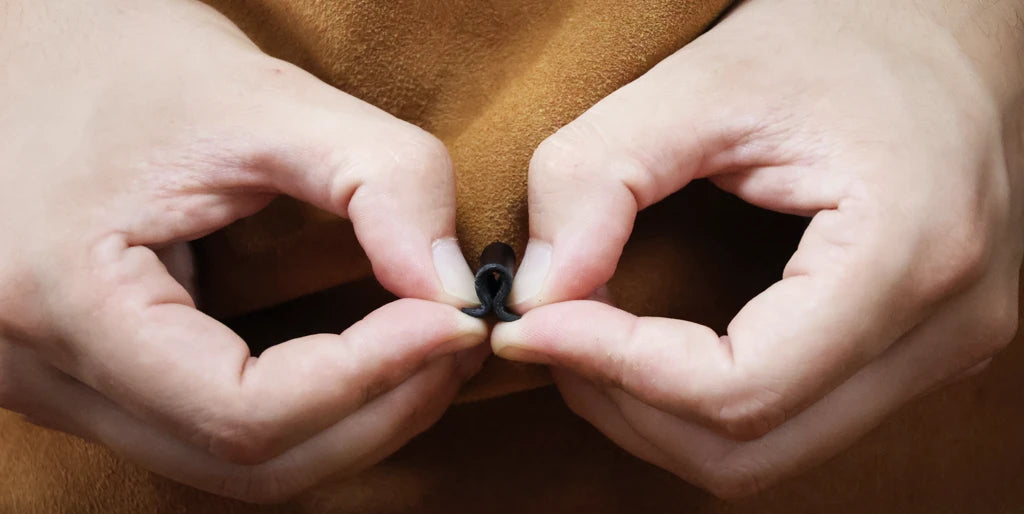
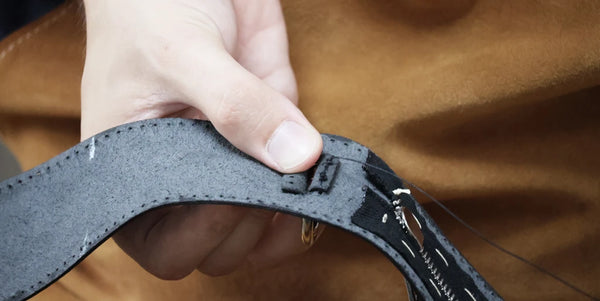
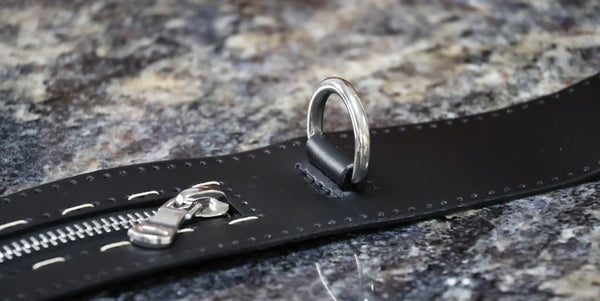
Insert the D-rings into the tabs, then place them in their designated slots (oblong holes) on the leather contour piece (P4).
 |
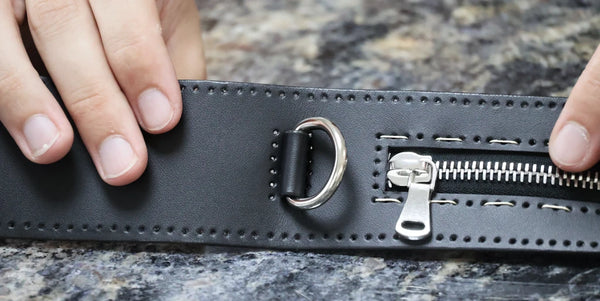 |
Sew the tabs onto the leather contour piece (P4) using the English stitch or simplified stitching technique.
 |
 |
6. Sew the contour
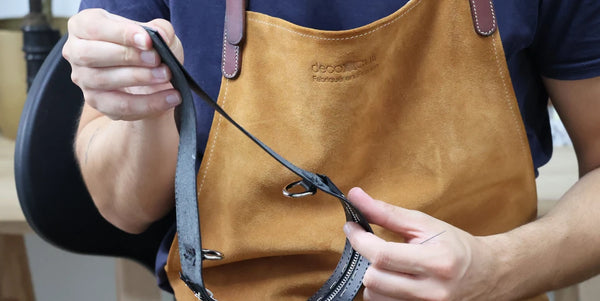
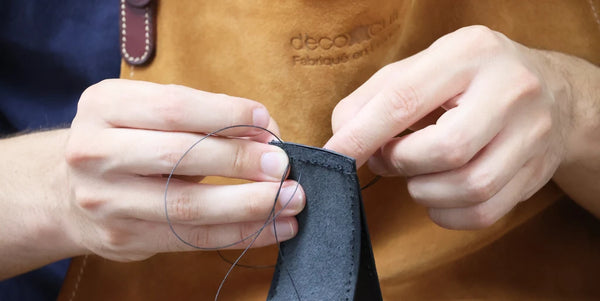
Join the two ends of the leather contour piece (P4), right sides together, then sew using an English stitch. Perform a saddle stitch at the beginning and end of the seam.
 |
 |
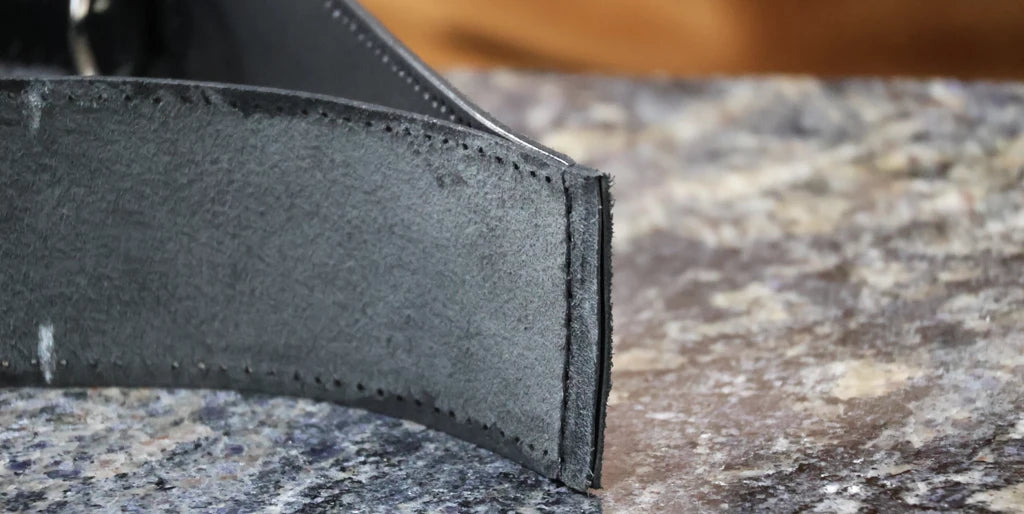
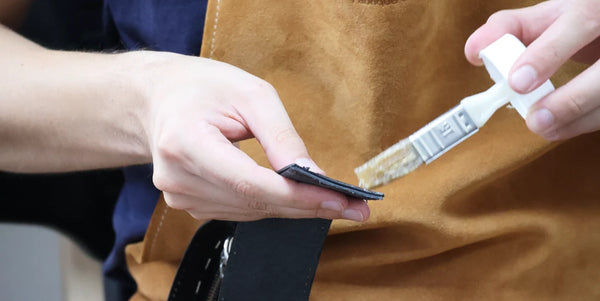
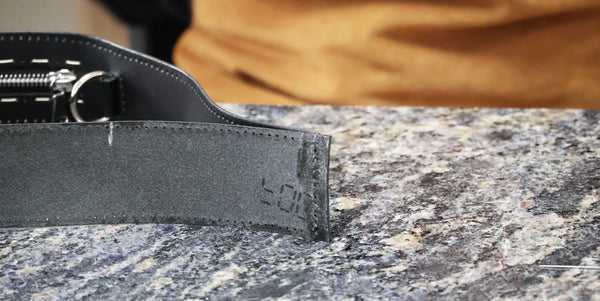
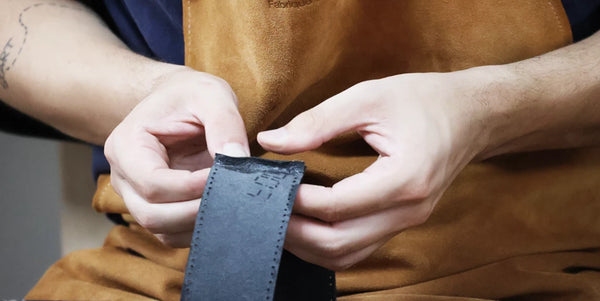
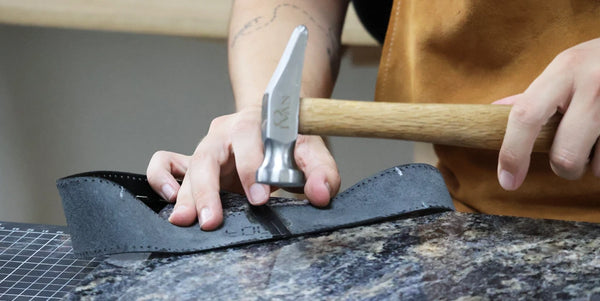
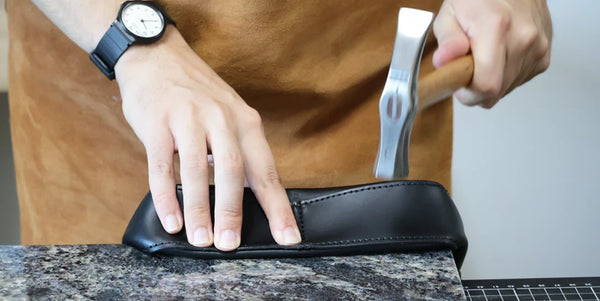
Apply contact cement to the seams. Let dry, then flatten the seams with a riveting hammer.
 |
 |
 |
 |
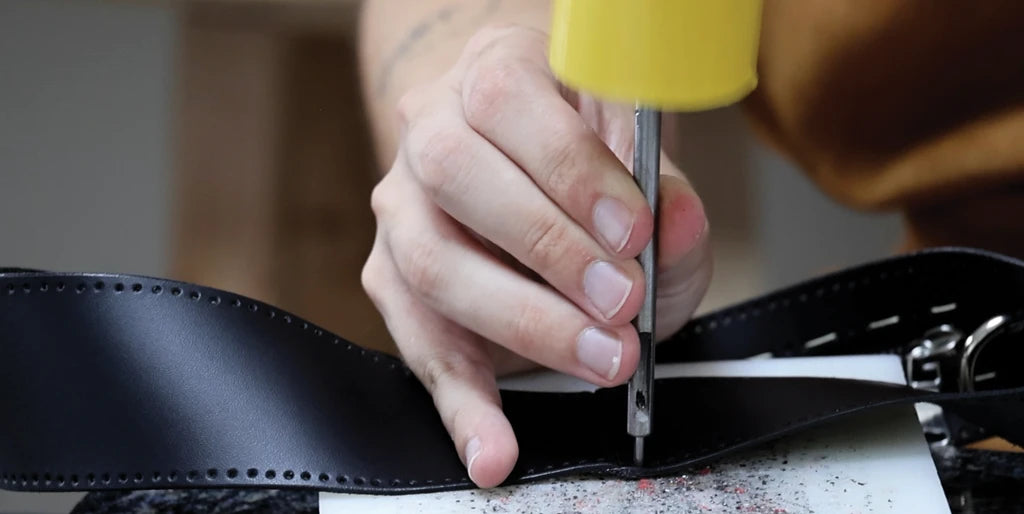
Re-punch the sewing holes (Ø 1 mm) at the ends.
7. Prepare the small front pocket
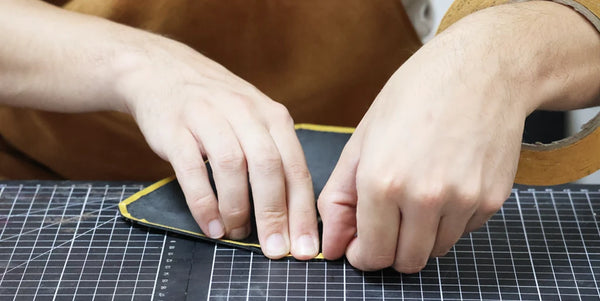
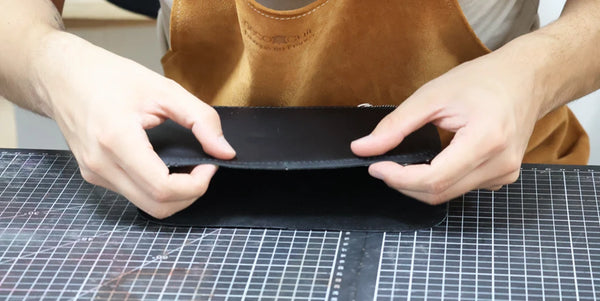
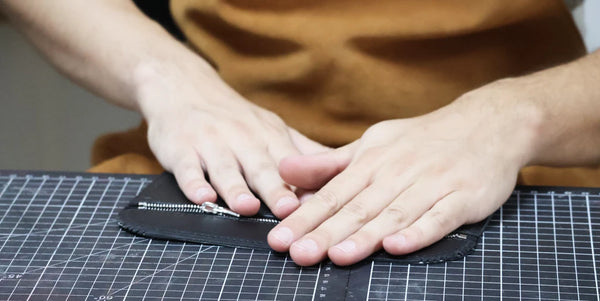
Apply double-sided tape on the flesh side of the front pieces (P1 and P2), along the entire perimeter. Avoid covering the sewing holes to make final assembly easier.
 |
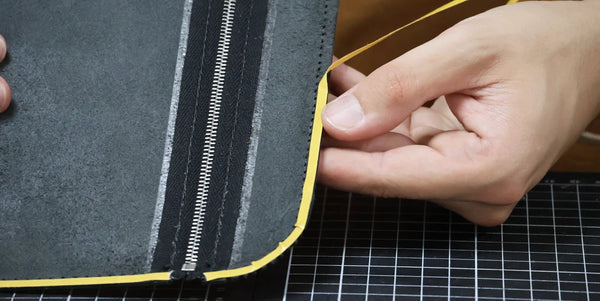 |
Then, glue the right side of one of the back lining pieces (P3) to the flesh side of the leather front piece (P1/P2). Glue edge-to-edge, carefully aligning the holes.
 |
 |
8. Sew the contour
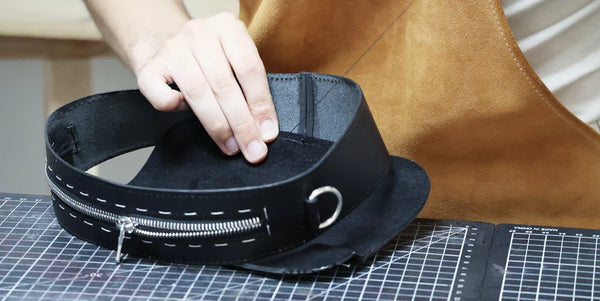
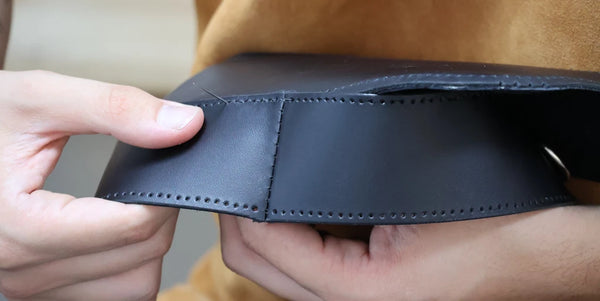
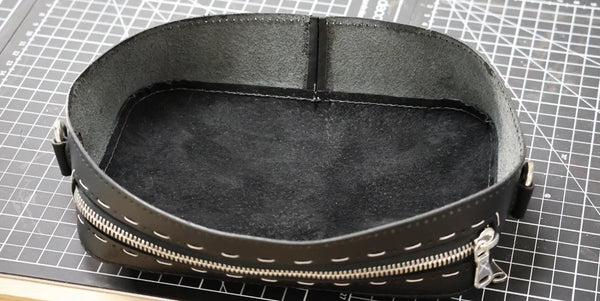
Sew the contour piece P4 (leather) onto the front piece P1 (leather and lining) using the saddle stitch technique. Start by aligning the centers: for piece P4, the center is located in the fold formed between the two sewn ends. Sew the reverse side of P4 onto the right side of the P1/P2 assembly.
 |
 |
 |
 |
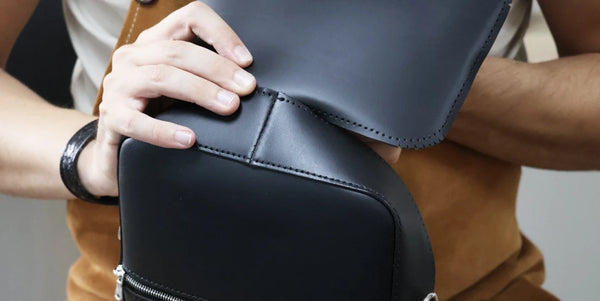
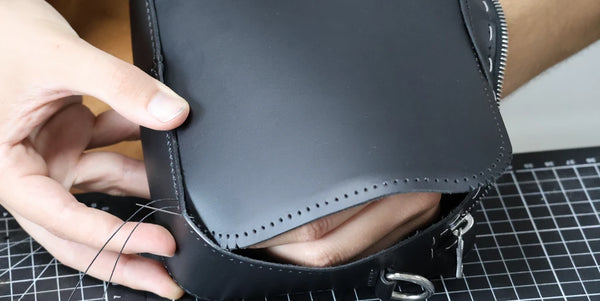
Then, sew the reverse side of piece P4 onto the right side of the back piece P3. Start by aligning the centers, then sew using the saddle stitch. Reach through the opening of the 25 cm zipper to finish the stitching.
 |
 |
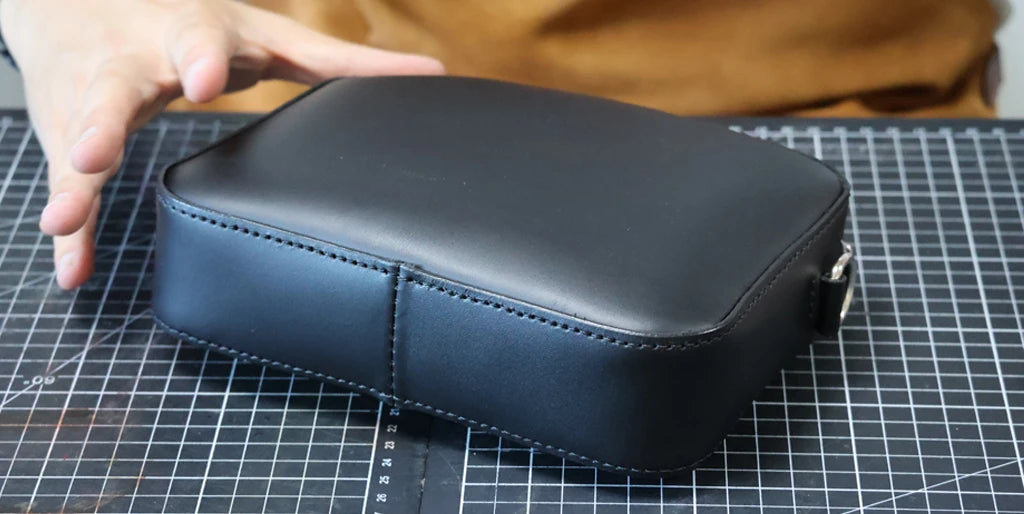
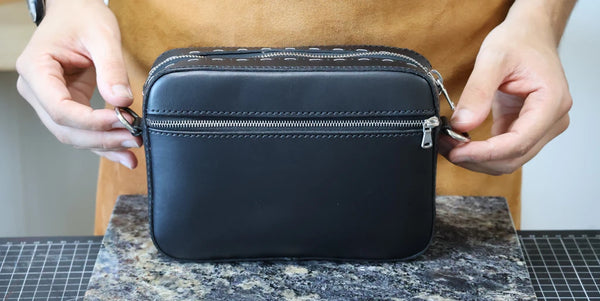
Hammer the seams with a riveting hammer, then shape the corners of the bag.
 |
 |