


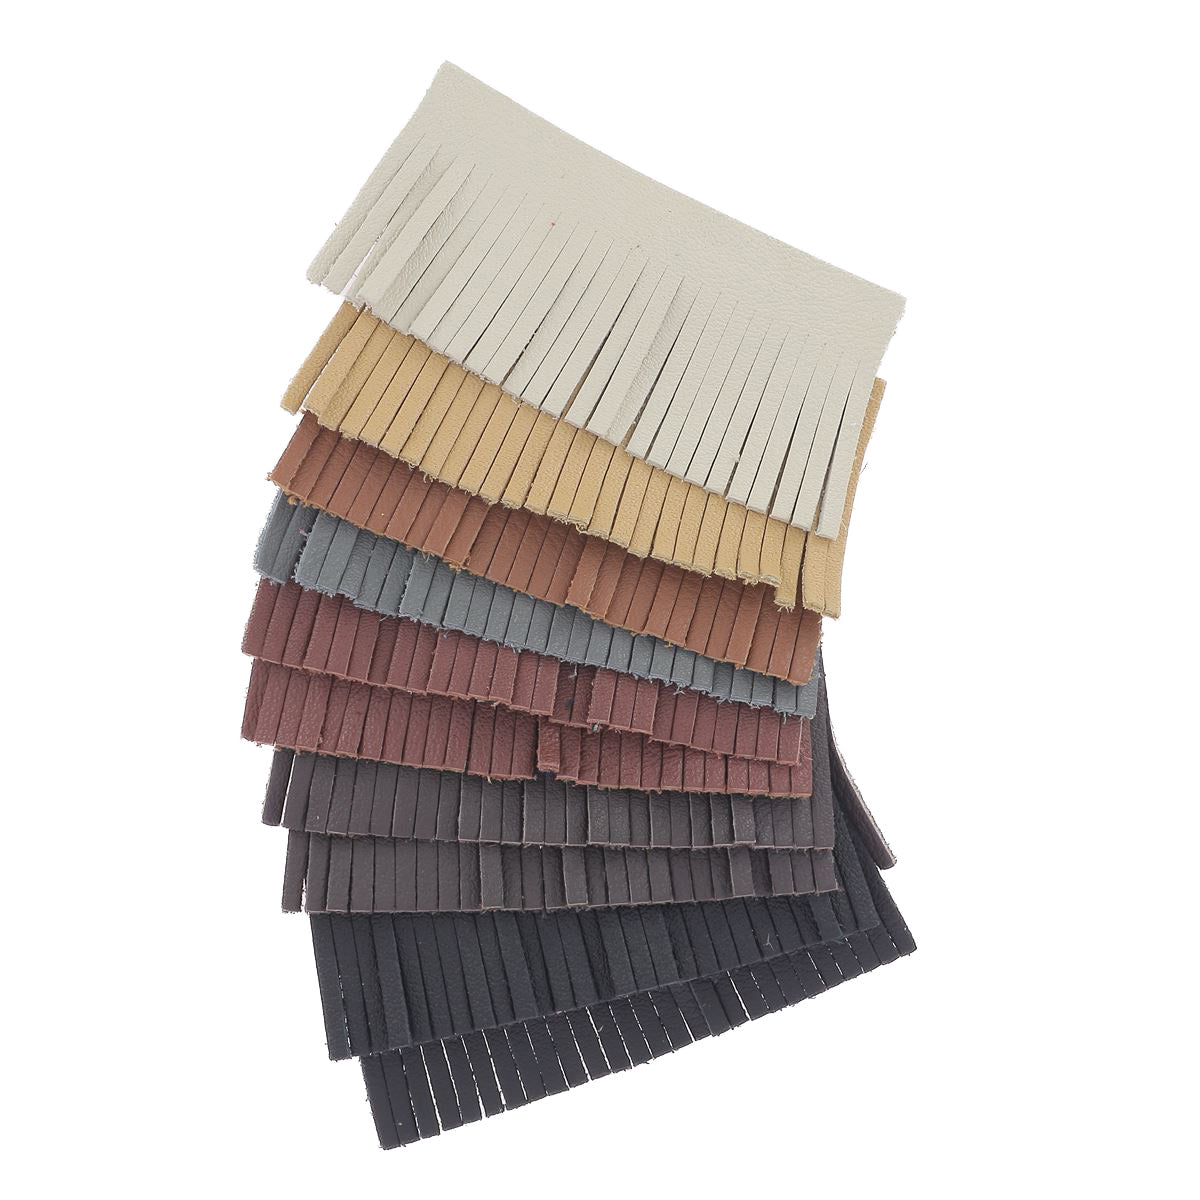

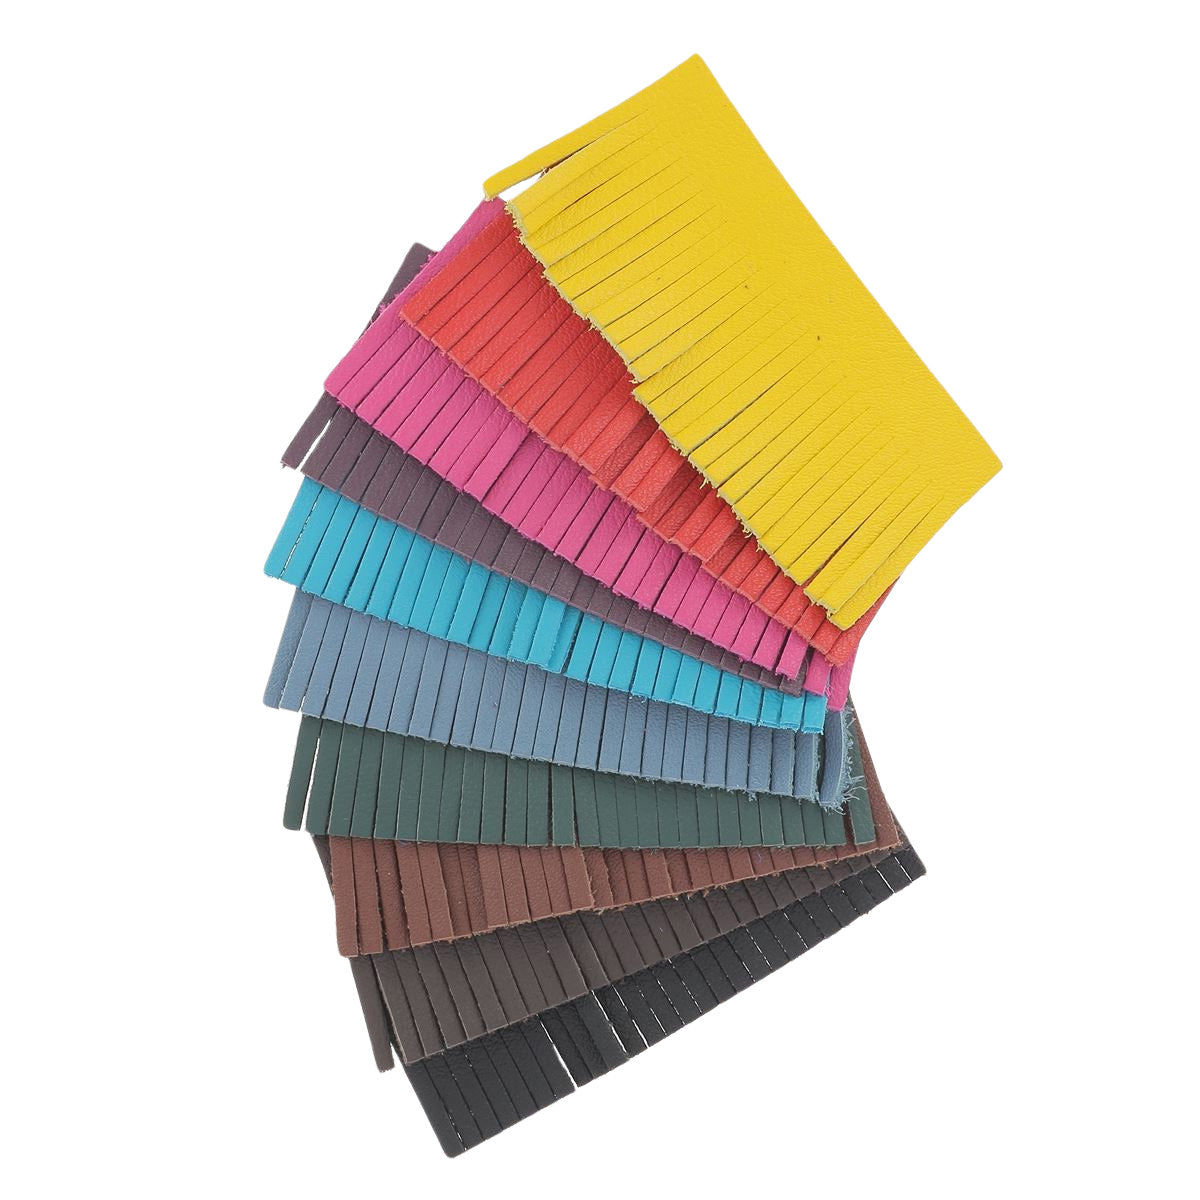

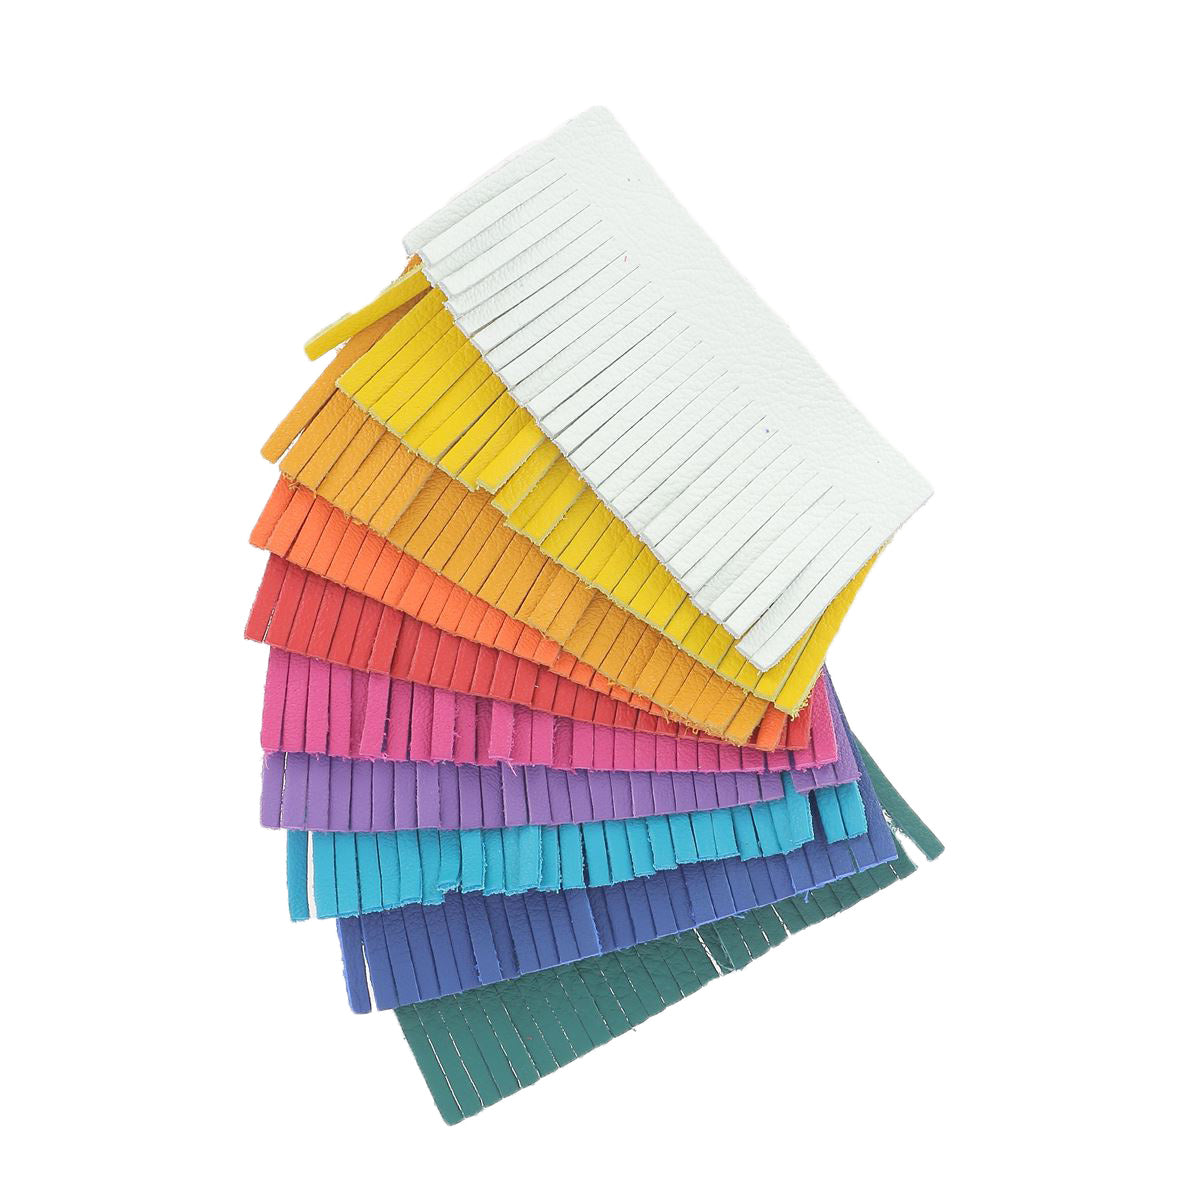


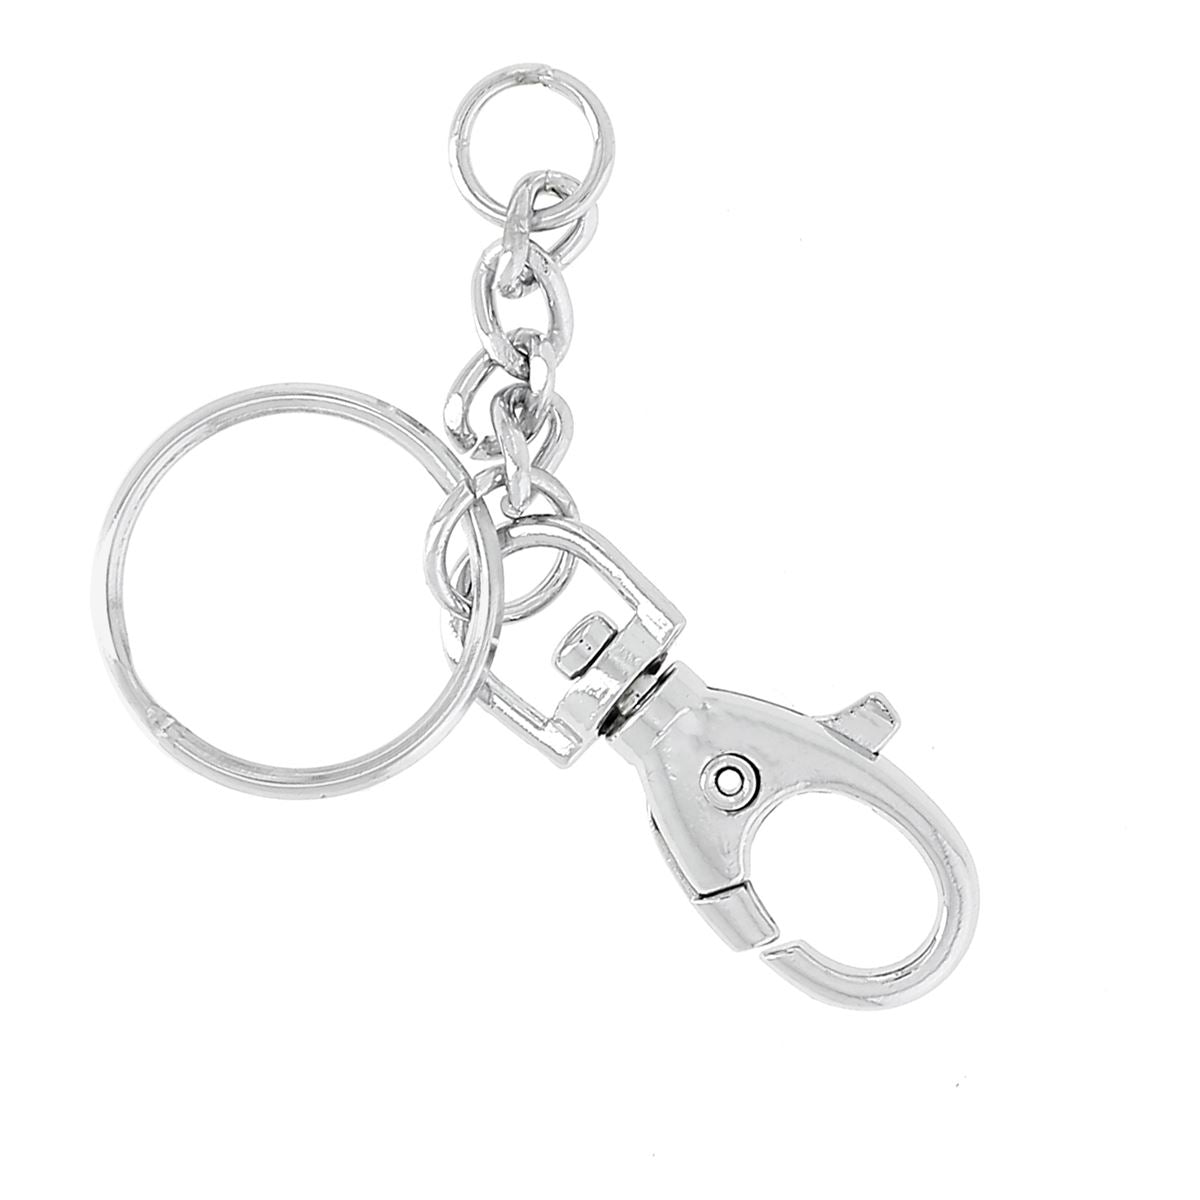

How to attach the pompon to your creation? Discover our tip!
The materials needed to create your own leather pompon
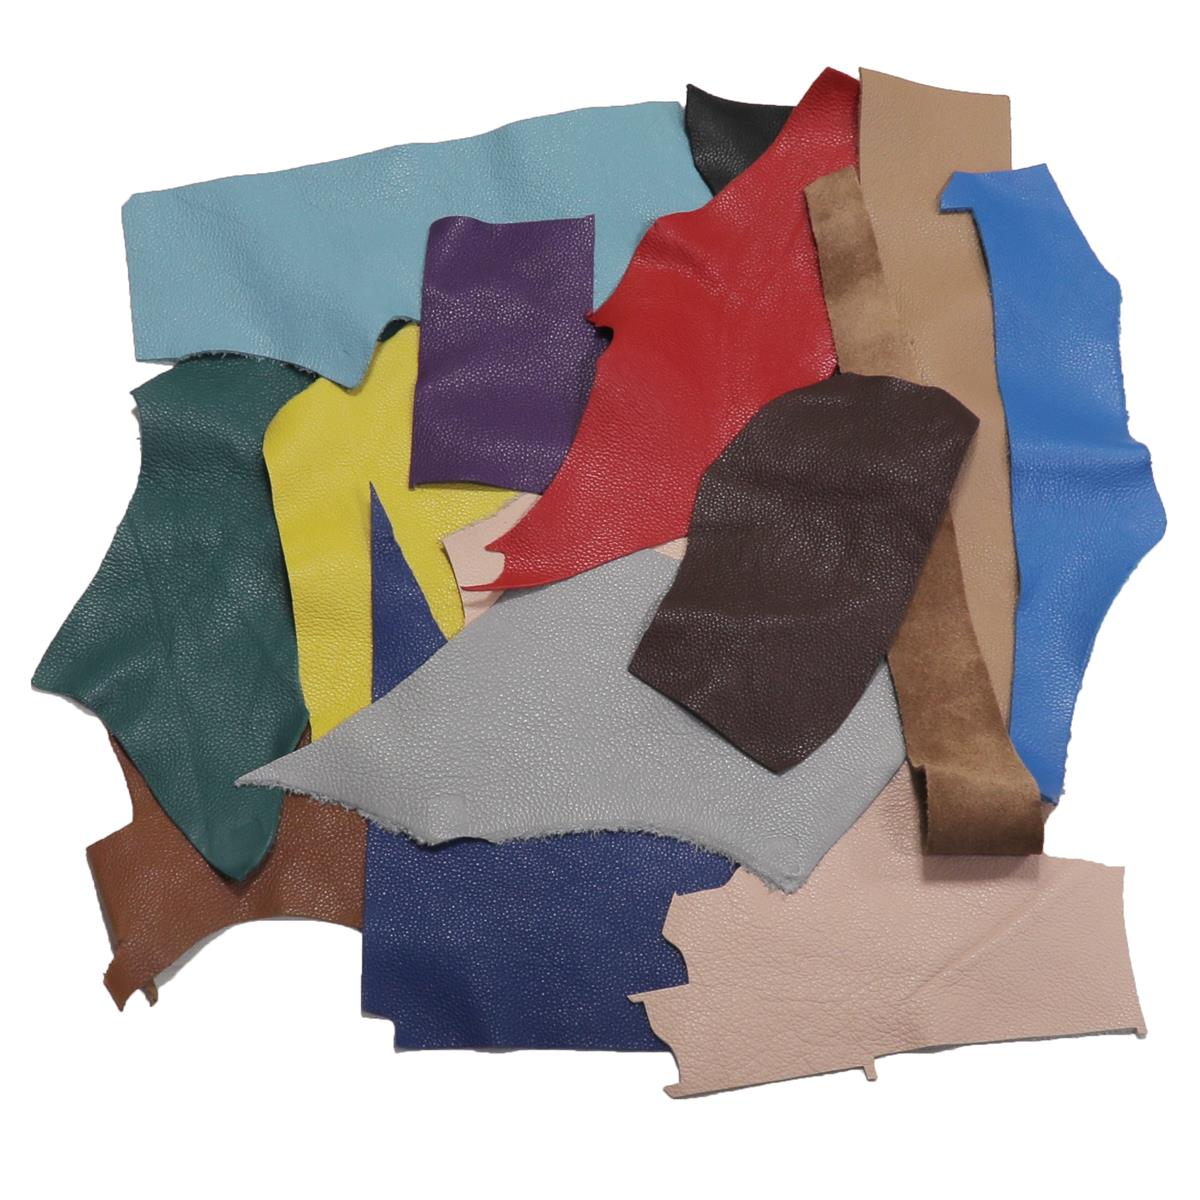
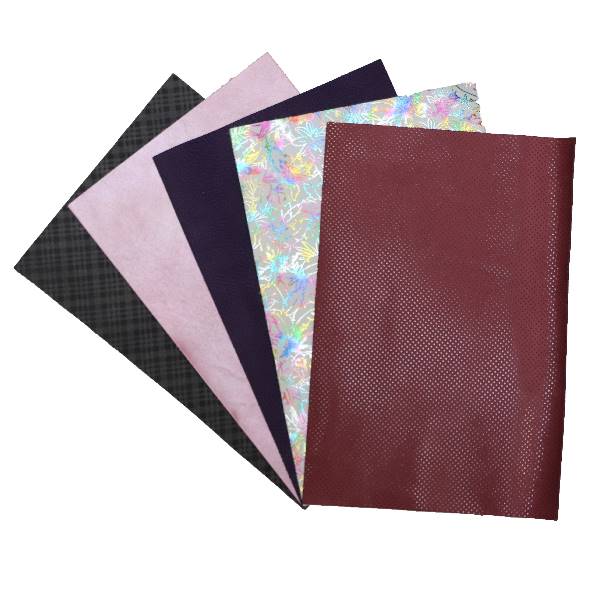
- 1 piece of soft leather scrap - approximately 1.2 mm thick
- 1 silver pencil
- 1 metal ruler
- 1 cutting mat
- 1 rotary cutter and a pair of scissors
- Optional: a pompon bell
For a 14 cm pompon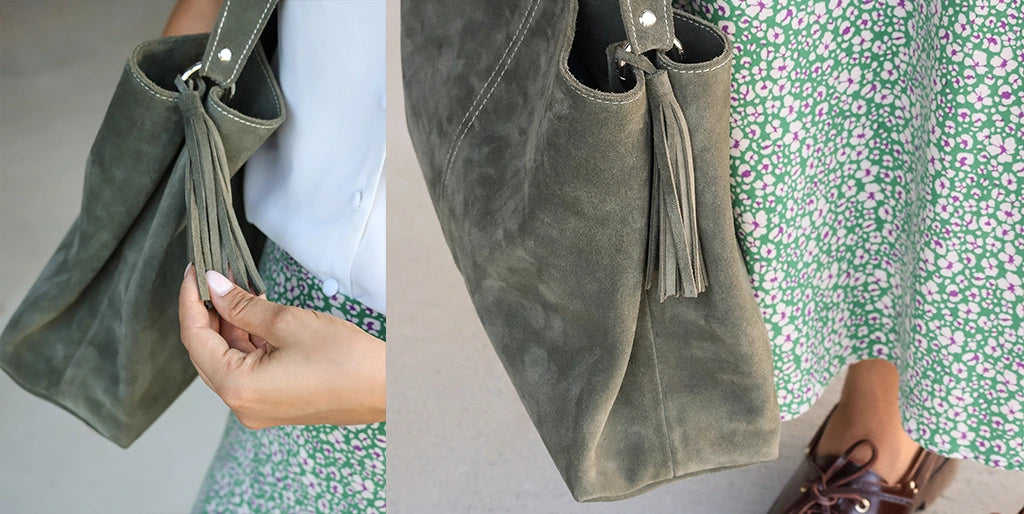
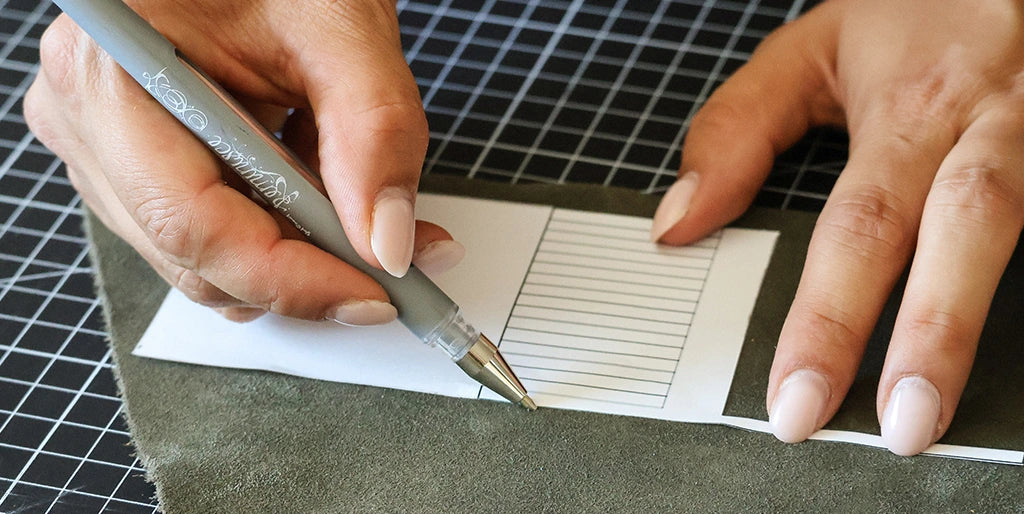
1. Position the pattern
Position the pompon pattern on the leather and trace it using a silver pencil (for suede leather,
trace the pattern on the flesh side). Depending on the desired result, the length or width of the pompon can be modified. Our model measures 14 cm in total length, including the loop (3 cm).
The pencil can be erased on most leathers with a simple eraser (do not use on vegetable-tanned leather). We recommend doing a test first to check if it can be erased on your leather.
2. Cut the leather
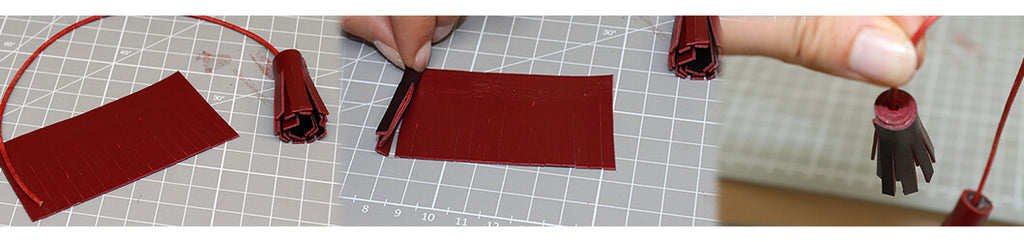
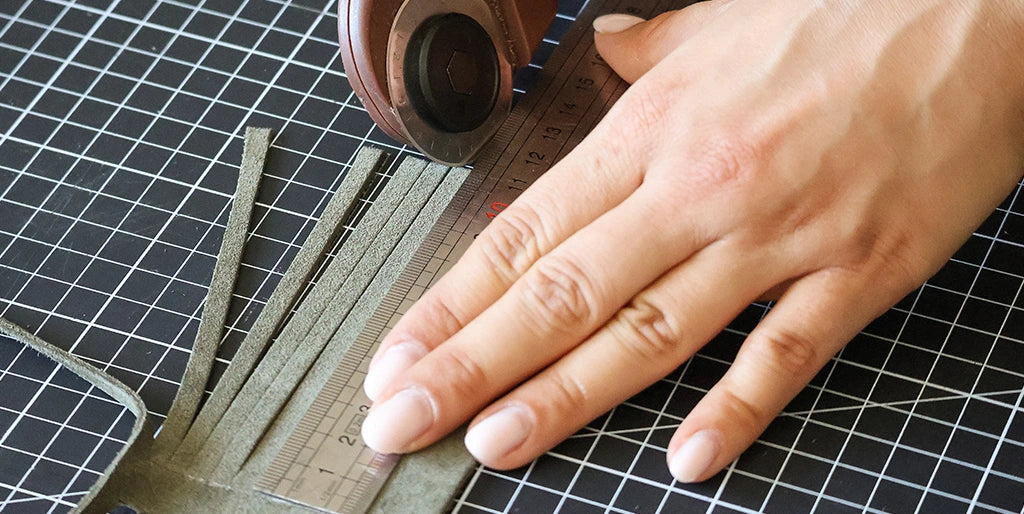
Cut the leather using a pair of scissors, then trace a guide line on the flesh side, about 1.5 cm from the edge. Cut the fringe using a rotary cutter, each about 0.5 cm wide, stopping the cut at the guide line.
3. Adjust your pompon
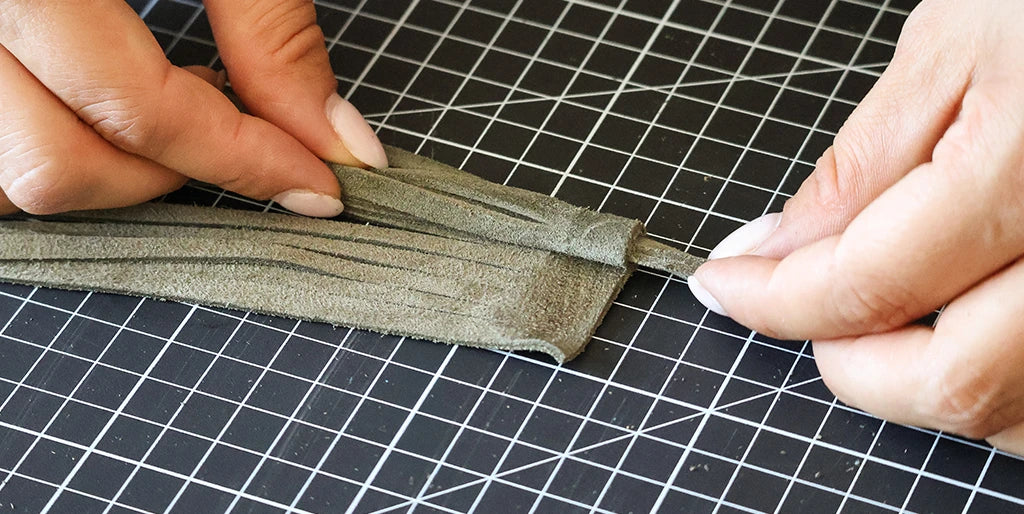
Check the final diameter of the pompon by wrapping it around itself. If necessary, adjust its diameter by cutting off a few strands.
4. Apply glue
Apply contact cement to the top of the pompon, on the 1.5 cm strip, as well as on the ends of the loop.
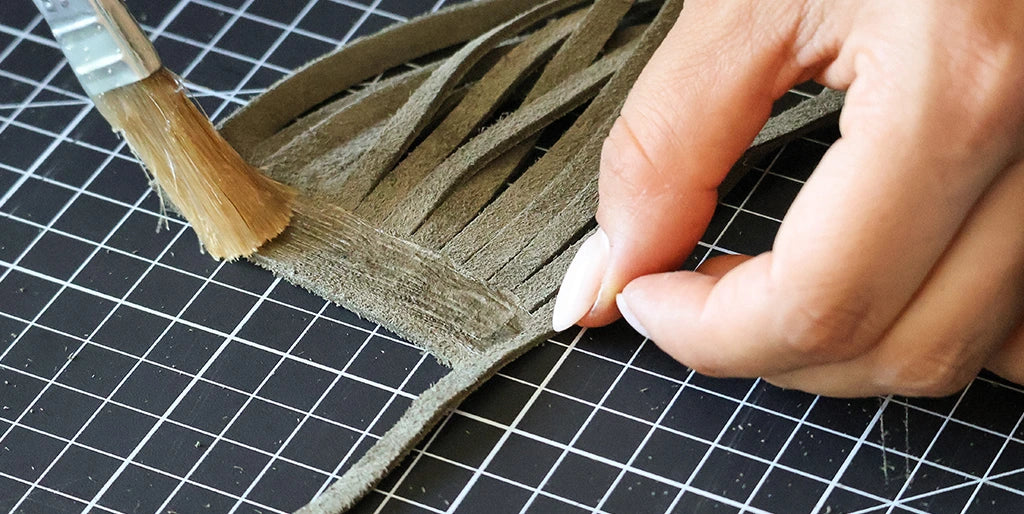
5. Shape the pompon
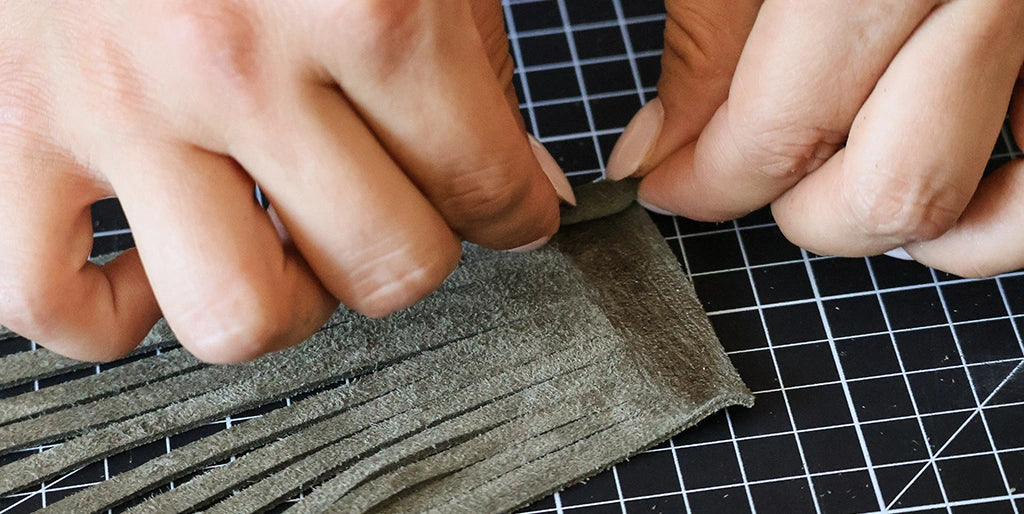
6. Finish the pompon
Wrap the pompon, pulling it tightly. Allow it to dry completely before handling the pompon.
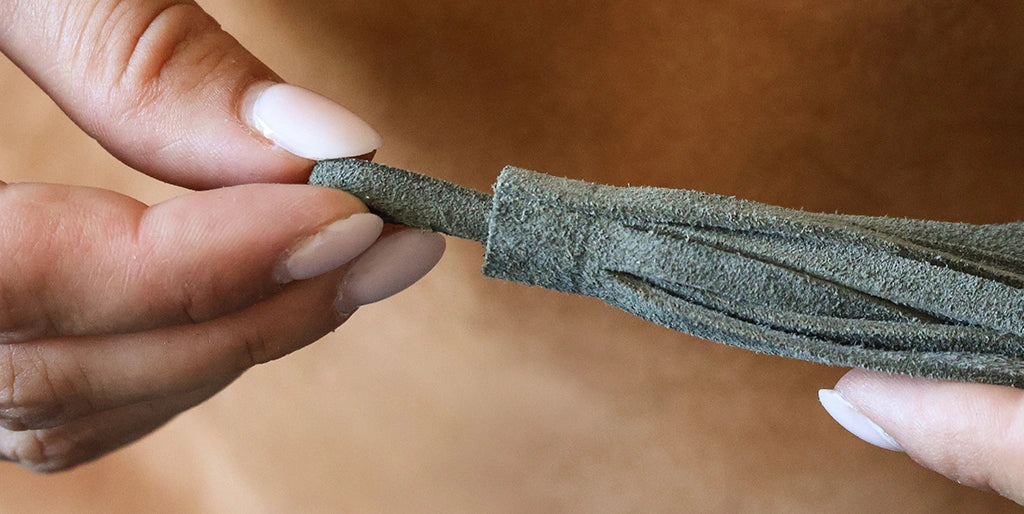
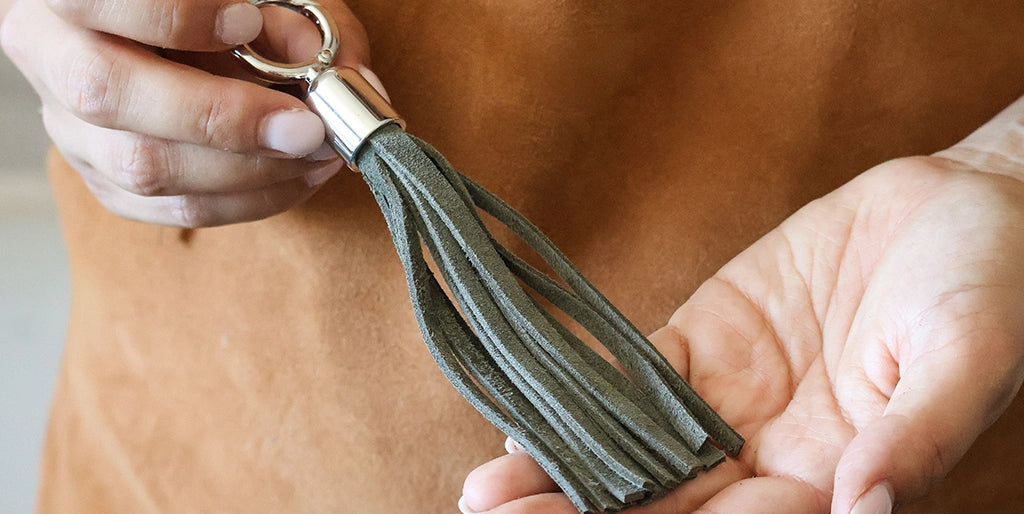
Optional: add a bell to your leather pompon
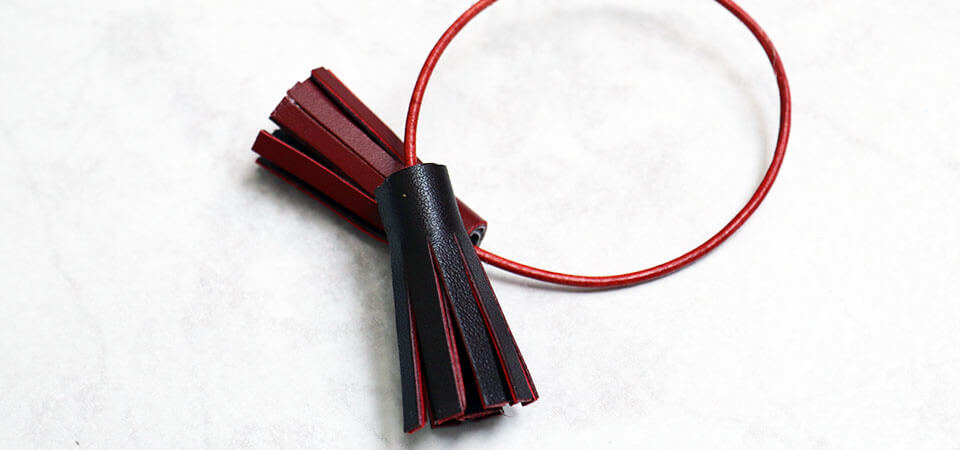
You can also add a bell to your pompon to give it an extra decorative touch and personalize your creation.

Make 2 more small pompons with the remaining leather
1. Cut 4 rectangles
Using the silver pencil, trace 2 rectangles measuring 4x8 cm on each piece of leather (see pattern). Cut the rectangles using a ruler and a cutter.

2. Glue the rectangles together
Glue the rectangles together (using 3M double-sided tape).
- 1 with 3
- 2 with 4

3. Draw a line with the silver pencil
Along the length, 1 cm from the edge, draw a line with the silver pencil.
Using a ruler, make dots every 0.4 mm (to cut the fringe at regular intervals).
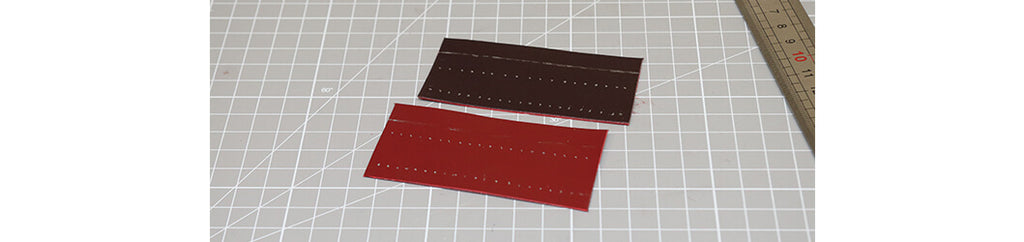
4. Cut the pompon fringe
Using a cutter or chisel, cut the fringe up to the line drawn with the silver pencil. Then erase all traces of the silver pencil.

5. Glue the round cord
Using neoprene glue, glue one end of the cord to the first fringe of one of the rectangles and wait a few seconds for the glue to dry. Then apply glue to the entire top strip (where there is no fringe). Wrapping it tightly, form the pompon starting from the left.
Do the same with the second rectangle and the other end of the cord.