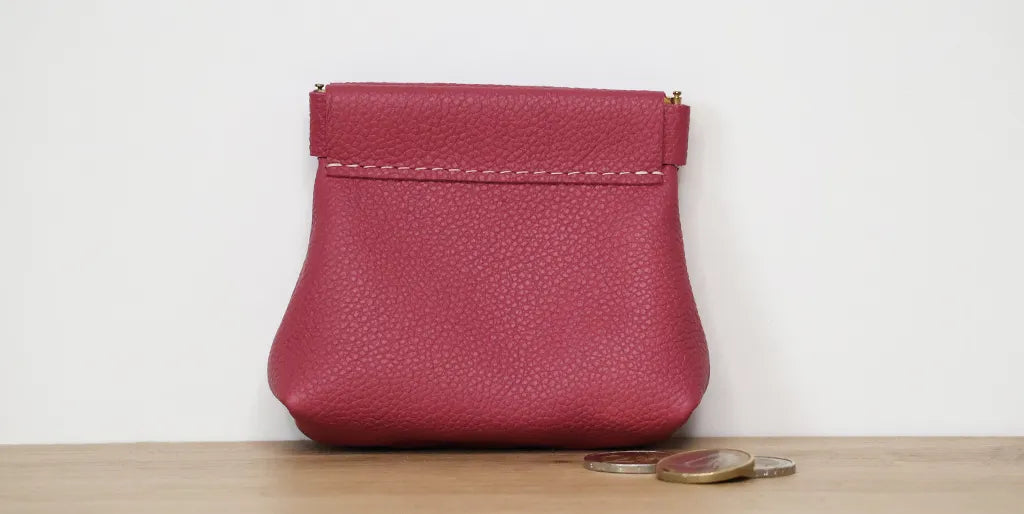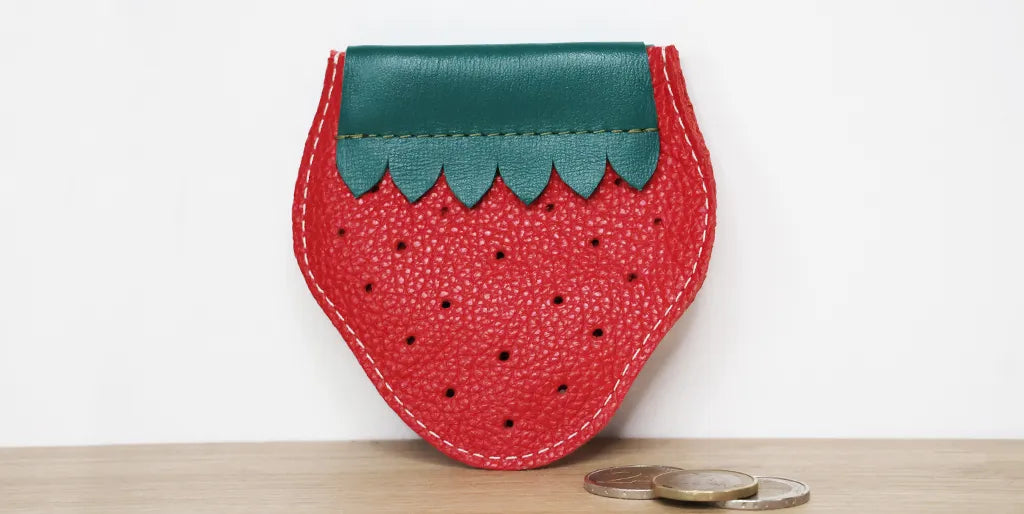


REQUIRED MATERIALS
To make this tutorial, you will need:
- 1 piece of soft leather measuring 20 x 30 cm - 1.2 to 1.5 mm thick
- 1 clic clac clasp (side release buckle) - 9 x 1.5 cm
- Leather contact adhesive
- A round punch die Ø 1 mm (for saddle stitching)
- Thread and needles
FULL TUTORIAL VIDEO
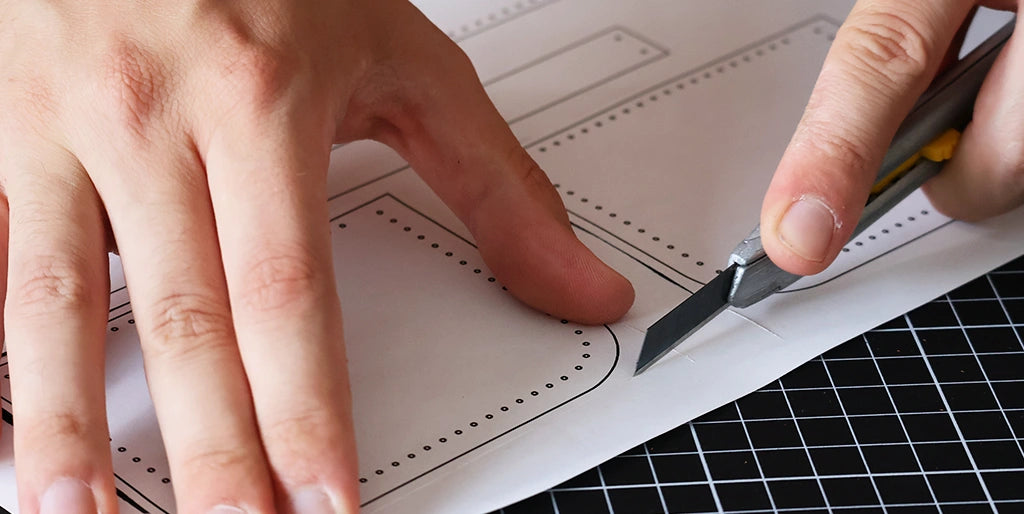
1. PRINT AND CUT OUT THE PATTERN
Download and print the pattern at full size.
2. TRANSFER OR PLACE THE PIECES ON THE LEATHER
Position the pattern pieces on the grain side of the leather. For machine sewing, trace the outline of the pieces directly using a silver pencil.
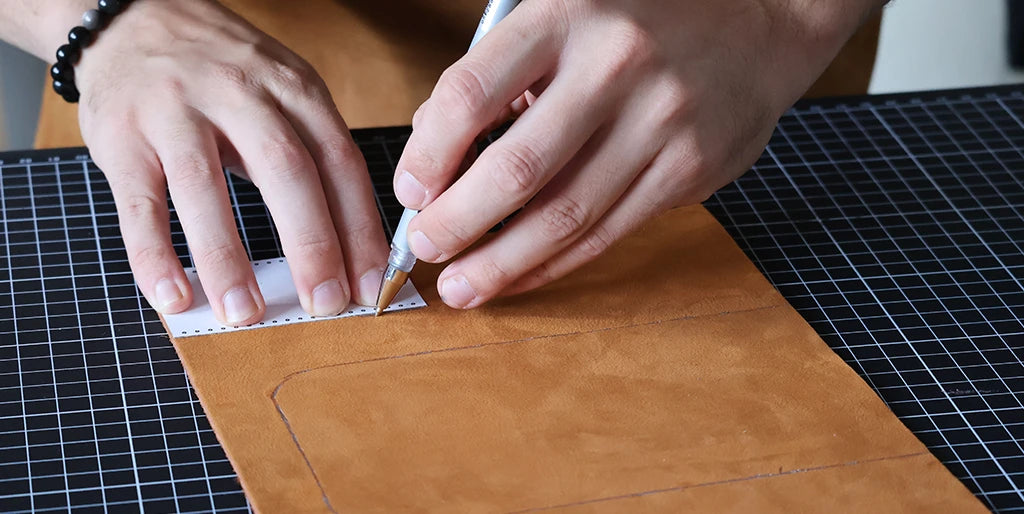
For saddle stitching (by hand), hold the pieces in place using masking tape, leaving a 5 mm margin around the cut lines. Then, punch the Ø 1 mm stitching holes indicated on the pattern.
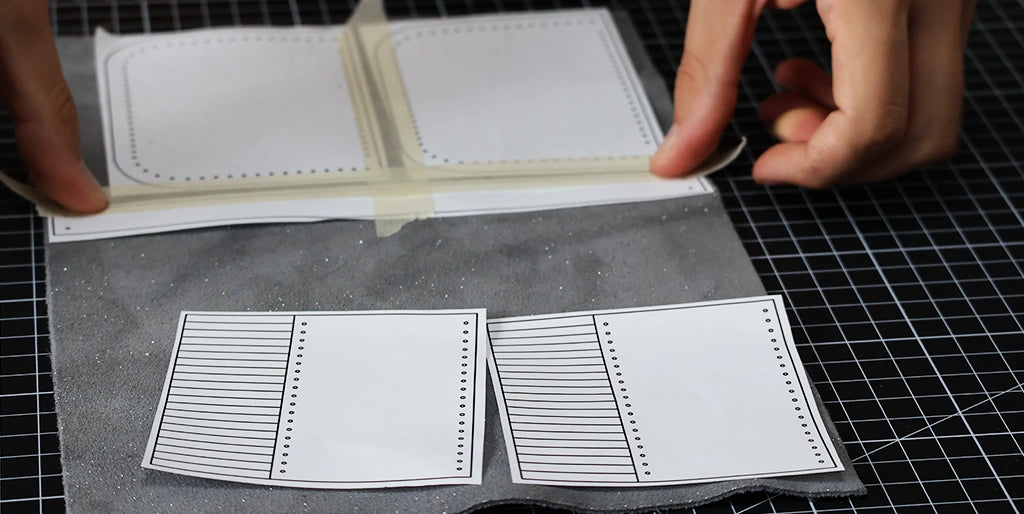
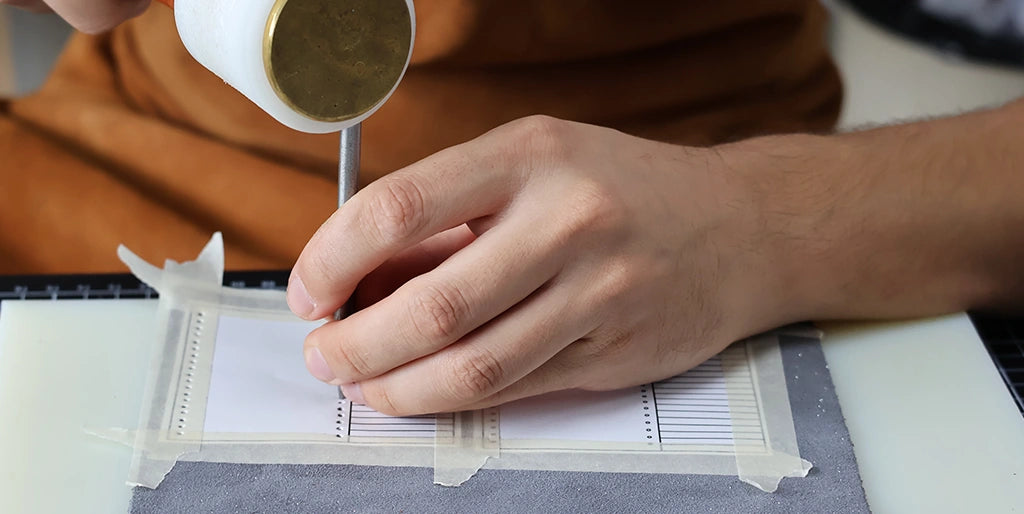
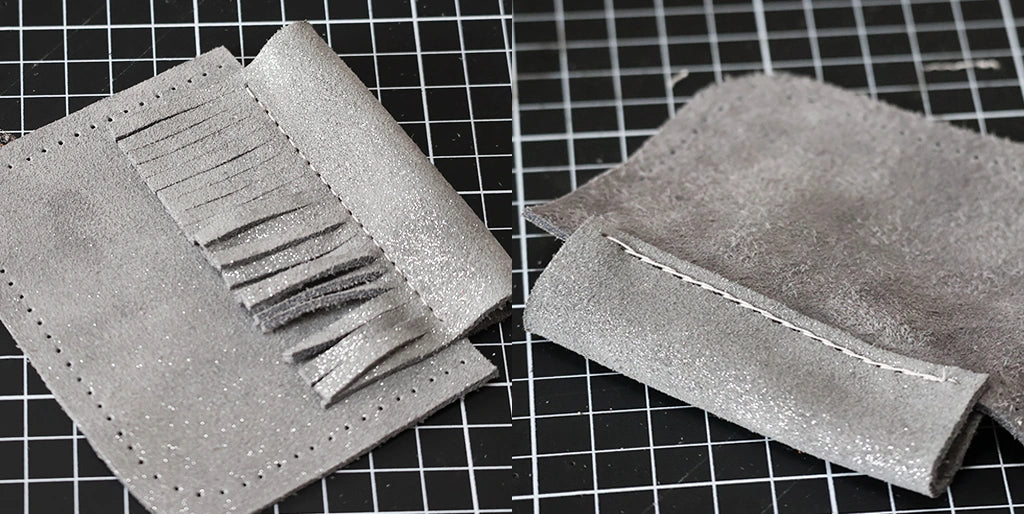
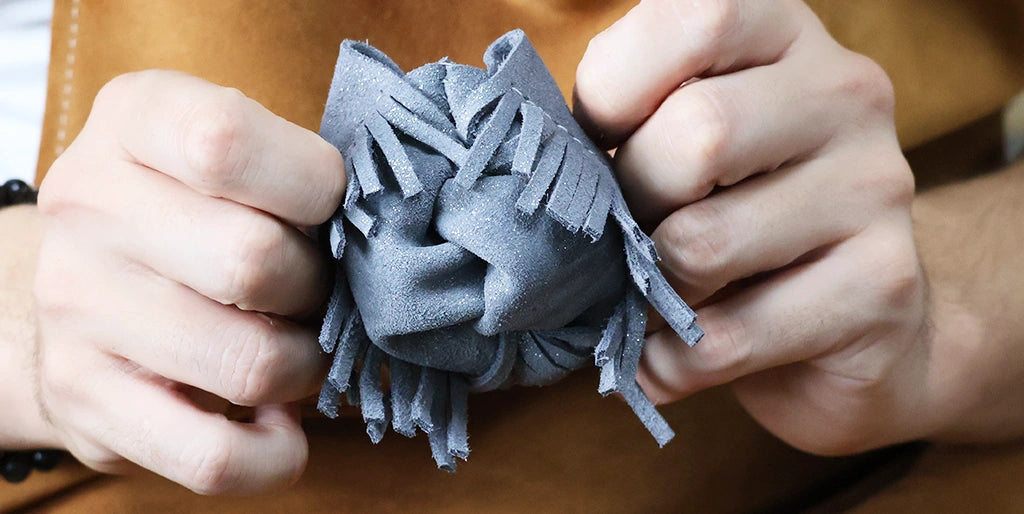
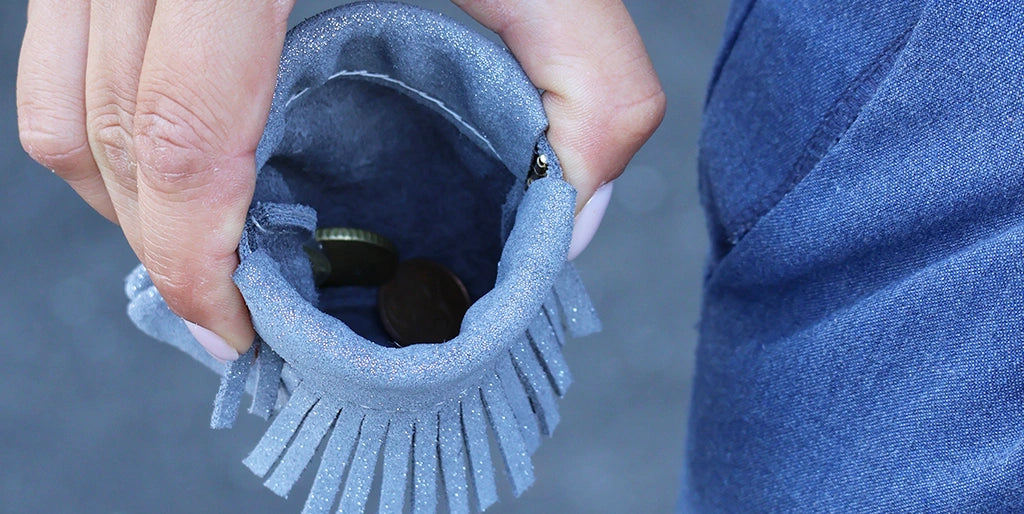
You can customize one of the lengths of the P2 pieces by giving it the shape of your choice: fringes, waves, petals (see the pattern)...
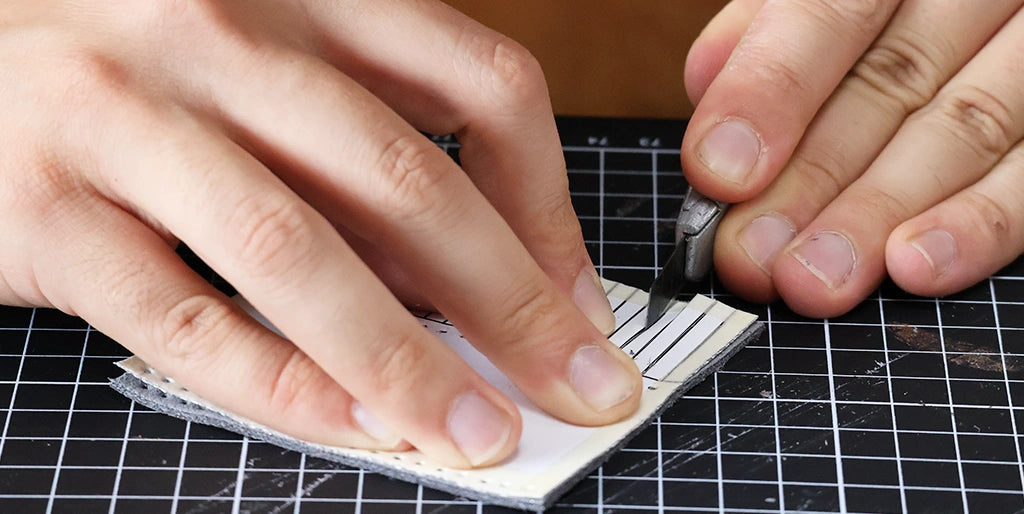
3. CUT OUT THE PIECES
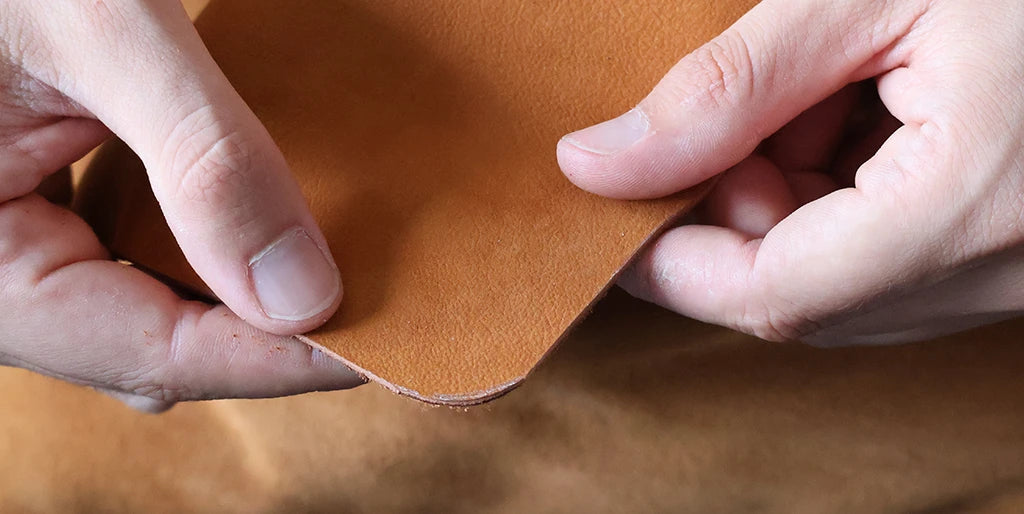
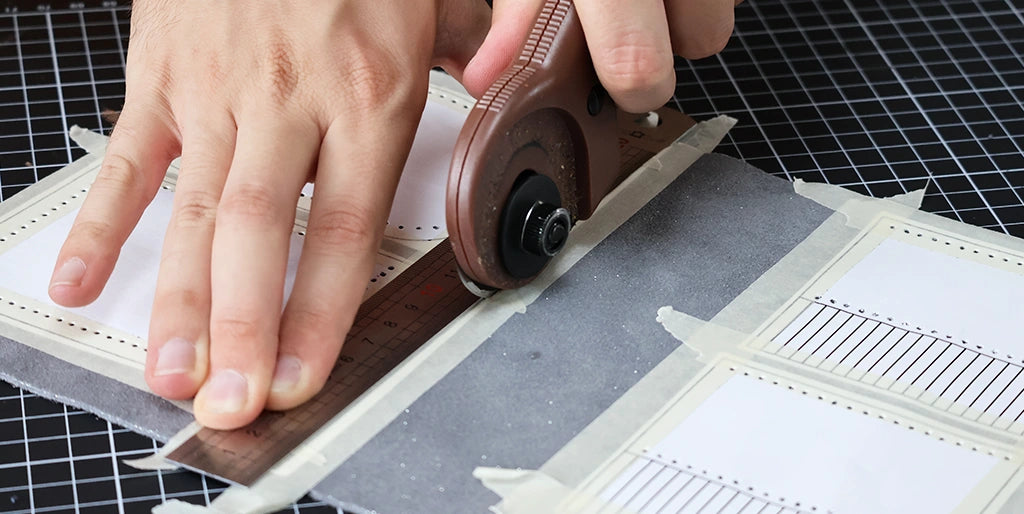
Cut out the different pieces of the pattern using a craft knife or a pair of scissors.
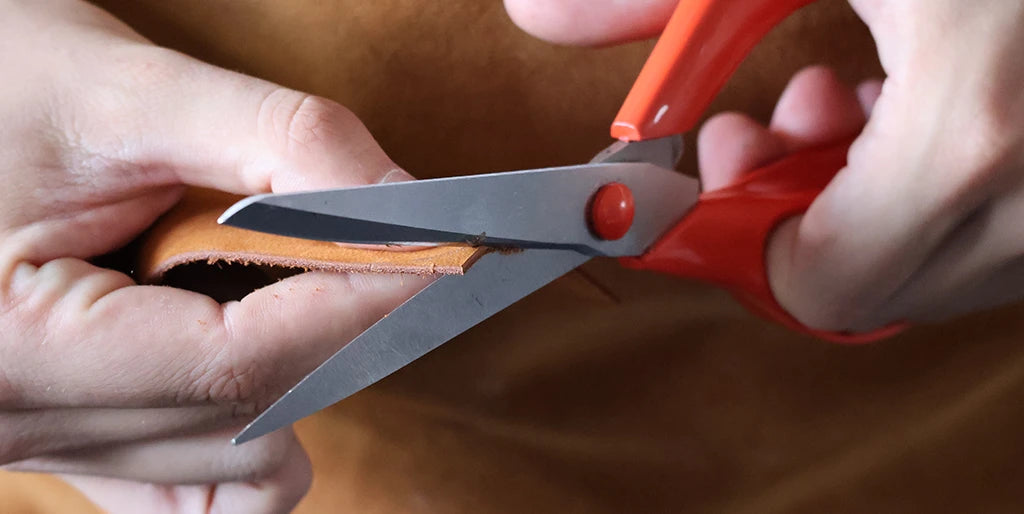
4. GLUE THE P2 LENGTHS
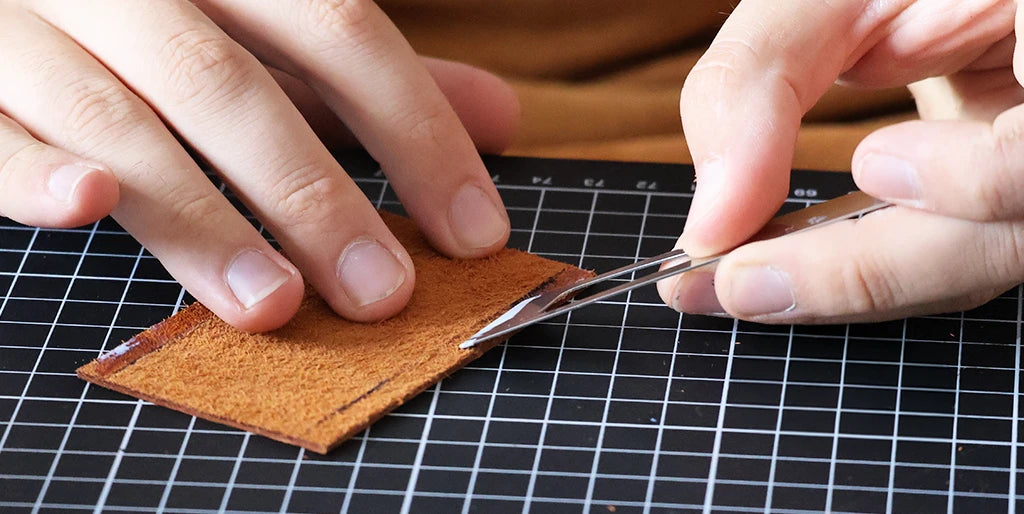
Apply a 6 mm wide line of glue (or double-sided adhesive tape) to both lengths of the P2 pieces, as well as to the P1 pieces where the P2 pieces will be glued (see the pattern).
5. GLUE P2 ONTO P1
Position and glue the P2 pieces on top of the P1 pieces. The P2 piece must be positioned across the edge of P1, leaving a 6 mm margin from the edge of P1.
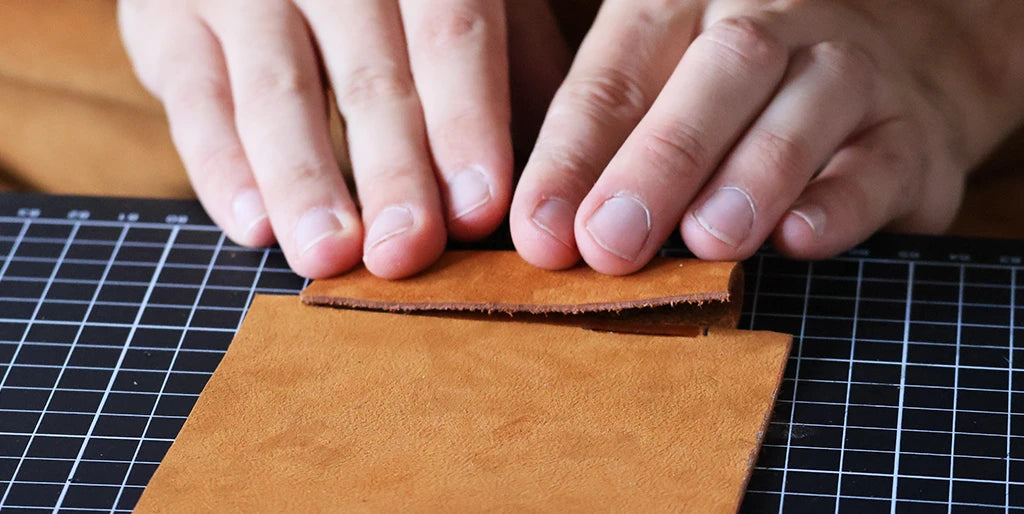
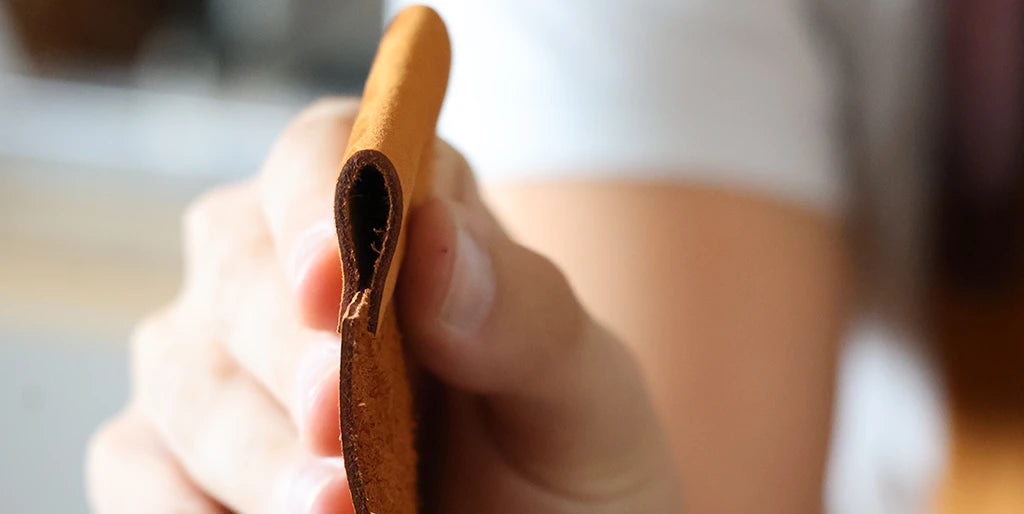
Then sew the lengths of P2 at 3 mm from the edge, either by machine or by hand using saddle stitching.
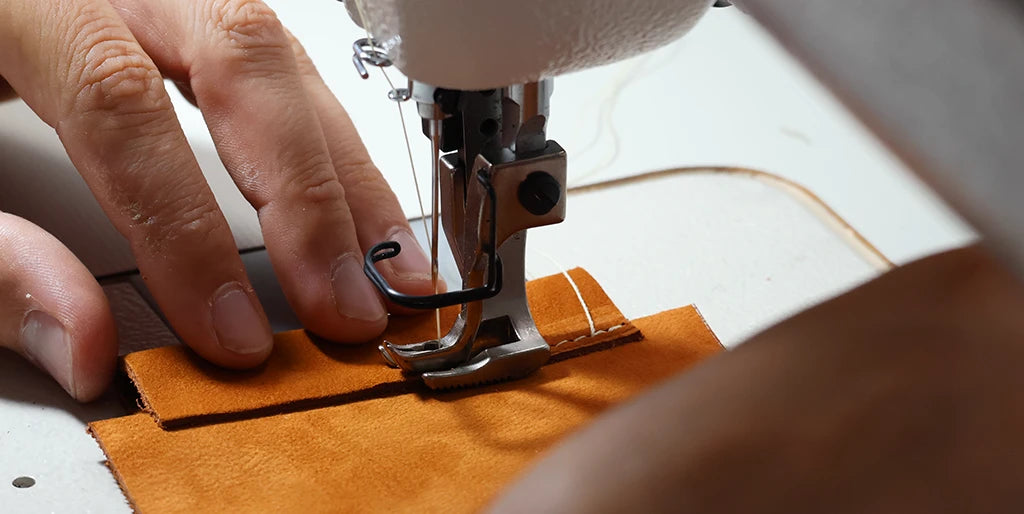
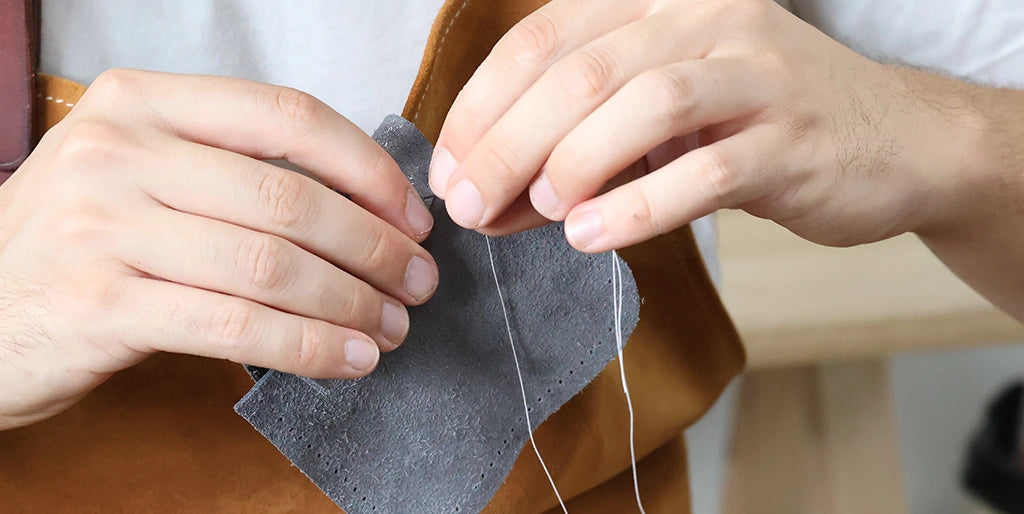
SADDLE STITCHING
SEE THE GUIDE >
6. ASSEMBLE THE 2 P1 PIECES
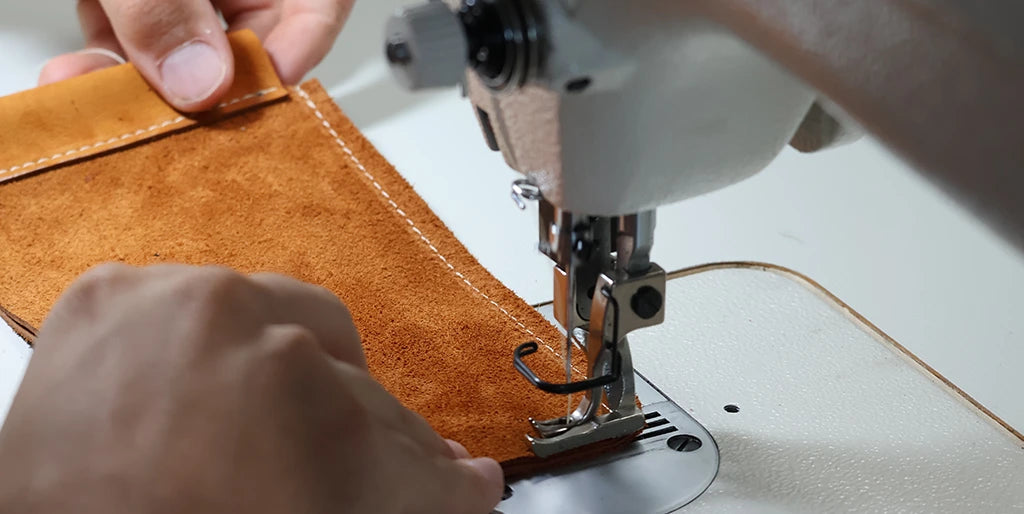
Assemble the two P1 pieces, wrong sides together and edges together. For machine sewing, use a zipper foot to make starting and finishing the stitching easier.
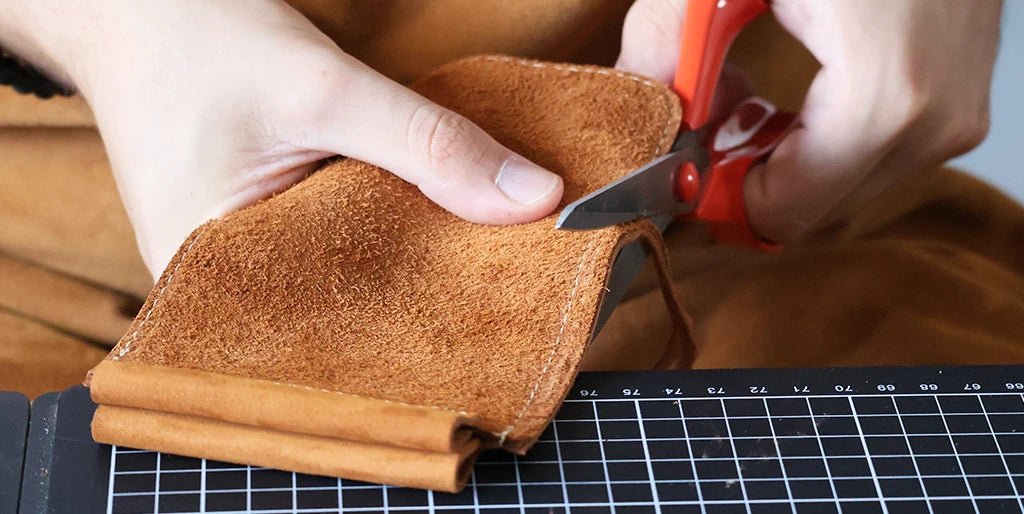
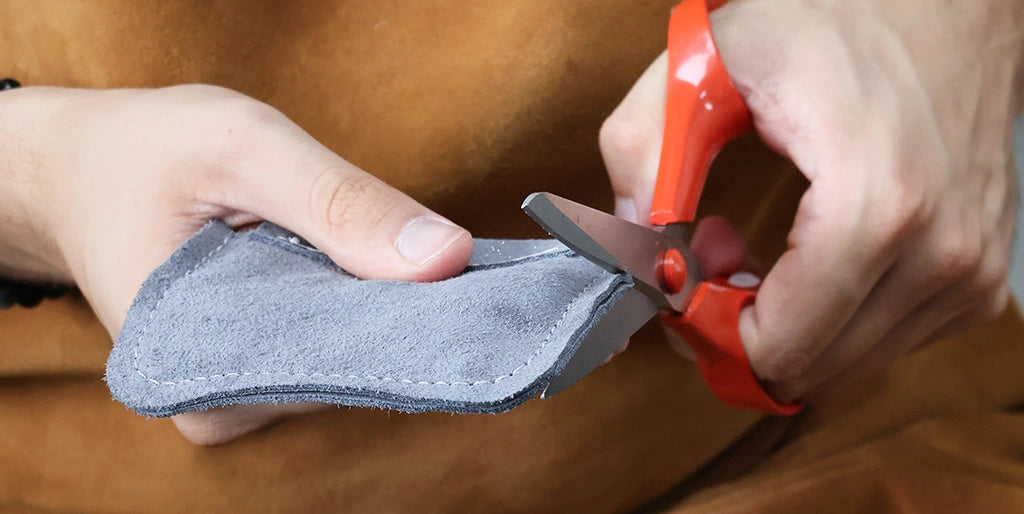
7. SKIVE THE EDGES
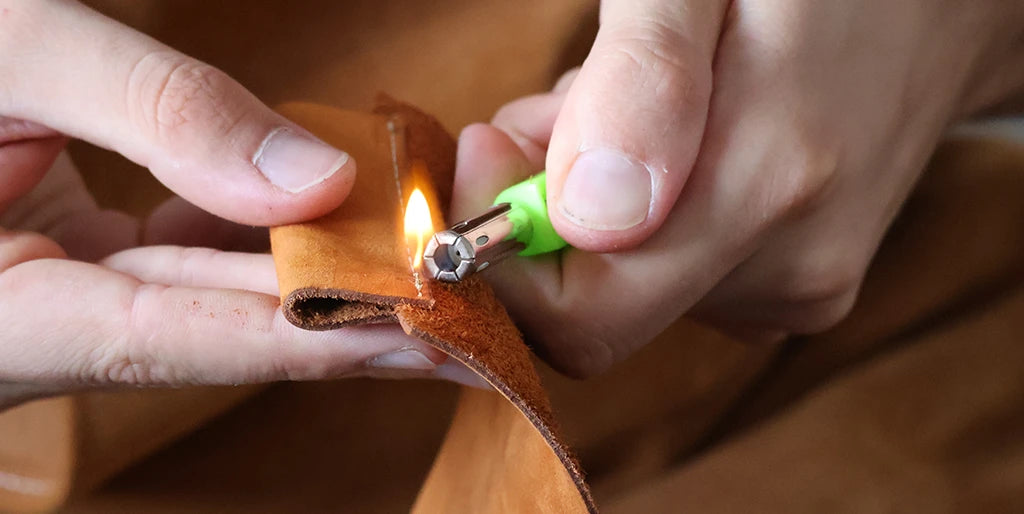
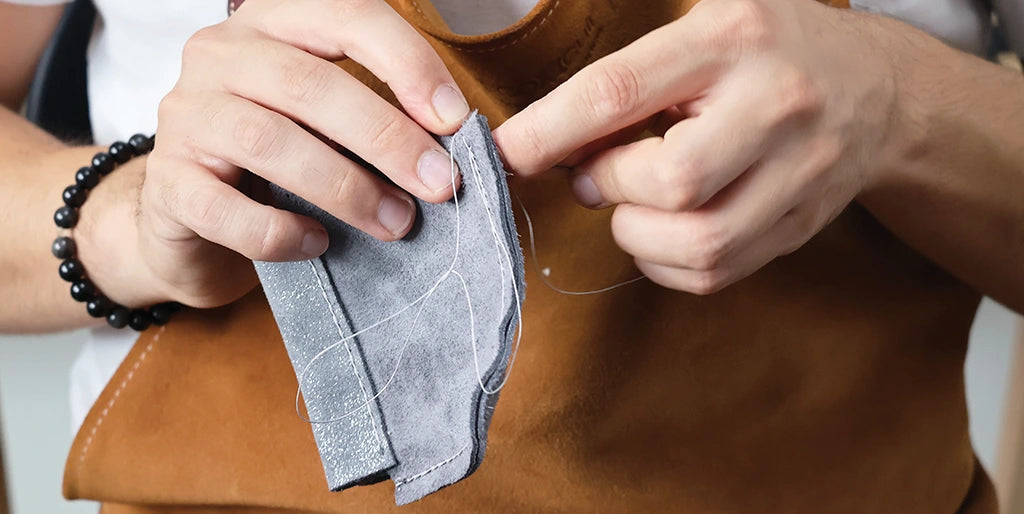
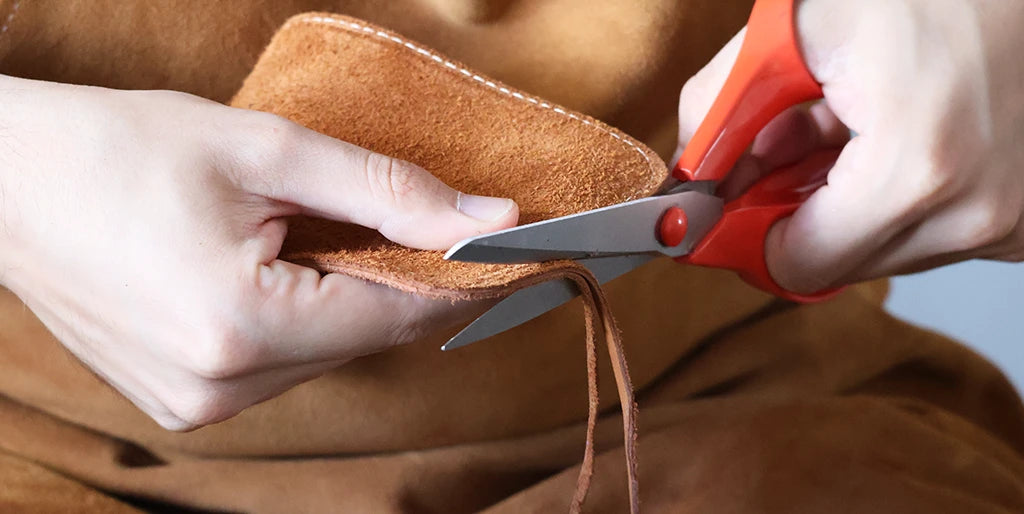
Skive the excess stitching to achieve a cleaner finish.
8. TURN THE PIECE INSIDE OUT
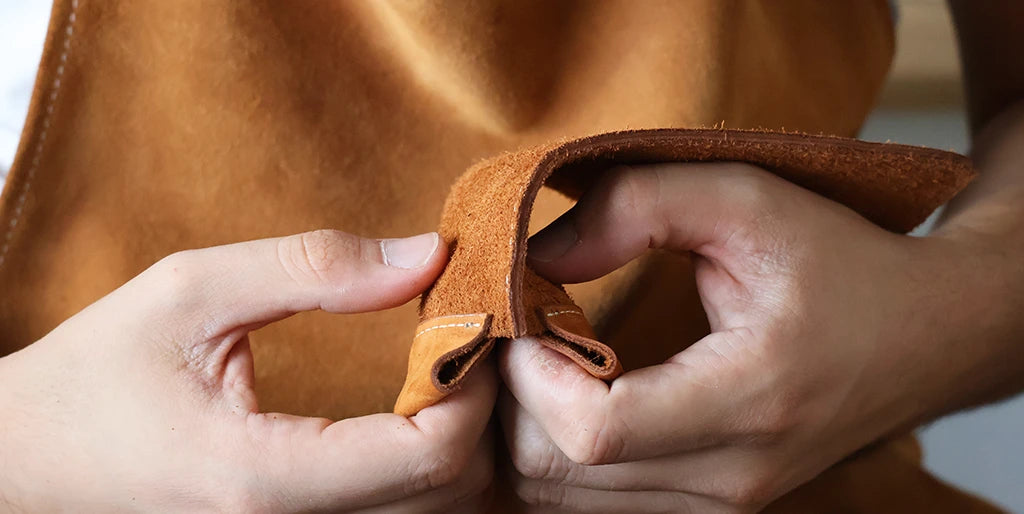
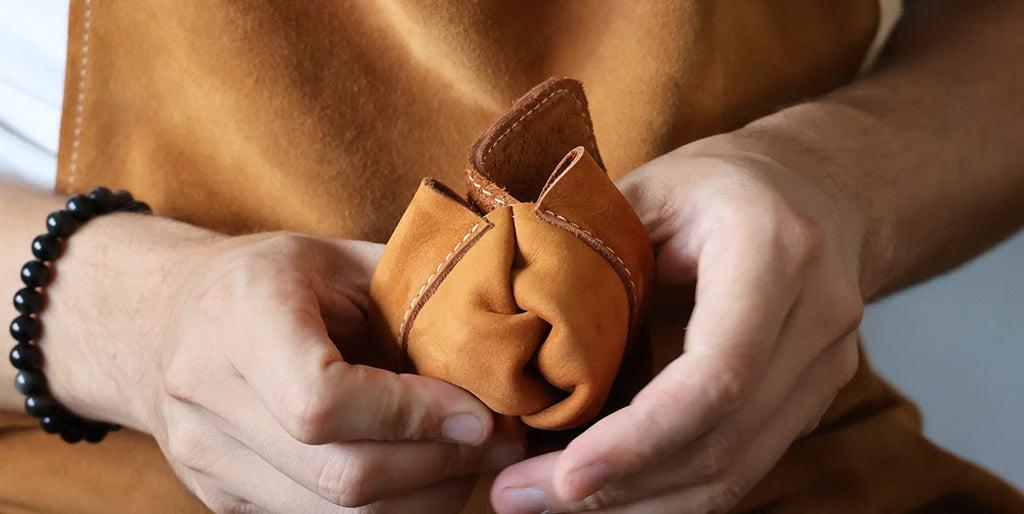
Turn the piece inside out. Use a suitable tool to properly shape and push out the rounded corners.
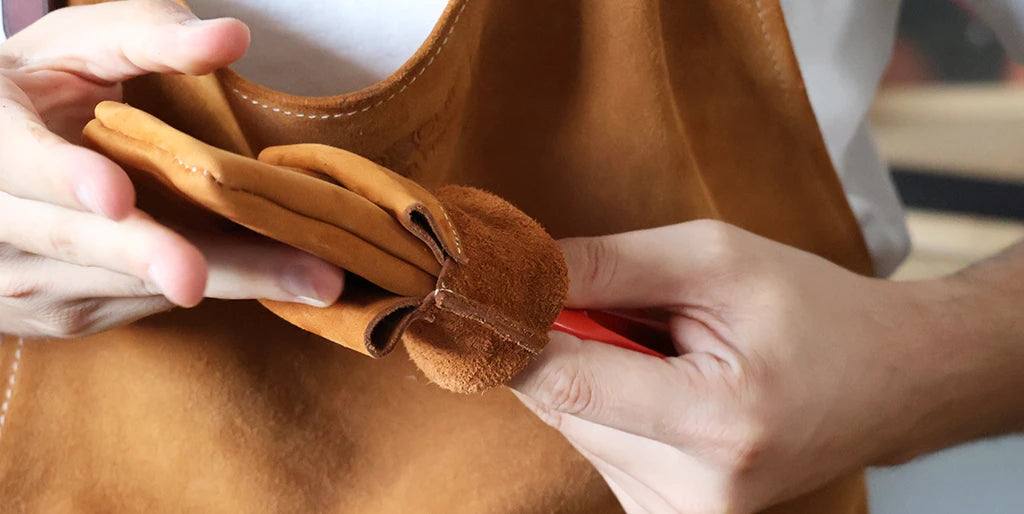
9. PLACE THE SIDE RELEASE BUCKLE
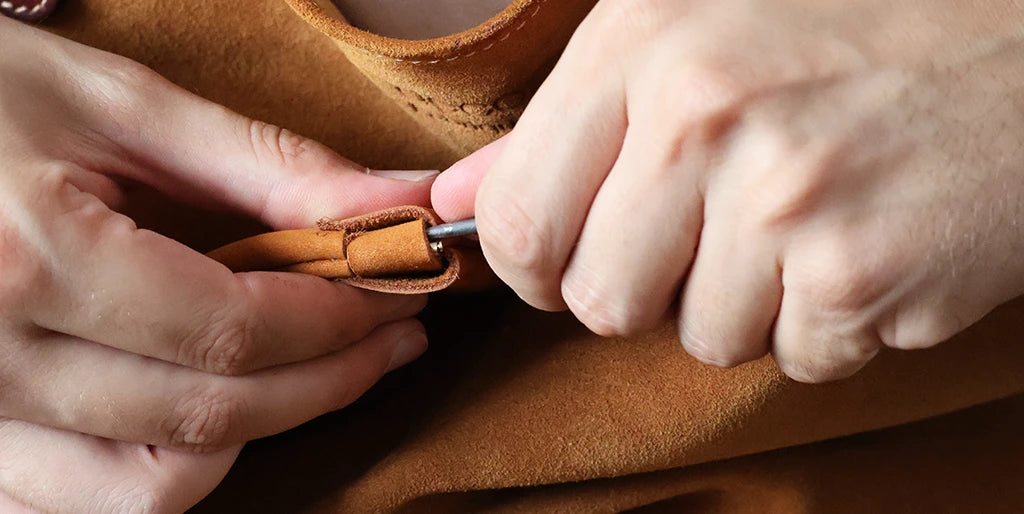
Separate the clic clac clasp in two by removing the hinge rivets on each side. Hold the P3 strip on the clasp by threading the thread through the hinge holes, as well as through the holes of P3 on one of the ends. Thread the thread through one side of the coin purse, then pull to slide the clasp and the P3 strip through the leather. Repeat the operation on the other side.
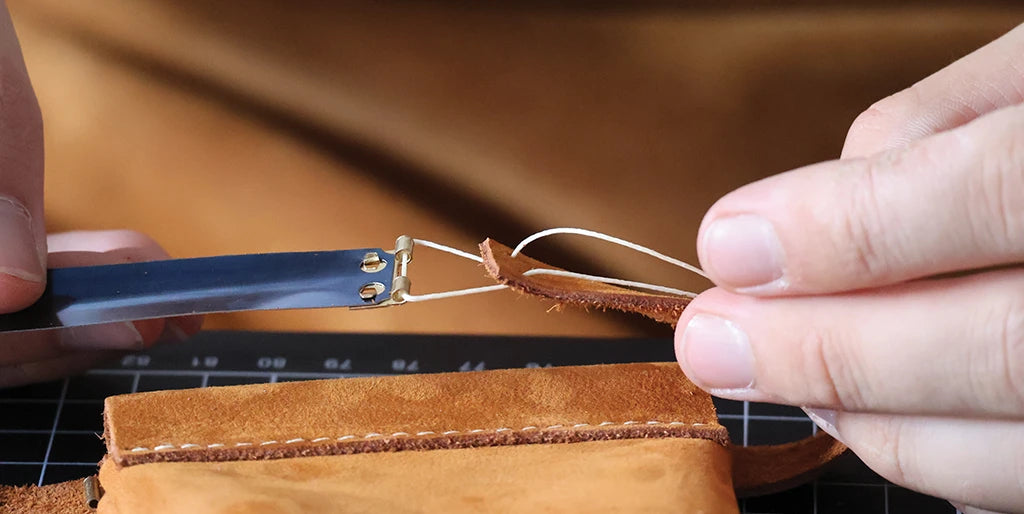
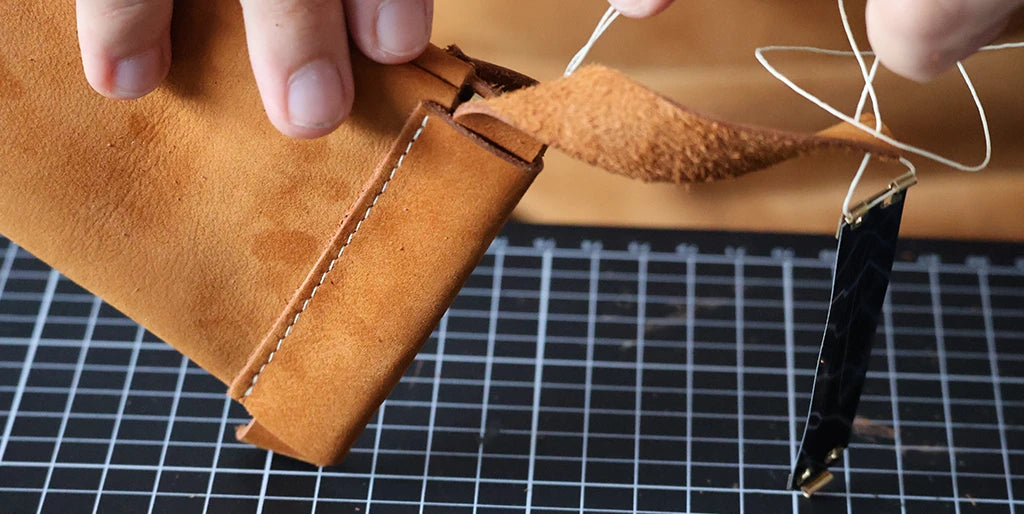
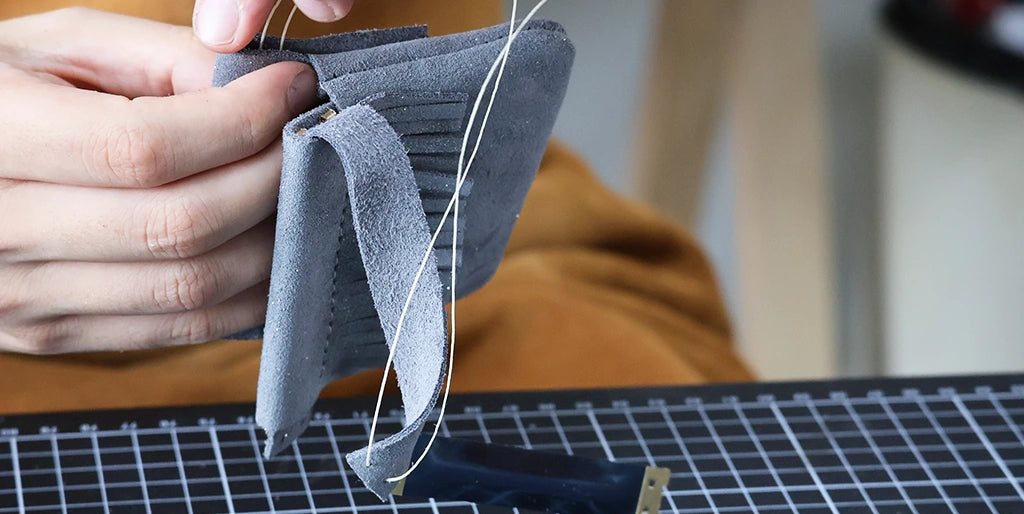
10. REASSEMBLE THE SIDE RELEASE BUCKLE
Replace the rivets to reassemble the clasp. Finally, cut the excess of P3 on one of the ends. Punch two new holes and join the two ends of the P3 strip by passing the thread through the four holes several times. Finish with a knot.
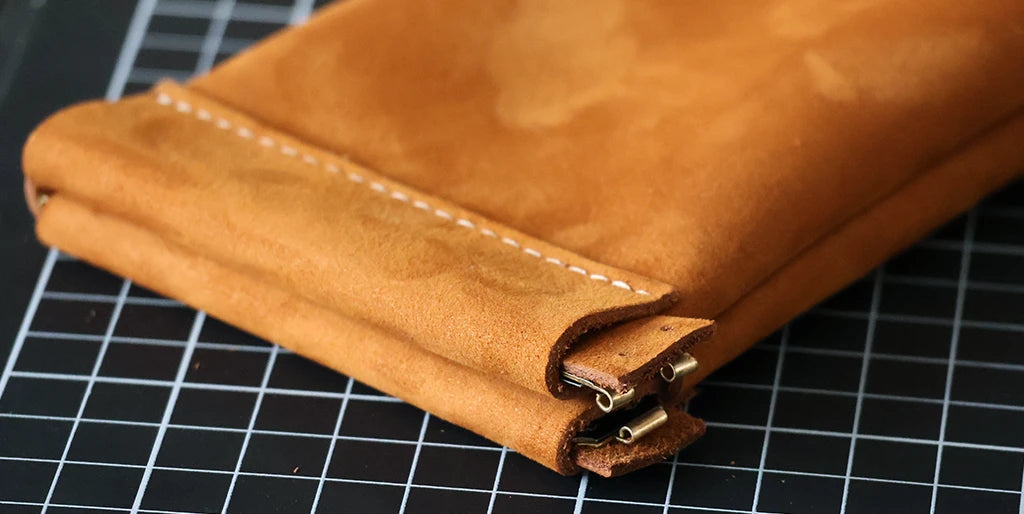
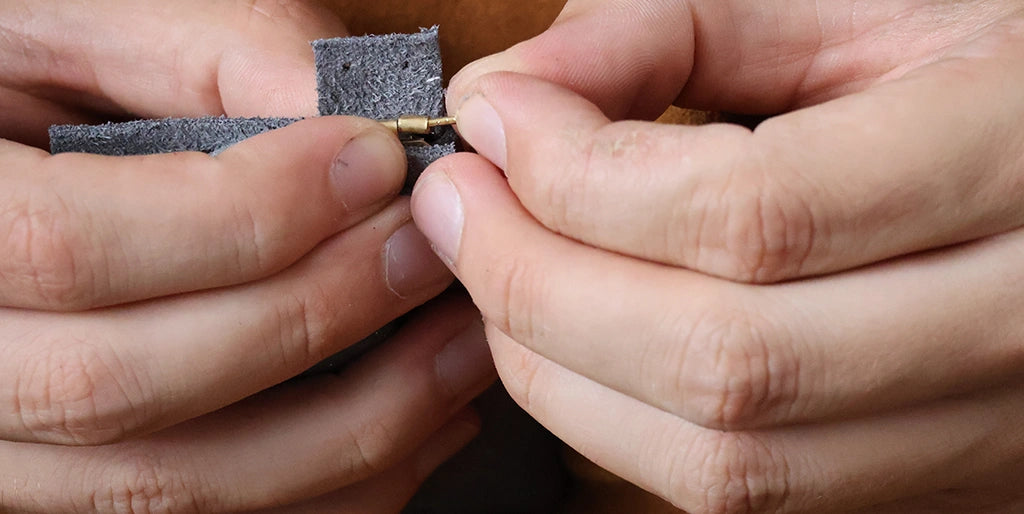
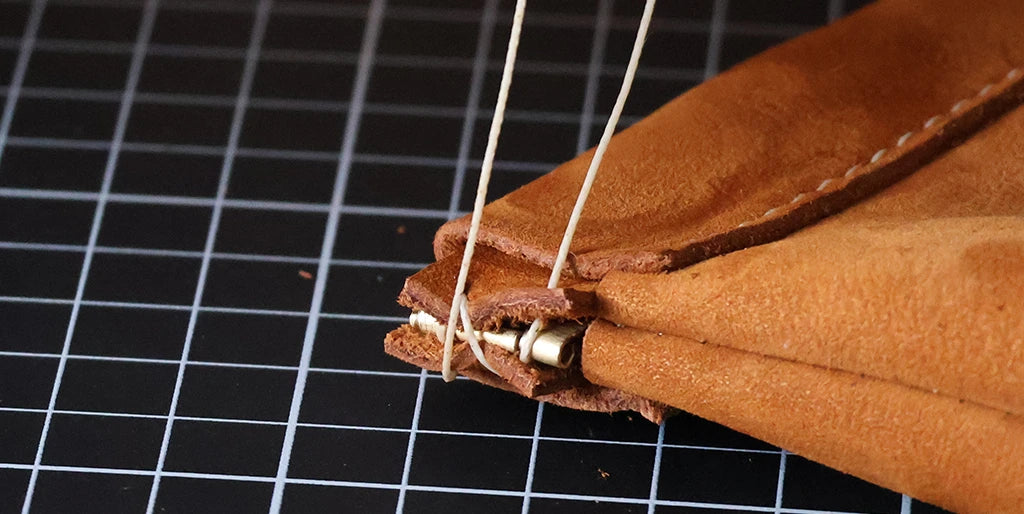
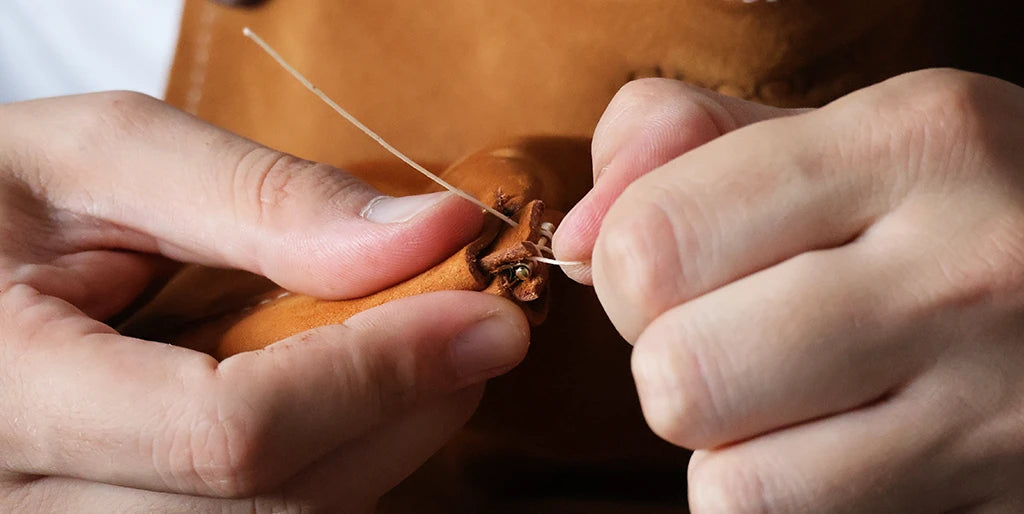
11. HIDE THE JUNCTION
Then slide the end of the strip inside the coin purse to hide the junction.
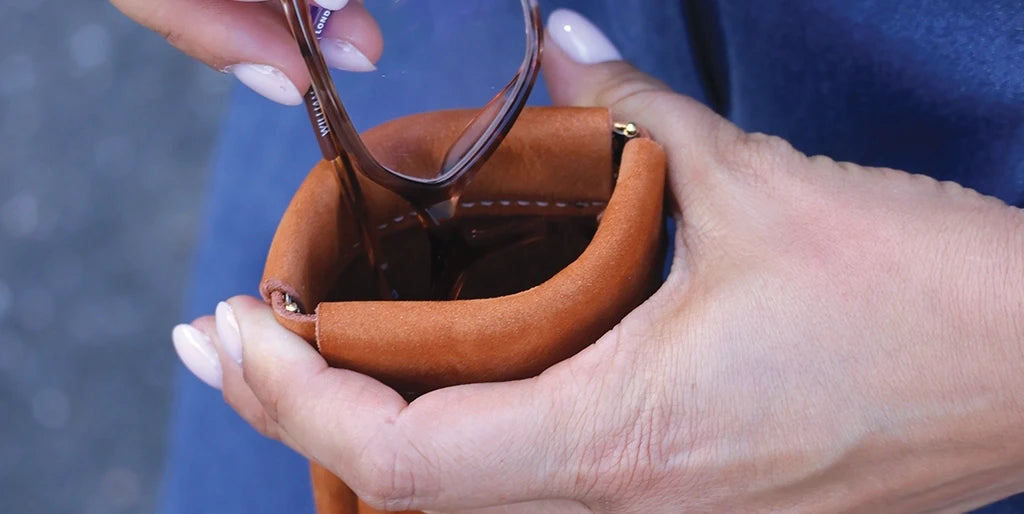
You're done 🎉
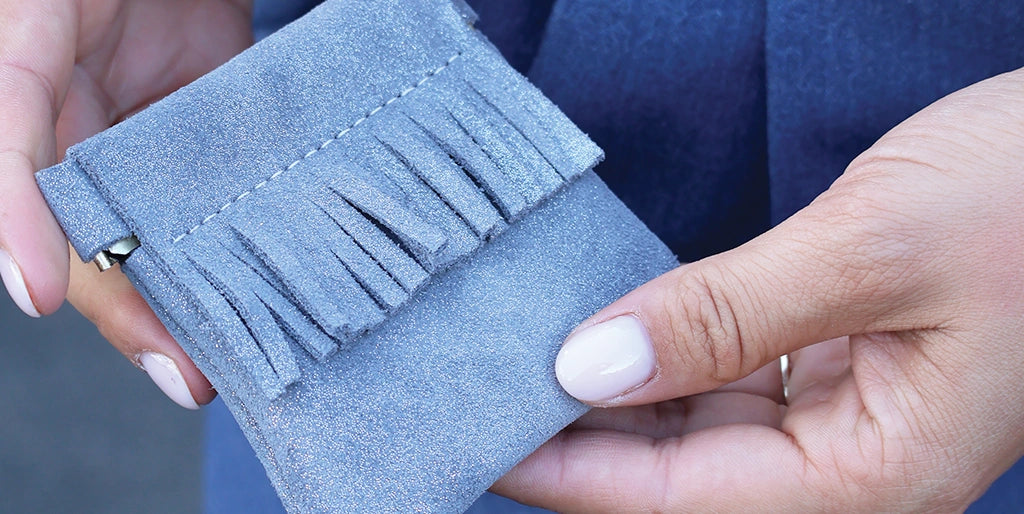
TWO OTHER CREATIONS WITH A CLIC CLAC CLASP
Discover in another blog post, two new versions of coin purses with a side release buckle (clic clac).