


RECTANGULAR POUCH VERSION


-
Blue


REQUIRED MATERIALS
Final dimensions of the pouch (if 25 x 25 cm pattern): 18 x 5.5 x 5.5 cm
To make this leather pouch, you will need:
- 1 piece of soft leather measuring 30x40 cm in the color of your choice – 1 to 1.3 mm thick. For the models below, we selected a 1 mm thick Satinlys leather piece or 1 mm thick nappa calfskin.
- 1 x 30 cm zipper (coil or plastic)
- 1 silver marking pencil
- 1 metal ruler
- 1 cutting mat
- 1 craft knife and scissors
- 1 sewing machine (capable of handling thicker materials)
- Size 40 polyester thread in the color of your choice
Extra tip: feel free to line your leather pouch with fabric (we recommend coated fabric to prevent fraying), Alcantara, or pigskin.
1. CUTTING THE PIECE
Trace the pattern, either 25 x 25 cm or 20 x 25 cm, onto the grain side (top side) of the leather using a silver pencil. Then, cut the leather using a square ruler and a craft knife. Also, trace and cut out a 2 x 5 cm tab.
If you choose to line the pouch, also cut a 25 x 25 cm square from the lining of your choice.
The pencil marks are erasable on most leathers with a simple eraser (do not use on vegetable-tanned leather). We recommend performing a test beforehand to verify the erasability on your specific leather.

Adapt the size of your leather piece to make a pouch that suits your style!
2. SEWING THE ZIPPER
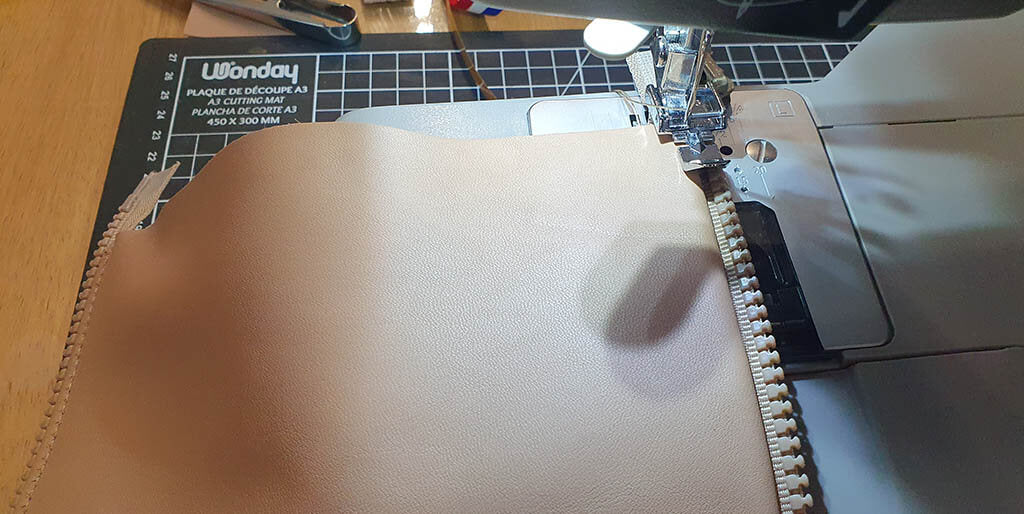
Apply double-sided tape to the flesh side along one of the long edges of the main piece. Center the leather edge on the zipper, 4 mm from the teeth.
Sew the zipper 3 mm from the edge using a suitable presser foot.
ADVICE
HOW TO SEW LEATHER BY MACHINE >
 |
 |
Apply double-sided tape to the other long edge of the main piece, then stick it to the other side of the zipper. Open the zipper completely and sew 3 mm from the edge.
 |
 |
For the option with a coated fabric lining:
- Place the lining flat, right side facing you. Then, place the zipper on the longest side of the lining (right side facing you and against the edge). Finally, place the leather piece on the zipper to sandwich it (wrong side facing you).
Use double-sided tape or sewing clips to hold the pieces in place and sew them using a zipper foot.

Sew the other side with the fabric lining by following the same procedure as the previous step. Note: we recommend selecting a separable zipper to make sewing this part easier.

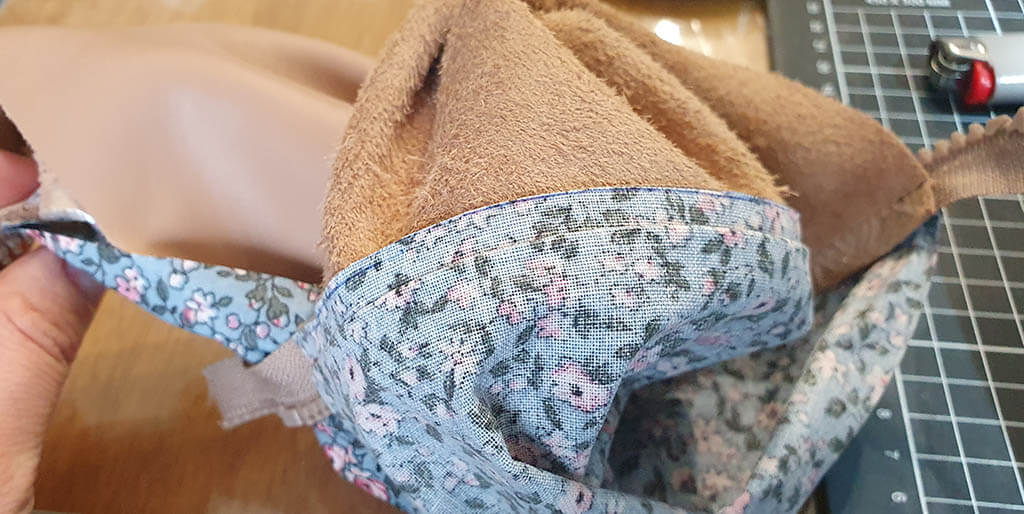
Then, turn the whole assembly inside out through the center and perform the final topstitch 2 mm from the edge.
3. SEWING THE WIDTH OF THE POUCH
Turn the pouch so that the right side of the leather is on the inside and the zipper is in the center. Close the zipper, leaving enough space open to turn the pouch right-side out after sewing.

Fold the small tab in two and position it, using double-sided tape, facing inward between the two layers of leather at the zipper pull. You may also place a tab on both sides of the pouch.
Sew each side of the pouch along the width.
 |
 |
4. CUTTING THE ZIPPER
Cut off the excess ends of the zipper, then burn them slightly to prevent fraying.

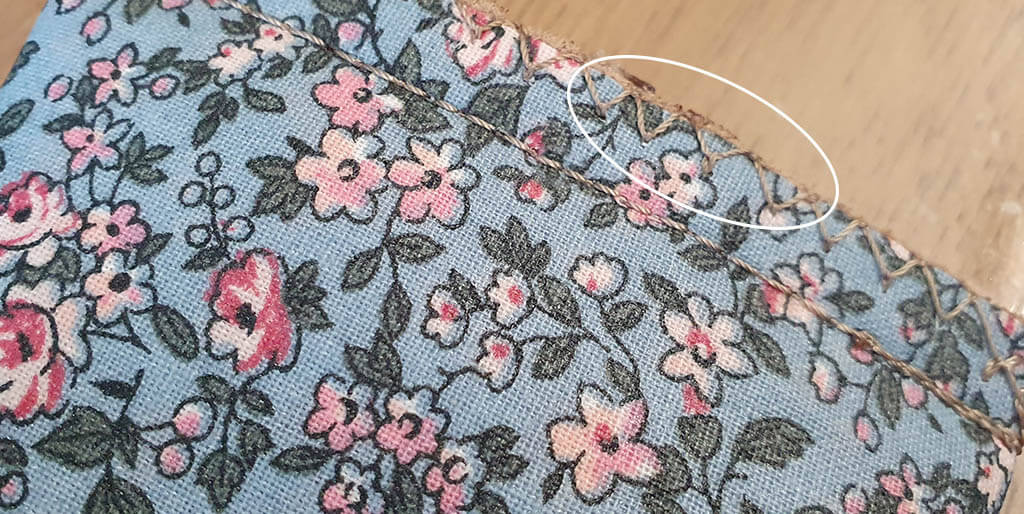
For the option with a fabric lining, we recommend additionally sewing a zigzag stitch on each side of your pouch.
5. TRACING 8 LINES FOR THE CORNER
Trace eight markers using a silver pencil (for the 25 × 25 cm pattern): four on each side, 4 cm long, located 3 cm from each top edge of the pouch.
For the 20 × 25 cm pattern, trace four markers 3 cm long, located 2 cm from each top edge.

6. FORMING THE POUCH CORNERS
Lay the pouch flat and form the corners by aligning each line with the one on the opposite side. Secure the corners in place with sewing clips.


7. SEWING AND CUTTING THE CORNERS
Sew the corners by following the lines traced with the silver pencil.

Then, cut the corners about 1 cm away from the seam.

For the option with a fabric lining, we recommend making small bias strips (4 squares of 4x4 cm with the edges folded) and positioning them with double-sided tape on each cut side.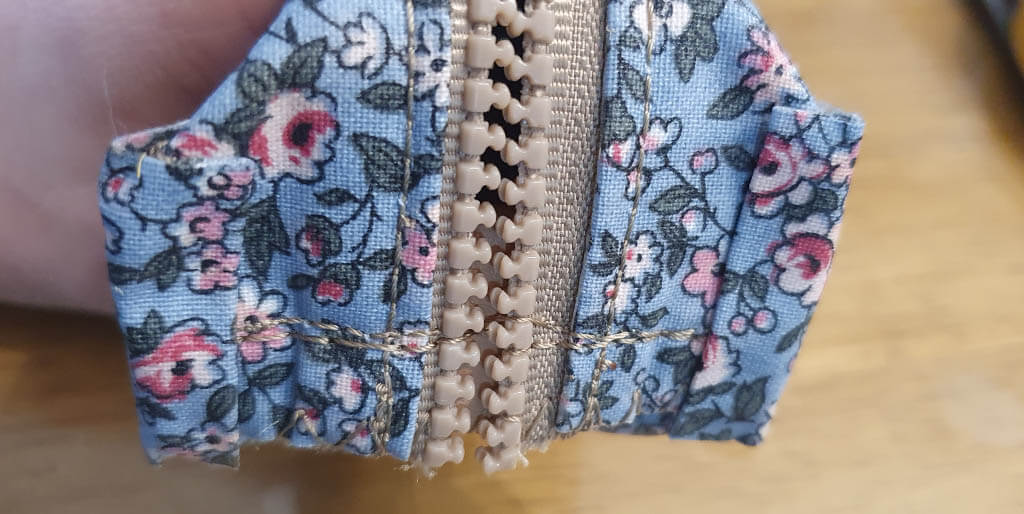
Sew a zigzag stitch to hold the bias strips in place.

The final result will look even prettier!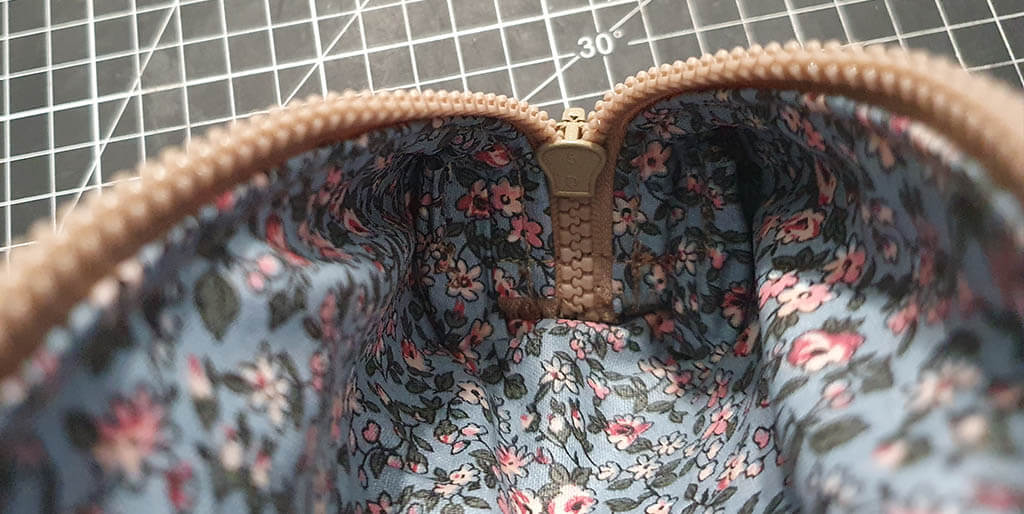
8. TURNING THE POUCH
Open the zipper completely, then turn the pouch right-side out.


CONGRATULATIONS, YOUR RECTANGULAR POUCH IS FINISHED!

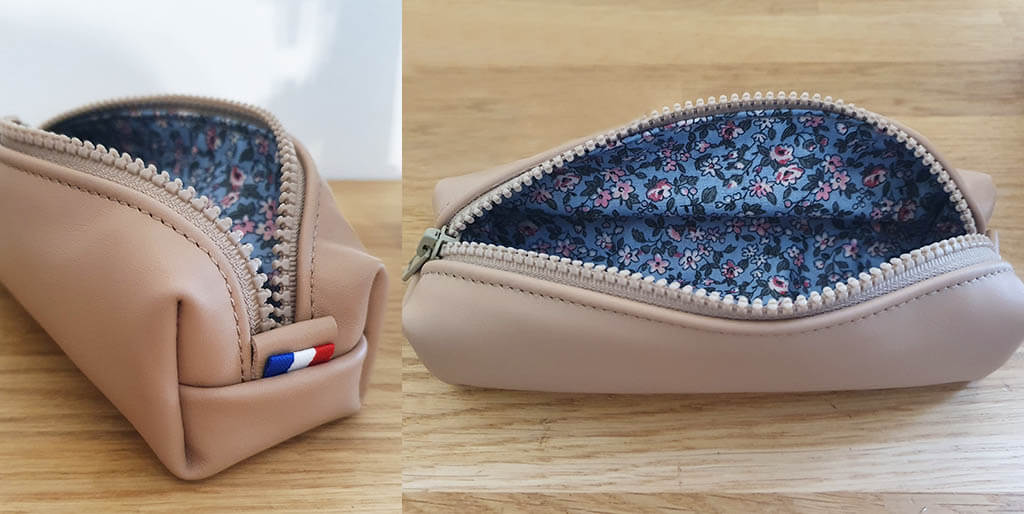

FEEL FREE TO PIN THE PHOTOS ON PINTEREST TO SHARE THIS ARTICLE!
ROUND POUCH VERSION


REQUIRED MATERIALS
Final dimensions of the round pouch: 18 cm
To make this leather pouch, you will need:
- 1 piece of soft leather measuring 20 x 30 cm - 1 to 1.3 mm thick (here we used nubuck sheepskin)
- 1 x 20 cm zipper with 4 mm teeth
- 1 spool of size 40 twisted polyester thread - 400 meters
- 2 cm of tricolor polyester ribbon
- 1 silver marking pencil
- 1 metal ruler
- 1 craft knife and scissors
- 1 sewing machine
1. CUTTING THE PATTERN PIECES
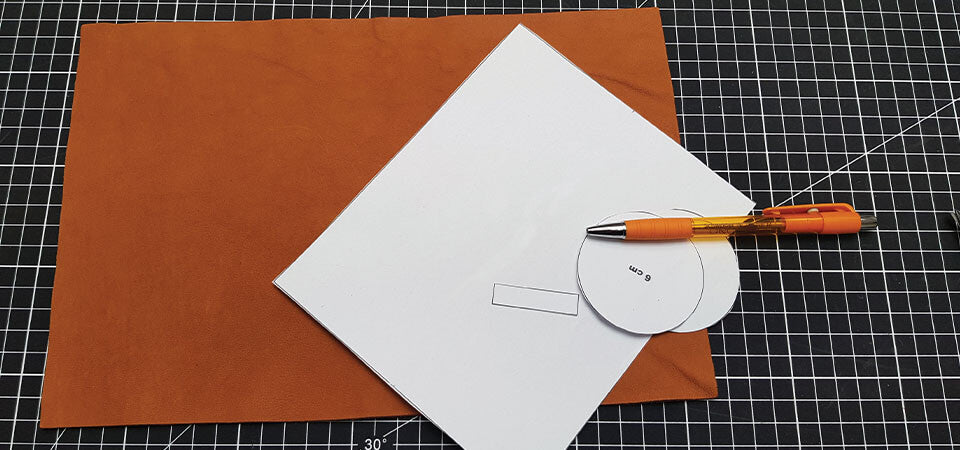
Download the pattern and print it to actual size (available in the tab at the top of the page). Cut out the pattern pieces. Trace the three pattern pieces onto the back of the leather (flesh side) using a silver pencil. Piece P2 must be traced twice. Then, cut the leather using a pair of scissors.

2. SEWING THE ZIPPER
Apply double-sided tape to the flesh side along one of the lengths of the large rectangle (one of the 18 cm sides). Center the leather edge on the zipper, 4 mm from the coils. Sew the zipper 3 mm from the edge with a suitable presser foot.


3. SEWING THE ZIPPER AND THE TRICOLOR RIBBON
Apply double-sided tape to the other length of the large rectangle, then stick it to the other side of the zipper. Cut a 2 cm piece of tricolor ribbon, fold it in 2, and position it between the leather and the zipper.


4. GLUING THE SIDES
Turn the pouch inside out, then close the zipper, leaving enough space open to turn the pouch after sewing. Apply double-sided tape to the front (grain side) of both P2 pieces. Fold the small P3 tab in two.


5. SEWING THE SIDES
Sew the P2 pieces 5 mm from the edge, on each side of the pouch.


6. FINISHING THE POUCH
Cut off the excess zipper, then turn the pouch right-side out.

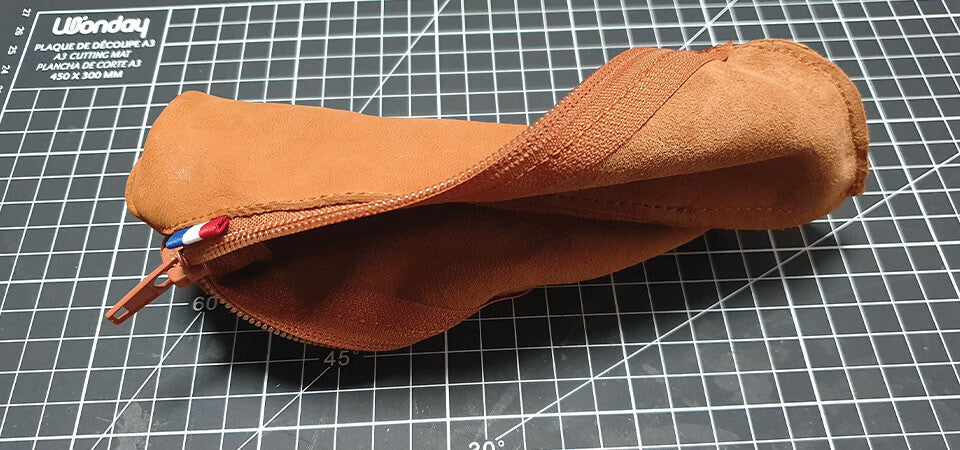
CONGRATULATIONS, YOUR ROUND POUCH IS FINISHED!


OTHER LEATHER POUCH VERSION
Discover our other version of the leather pouch:


1 comment
Anonymous
Obrigado pelas dicas muito bom